Puck Pro Dive Computer
6
• 2 MENUS, SETTINGS AND
FUNCTIONS
This chapter describes in detail all menus,
setting and functions of the Puck Pro dive
computer.
Puck Pro always switches on in pre-dive mode.
From here, pressing the button allows you
to scroll through the following sequence of
menus:
- MOdE: allows you to set the computer to air,
nitrox or bottom timer mode;
- SEt: allows you to view and change all
settings relative to the dive computer;
- LOG: allows you to access the detailed
history of the dives performed;
- PLAN: allows you to view no deco times as
a function of depth based on your current
nitrogen load;
- PC: allows you to download dives to a PC or
Mac
- INFO: allows you to view information about
software and hardware of your Puck Pro.
The pre-dive mode puts the computer in a
ready-to-dive mode and ensures that Puck Pro
starts to monitor the dive as soon as a depth
of 1.2m/4ft is reached. If you start the dive
without putting Puck Pro into pre-dive mode,
it will start to monitor the dive automatically
but with a delay of up to 20 seconds from
immersion.
The pre-dive display shows p factor and
altitude settings, time of day, surface interval
since the last dive and temperature. If Nitrox
is set, it will show the O
2
percentage and the
corresponding MOD. A small S or F to the left
of the middle row indicates the water type.
NOTE
- If you remain in pre-dive for longer than 10
minutes without pressing any button, Puck
Pro will switch off.
- It is recommended to put Puck Pro into
pre-dive before submerging. Not doing
so can lead to a delay of up to 20s in
Puck Pro monitoring the dive.
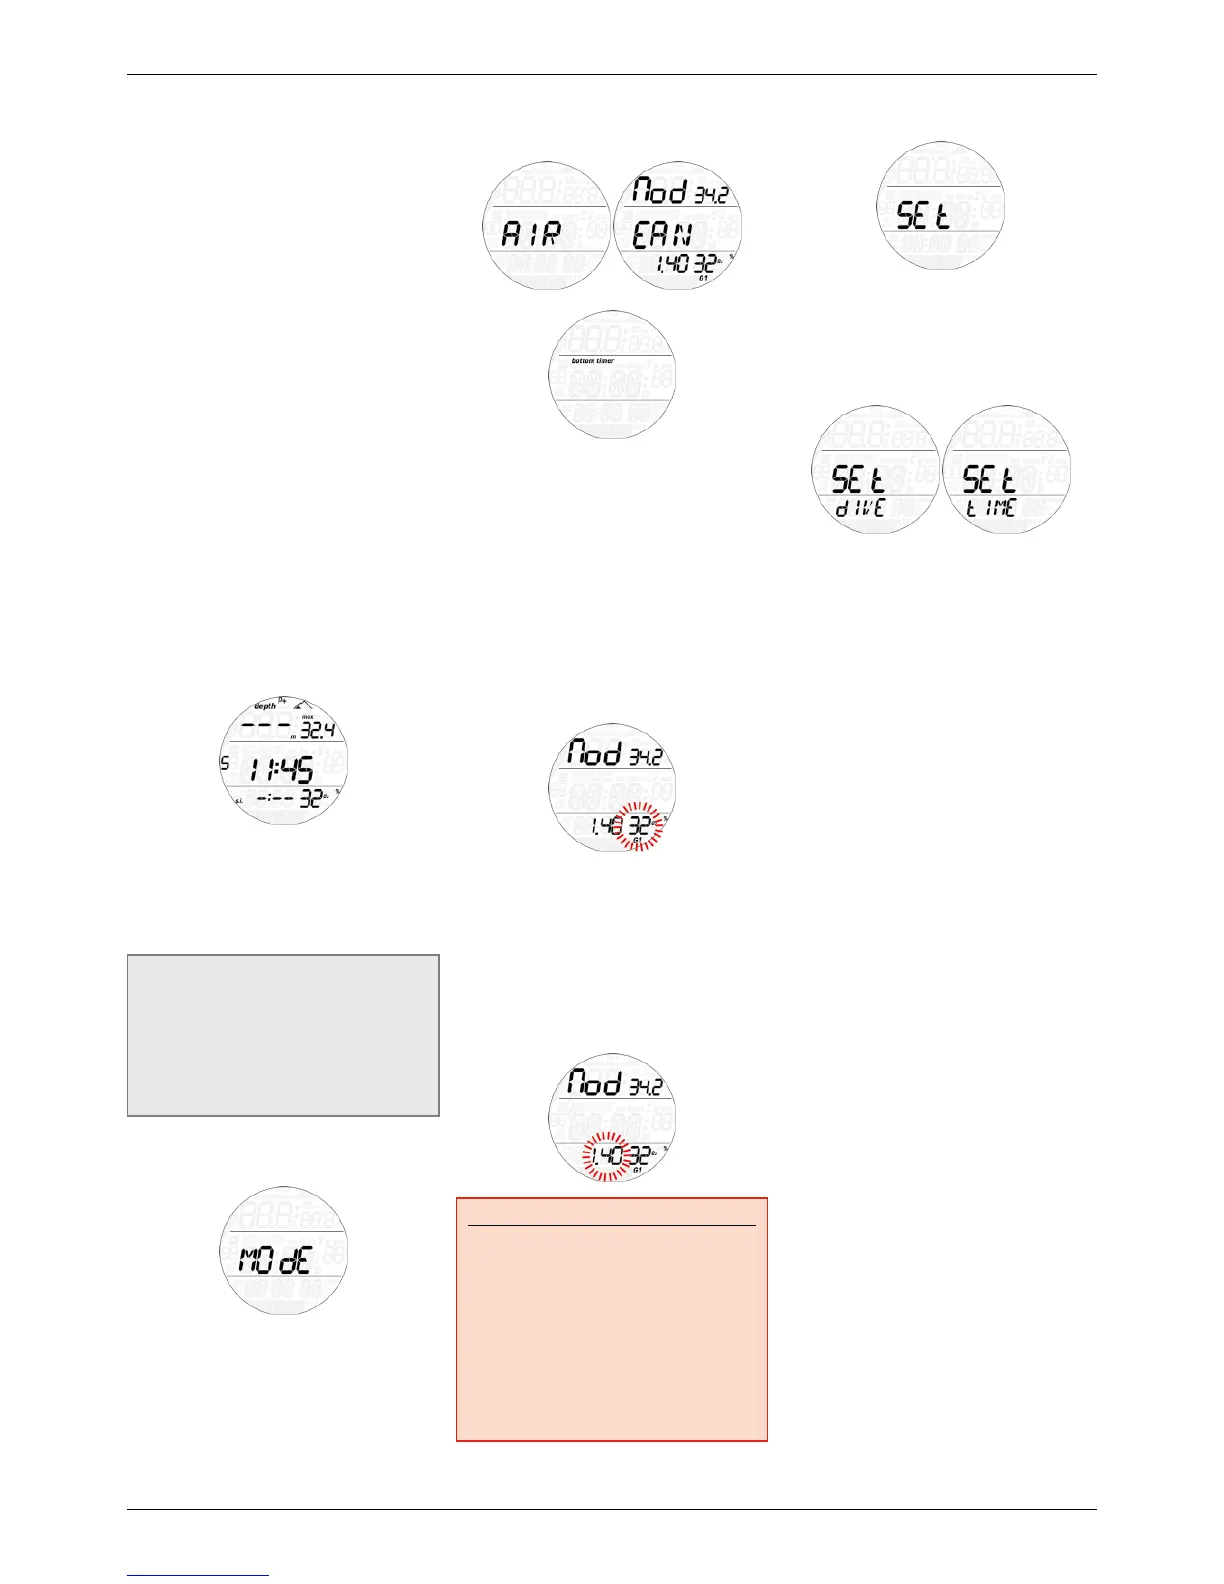
2.1 MOdE
Here you can define the type of gas you will
be breathing during the dive (air or enriched
air nitrox, including multigas). You can
also set Puck Pro to bottom timer, in which
case Puck Pro will show only time, depth
and temperature: it will not carry out any
decompression calculation and it will not show
any warnings and alarms.
Press the button to scroll through the three
possible options (AIR, EAN or bottom timer),
then press and hold the button to select it.
AIR is the equivalent of setting EAN to 21%
and a ppO
2
max of 1.4bar, but simplifies the
display a bit by not showing the CNS (its value
however is calculated in the background and if
needed the 75% warning and the 100% alarm
are triggered).
When selecting EAN, you are taken to
a submenu in which you can define the
percentage of oxygen in the mixture (%O
2
) and
the maximum value of oxygen partial pressure
(ppO
2
max) for up to two breathing mixes. The
maximum possible value for the ppO
2
max is
1.6bar. Most training agencies recommend not
to exceed a value of 1.4bar.
Once inside this menu, press the button to
change the O
2
% and observe how this affects
the maximum operating depth (MOD). Then
press and hold the button to move on to the
ppO
2
max and use the button to change the
value, again noticing how this affects the MOD.
Press and hold the button again to save the
setting. To exit the menu, press the button
until bACk appears on the display, then press
and hold the button.
WARNING
- Diving with Nitrox may only be
attempted by experienced divers after
proper training from an internationally
recognized agency.
- Before every dive and after changing
the tank, you must make sure that the
set oxygen concentration in Puck Pro
corresponds to the oxygen concentration
in the tank. Setting the wrong oxygen
concentration can lead to serious injury
or death.
See chapter 3.5 for more information about
diving with more than one gas.
2.2 SEt
Puck Pro’s SEt menu allows you to change
settings. Once inside this menu, press the
button to scroll between two submenus: SEt
dIVE, where you can set parameters pertaining
to the dive, and SEt tIME, where you can set
parameters pertaining to time and date.
Press and hold the button to enter a menu,
press the button to scroll up and down between
available options or to increase or decrease
the value of a setting. Then press and hold the
button to confirm the change in setting. Press
the button until you see bACk on the display
then press and hold the button to go up one
level in the menu tree.
 Loading...