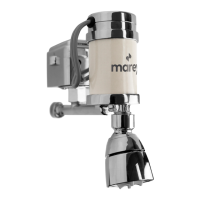
1. Wrap with teflon:
a) Both ends of a ½" straight nipple (not included);
b) The threads on the heater output.
2. Screw one end of the nipple into the back of the heater.
3. Screw the heater onto the pipe, holding the heater cover firmly. Tighten the heater
with an adjustable wrench.
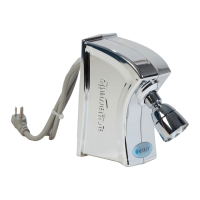
4. Screw on the shower head.
EXTREMELY IMPORTANT!! DO NOT CONNECT POWER BEFORE ALLOWING
WATER TO FLOW THROUGH THE SHOWER HEATER FOR 10 SECONDS OR
LONGER. DAMAGE MAY OCCUR TO THE UNIT WHICH COULD INVALIDATE
THE WARRANTY.
Turn faucet on and allow the water run for 10 seconds, then attach the shower
head.
Note: Only use the shower head included with this Marey® Heater. Damage may
occur if a replacement head is installed and this could also void your warranty.
5. Plug the heater to a receptacle* 3.5 feet away from the shower area.
*30 amp electric circuit for exclusive use of the heater. DO NOT USE EXTENSIONS.
CONGRATULATIONS INSTALLATION IS NOW COMPLETE!
Once the faucet is turned on, hot water will come out instantly.
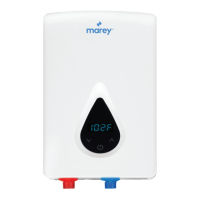
MINI MAREY: SET THE TEMPERATURE BY REGULATING THE FLOW OF
WATER.
DO NOT use a plastic shower
head with this equipment,
that obstruct the water flow
Sold by www.GadgetsGo.com Authorized Dealer