44/52
Mod. 91
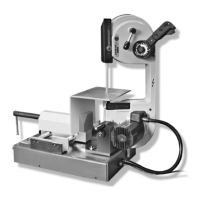
• Ruotare la leva (A) verso la
posizione “
− −
− −
− ”.
• Estrarre la lama (B).
• Turn the lever (A) towards the
position “
− −
− −
−
”.
• Remove the blade (B).
• Inserire la nuova lama, prestan-
do attenzione al senso di taglio
e ponendola prima fra i rulli gui-
dalama e successivamente fra le
pulegge in gomma (C).
• Ruotare la leva (A) verso la
posizione “+”.
Nota: arrivando con la leva (A) a
finecorsa, la lama si porrà automa-
ticamente nella posizione di taglio
ai primi giri del motore.
• Insert the new blade, taking
care to observe the cutting di-
rection and placing it between
the blade guide rollers, then
between the rubber pulleys (C)
• Turn the lever (A) towards the
position “
+
”.
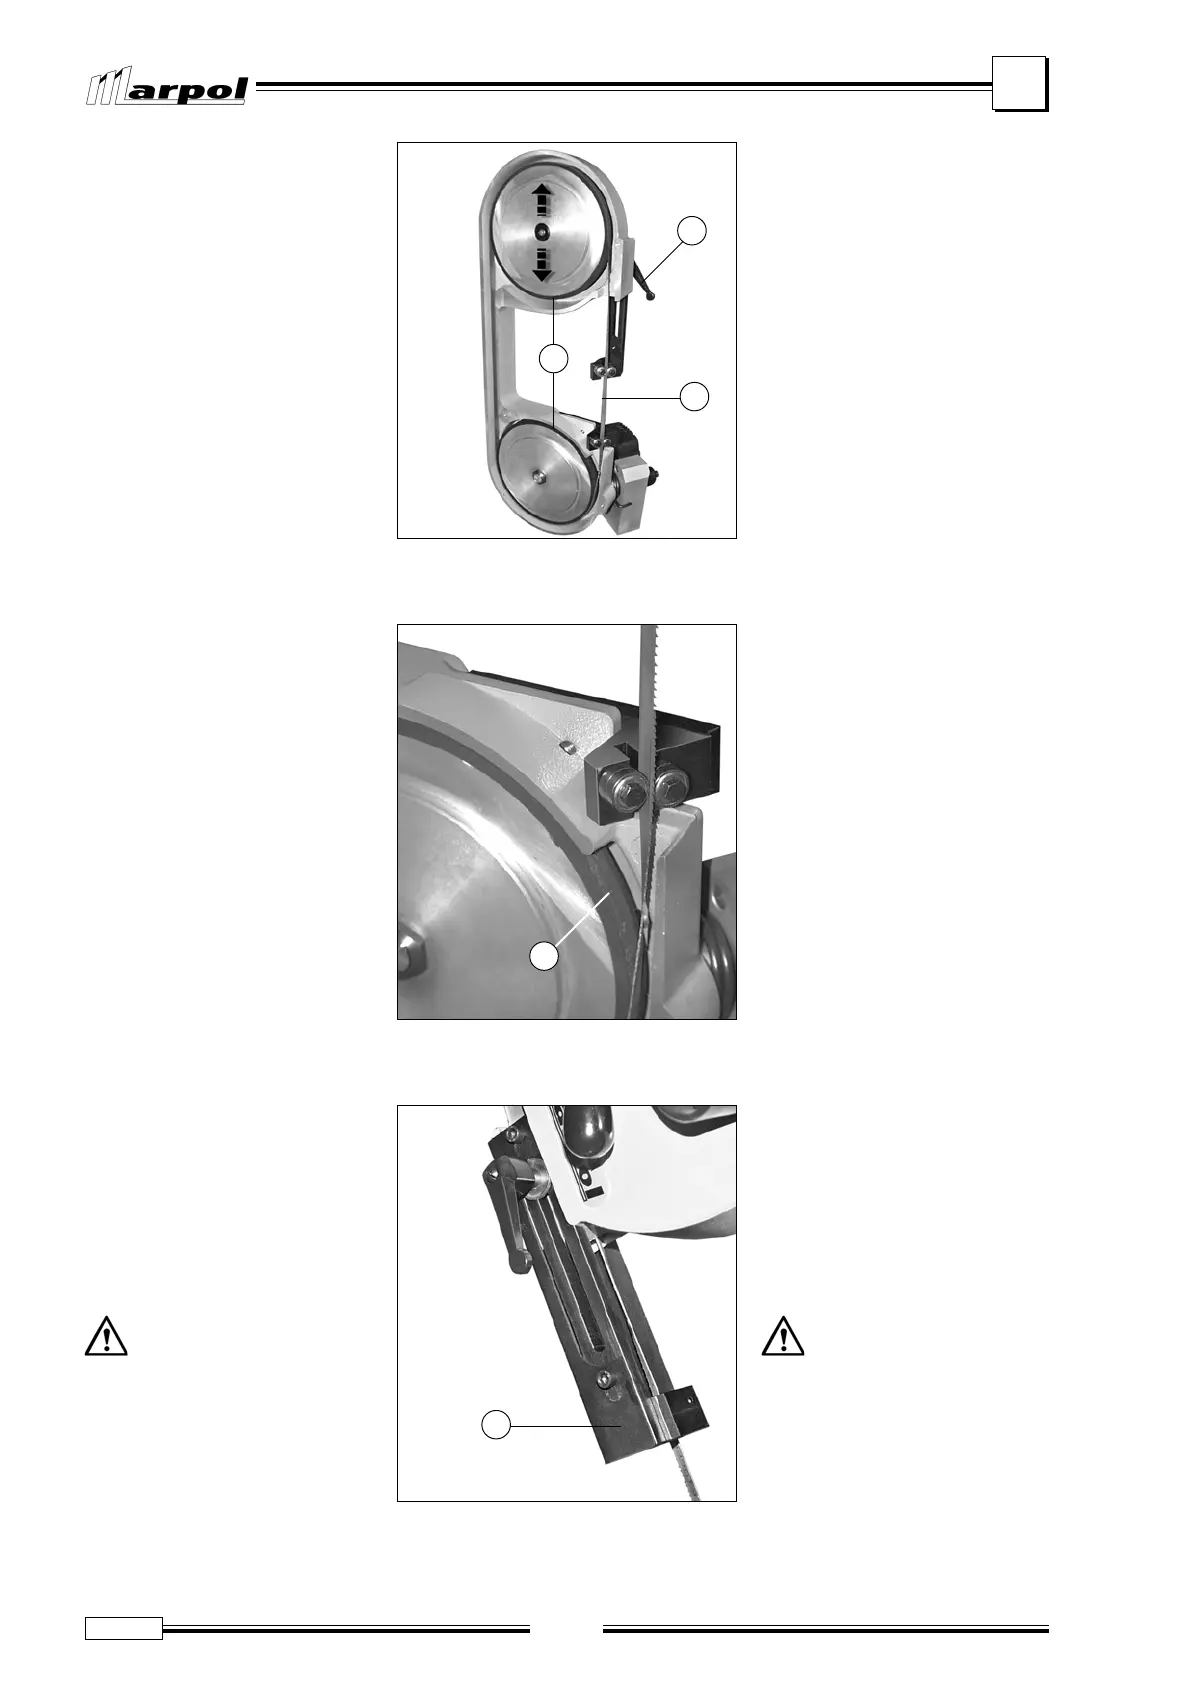
• Rimontare il carter posteriore e
la protezione (D) del guidalama
mobile.
Durante i primi 4-6 tagli
(dopo la sostituzione del-
la lama) esercitare pressioni di
taglio contenute, in modo da au-
mentare, in seguito, la durata e
l’efficacia della lama.
• Replace the rear guard and the
guard (D) of the mobile blade
guide.
During the first 4-6 cuts
(after replacing the blade)
use slight cutting pressures, to
increase the duration and effec-
tiveness of the blade thereafter.
6
F. 5
D
C
F. 4
A
C
F. 3
B
Note: when the lever (A) reaches
the end of its stroke, the blade will
automatically position itself for cut-
ting when the motor begins to turn.