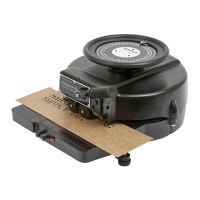
Replacing a Punch
and Die
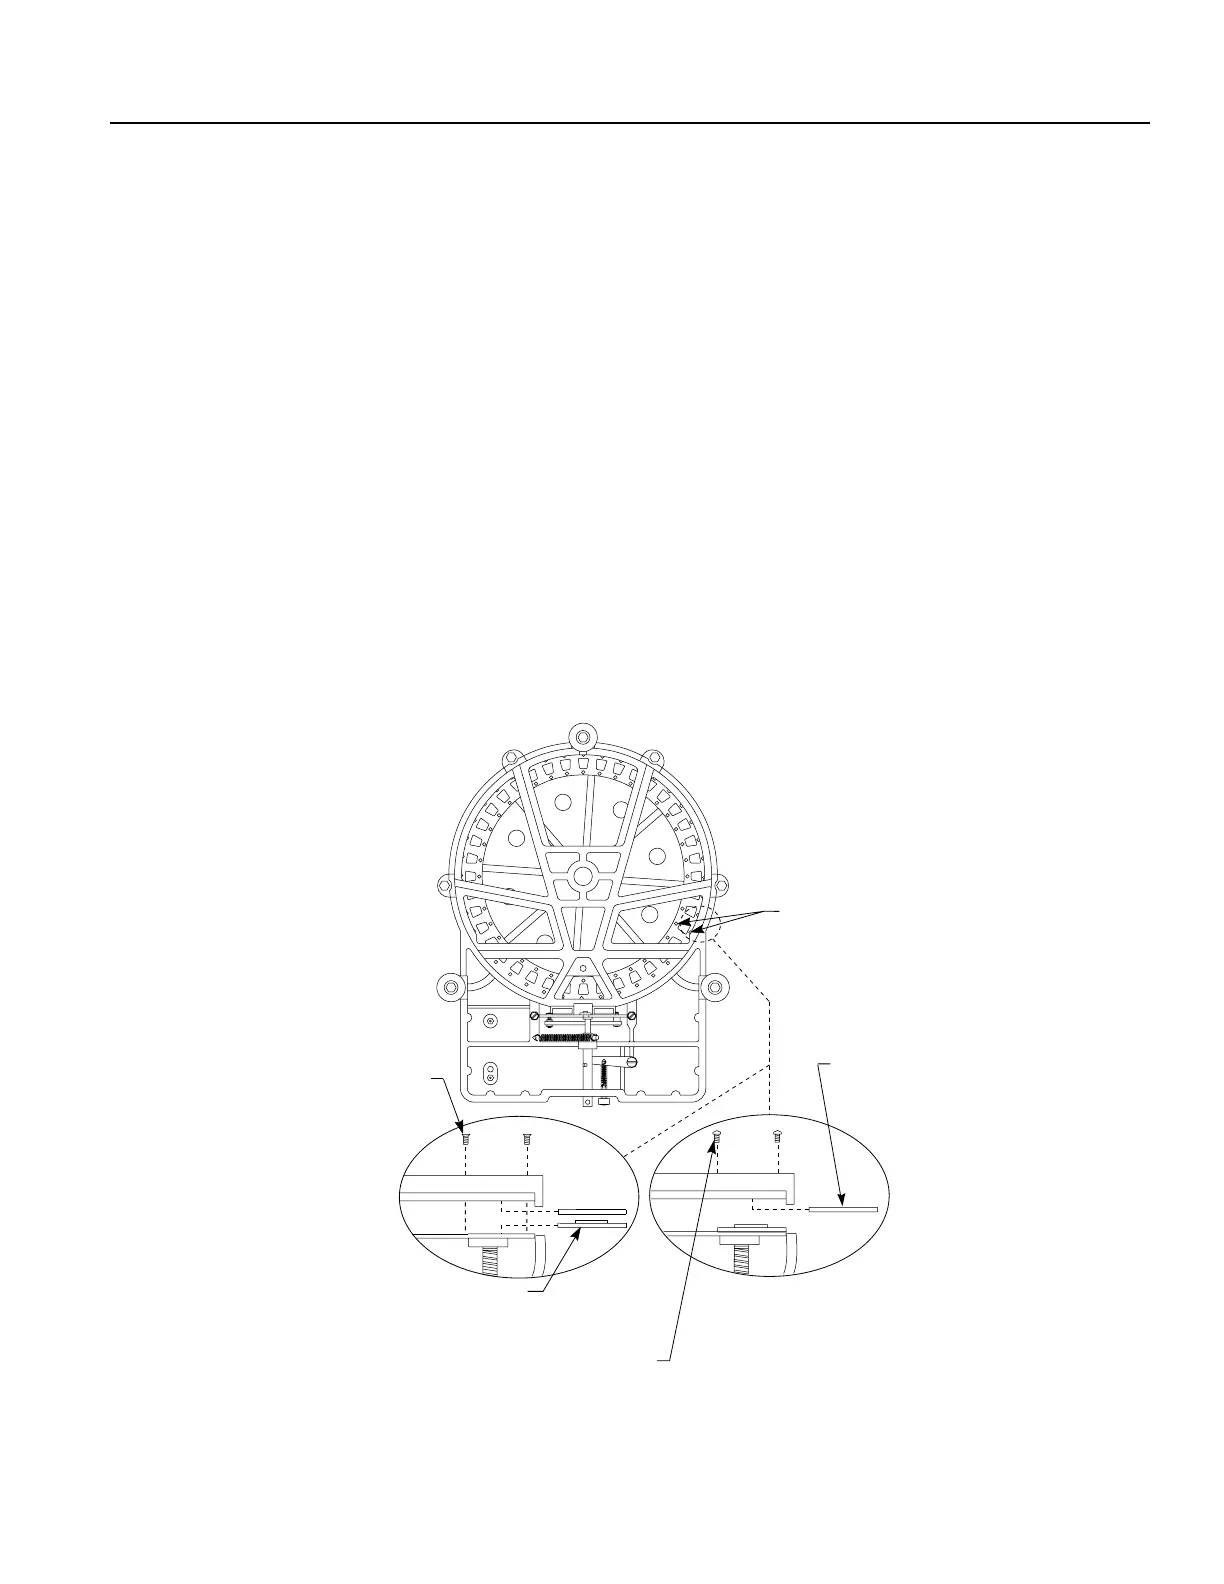
1. Turn the machine upside down.
2. Locate the punch and die that needs to be replaced.
3. Loosen the two screws in the die and remove it. See Figure I.
4. Insert the screw driver through the holes in the die carrier and loosen the two screws
in the punch and remove it.
5. Position the new punch with its rounded edge facing the outside of the machine.
6. Replace the two screws on the punch.
7. Carefully position the die on the cut out portion of the punch. The die rests on the
punch with its wide edge facing the outside of the machine.
8. Lift the punch and die up against the carrier and hold the punch and die while you
replace and tighten the two screws in the die. Tighten each screw a bit at a time to
equalize the strain on the die.
9. Separate the punch from the die by taping the punch lightly.
10. Cut a few characters to test the new punch and die.
Figure I
Figura I