MICROSENTRY™ REFRIGERATION MONITOR
Section 5: MicroSentry™ Refrigeration Monitor and User Panel
5.1 Introduction
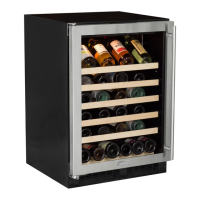
Marvel’s MicroSentry™ refrigeration monitor oversees the refrigeration system’s performance to help maintain a
selected temperature. An audible alarm is sounded if the temperature goes 10 degrees F above or below the set
point for more than one hour or if the door is left ajar for more than five minutes. A discreet amber LED display
shows cabinet temperature. The digital touch controls are easy to set for a temperature of 40 to 65 degrees F. See
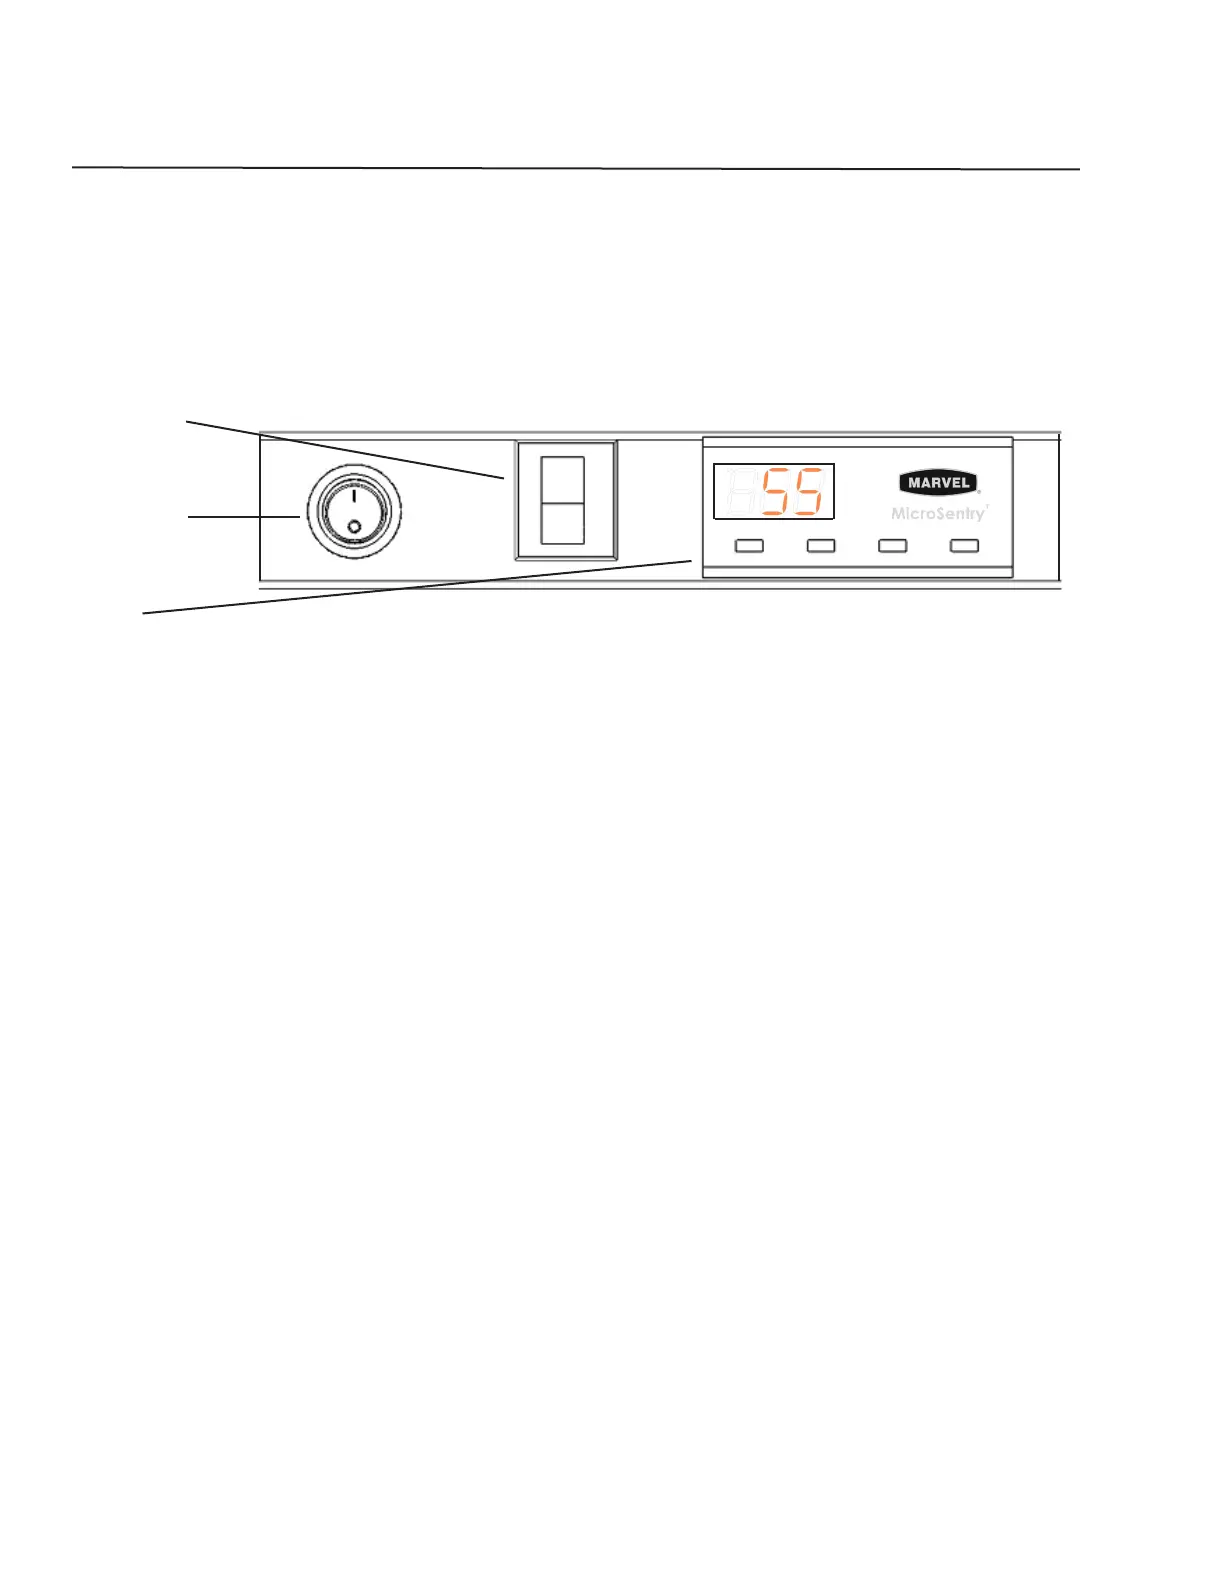
Figure 5.1 below for an example user panel.
14
Figure 5.1
Door Switch
Light Switch
Control
5.2 Starting the Unit
To start the unit, plug it into a power supply. The unit should start automatically as the factory default should be on.
If the unit does not start, push and hold for three (3) seconds the “ON/OFF” button located on the display panel.
5.3 Adjusting the Temperature Control
The temperature control is fully adjustable from the low 40s to the mid 60s in the wine cellars and beverage cen-
ters. The setpoint out of the factory is approximately 55 degrees F. The temperature range, whether it be for wine
cellars or beverage centers, allows flexibility of temperature preferences and provides the ideal wine aging or food
storing temperatures. The temperature can be lowered or raised by pressing and holding the “SET” button on the
display panel until the set point temperature is displayed. While continuing to hold the “SET” key, push either the
“WARMER” or “COLDER” key to raise or lower the set temperature by one (1) degree F. NOTE: As with any refrig-
eration product, there is a slight temperature variance at different locations within the cabinet.
5.4 Interior Light and Switch
The light will automatically turn on when the door is opened and off when the door is closed. To engage the
display light feature, press the round light switch on the user panel. The display light will remain on regardless of
door position until the light switch is turned off.
5.5 Information/Lockout Key
Each momentary press of the “SET” key activates the Information and Lockout selection menu. Additional presses
sequentially scroll through the Information selection menu and allow the enabling and disabling of the Lockout
feature.
Display “Current” Sensor Temperature (tl): Press and hold the “SET” key to display the current sensor temp.1.
Maximum Stored Temperature (thL): Press and hold the “SET” key to display the maximum temperature stored. 2.
The data can be cleared by pressing the “SET” and “ON/OFF” keys simultaneously while the value is displayed.
Minimum Stored Temperature (tLo): Press and hold the “SET” key to display the minimum temperature stored. 3.
The date can be cleared by pressing the “SET” and “ON/OFF” keys simultaneously while the value is displayed.
Total Operating Time of the Condenser Since the Last Cleaning (cnd): Press and hold the “SET” key to display 4.
F
Alarm
Press and Hold
Press and Hold
Set Colder
Warmer
ON/OFF