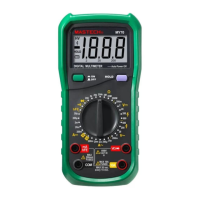
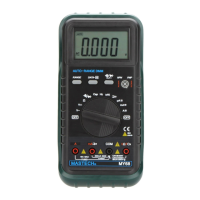
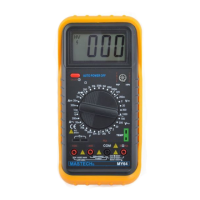
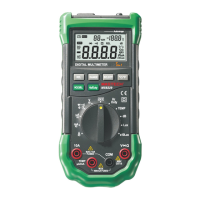
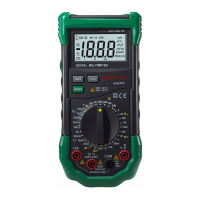
11 12
Here are some tips for measuring resistance:
• The resistance measured on circuit is usually different from
the rated value of resistance. This is because the test current
of the meter will flow through all possible channels between
test probes.
• When measuring low resistance, in order to accurately
measure, make a short circuit between two test probes to
read the resistance value when short circuited. This resistance
value should be subtracted after measuring the resistance to
be tested.
• At grade 20MΩ and 200 MΩ, the reading will be stable after
several seconds. A high resistance measuring is normal.
• When there is no input (for example, in an open circuit),
the display will show “1”, which means that the measured
value is out of range.
3.2.3 Testing diode
To avoid damaging meter or device to be measured, before
measuring diodes, cut off all circuits being tested and
discharge all high voltage capacitors.
To test diode outside circuit:
1. Rotate the switch to position.
2. Respectively connect black and red test probe to COM input
socket and input socket.
3. Respectively connect black and red test probe to negative
pole and positive pole of the diode to be tested.
4. The meter will display the forward bias voltage value of diode
being tested. If the test probe polarity is reversed, the meter
will display “1”.
In a circuit, a good diode should still produce a forward voltage
drop of 0.5V to 0.8V; but the reverse bias voltage will vary
depending on resistance values of other channels between
two test probes.
3.2.4 Audible continuity testing
To avoid damaging meter or device to be measured, before
testing buzzer continuity, cut off all circuits being tested and
discharge all high voltage capacitors.
To make continuity testing:
1. Rotate the switch to position.
2. Respectively connect black and red test probe to COM input
socket and input socket.
3. Measure the resistance value of circuit to be tested with other
two ends of test probes
4. During on-off testing, if the measured circuit resistance is not
greater than about 50, the buzzer will sound continuously.
3.2.5 Measuring capacitance (MY74, MY74B)
To avoid damaging meter or device to be measured, before
measuring capacitance, cut off all circuits being tested and
discharge all high voltage capacitors. Determine that capacitors
are discharged with DC voltage measurement function.
Capacitance range of this meter: 2.000nF, 20.00nF, 200.0nF,
2.000µF and 100.0µF.
To measure capacitance:
1. Rotate switch to the appropriate position.
2. Respectively connect black and red test probe to COM input
socket and input socket.
3. Measure the capacitance value of circuit to be tested with
other two ends of test probes and read the measuring value
from LCD display.
Here are some tips for measuring capacitance:
• When measuring bulk capacitor with this meter, readings will
stabilize after a few seconds.
WARNING:
WARNING:
WARNING: