headline bars
continuation tabs
notes
warnings
model no. 054-6988-6 | contact us 1-800-689-9928
18
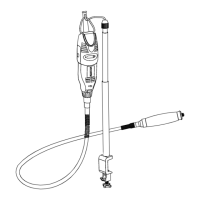
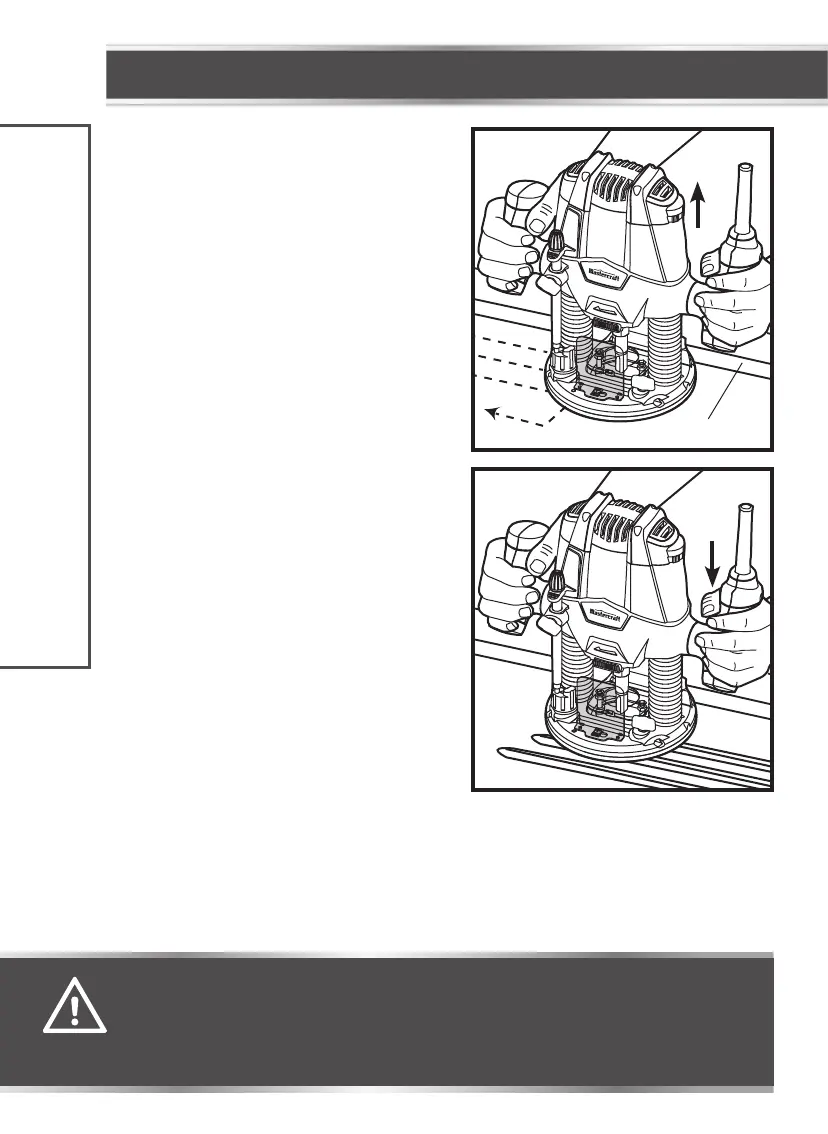
INTERNAL ROUTING
(figs 12 and 12a)
1. Set the cutting depth and lock the plunge action
in the raised (Up) position. Turn the motor “On” and
allow the motor build up to its full speed (fig 12).
2. To begin your cut, unlock the plunge-lock lever and
gently lower the plunge action into the workpiece
(fig 12a).
3. When the desired depth-of-cut is achieved, lock the
plunge lock-lever (Down) and proceed to make your
cut (fig 12a).
4. When the cut is completed, turn the motor “off”
and allow the cutter bit to come to a complete stop
before removing it from the workpiece.
5. When the cutter bit comes to a complete stop, unlock
the plunge-lock lever (Up) and the plunge action
will automatically retract the cutter bit from the
workpiece.
6. Unplug the router from the power source, place the
router on the worktable, and inspect the finished cut
in the workpiece.
OPERATING INSTRUCTIONS
fig 12
Feed direction
Edge guide
Plunge up:
set up
fig 12a
Plunge
down
cutting
WARNING!
• Always securely clamp your workpiece and keep a firm grip on the router base with both hands at all times. Failure to do so could
result in loss of control, causing possibly serious personal injury. If using a router table, large cutter bits should be used for edging
only.
• Removing the cutter bit from the workpiece while it is still rotating could damage the workpiece and result in loss of control,
causing serious personal injury.
 Loading...