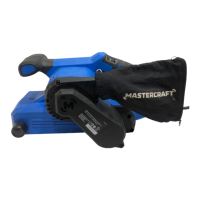
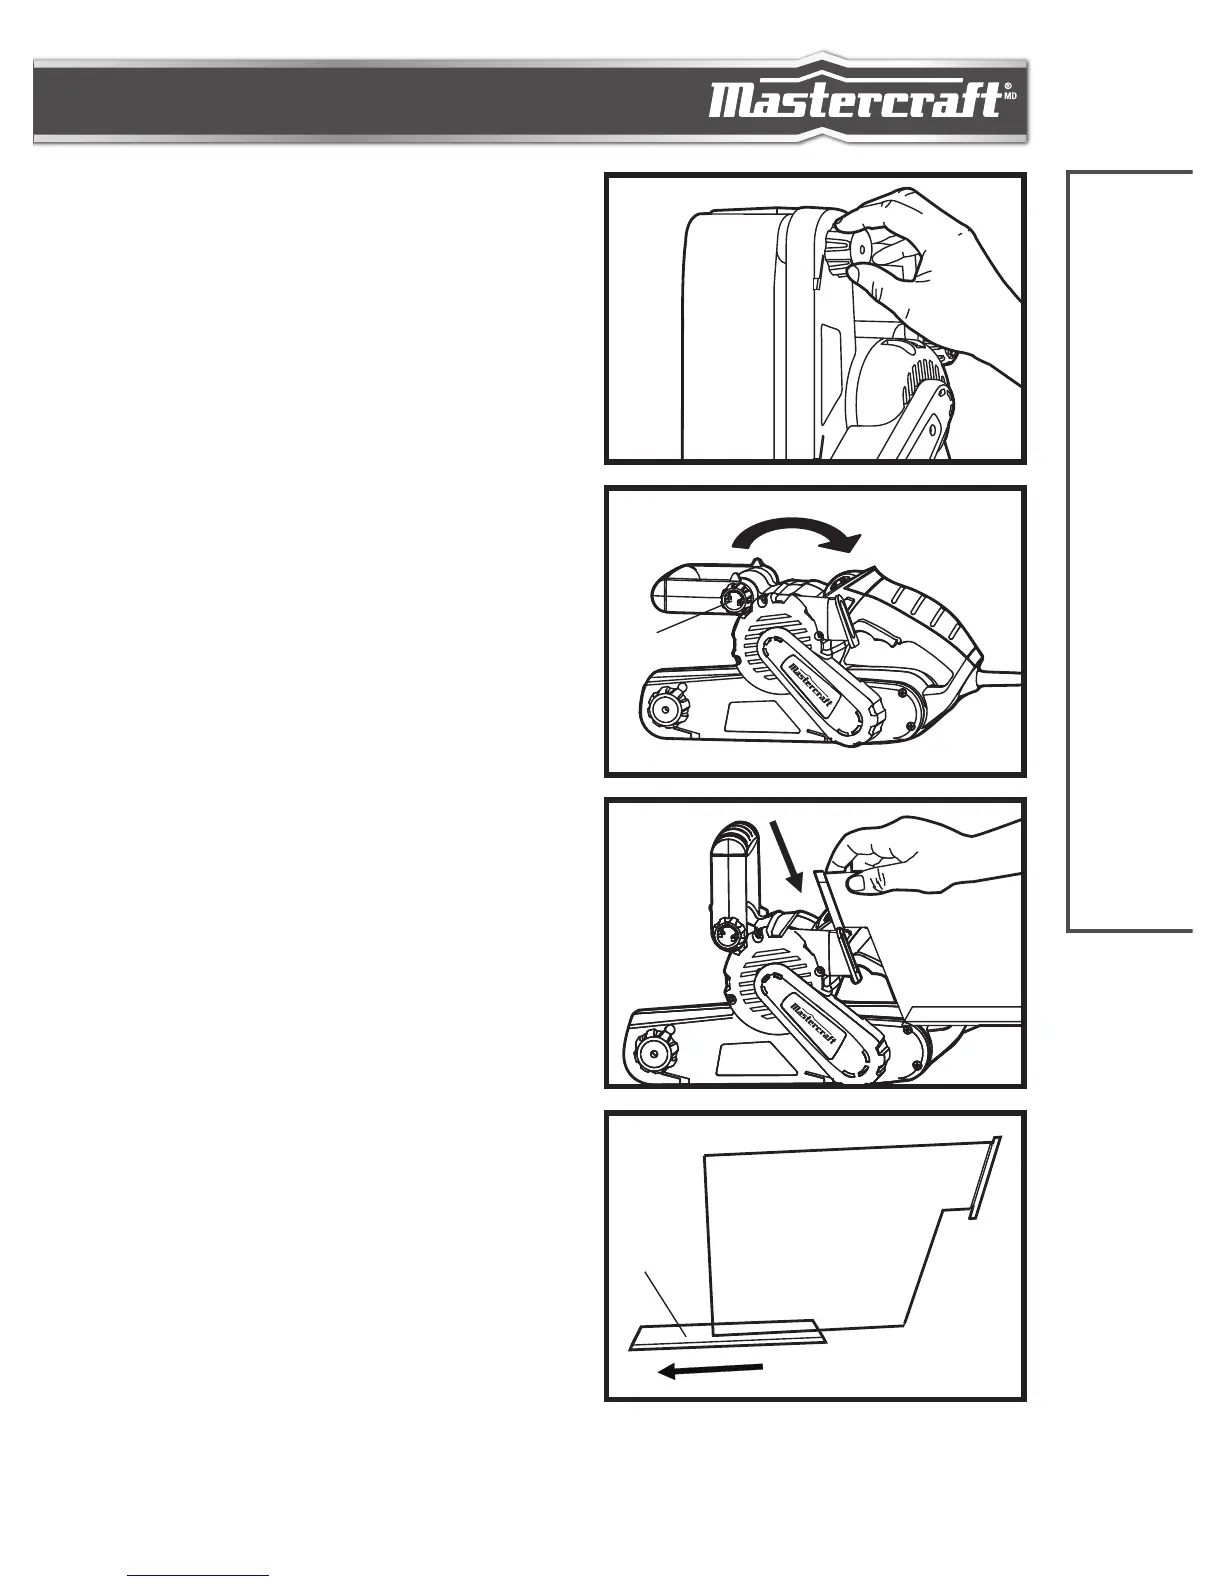
BELT ADJUSTMENT KNOB (fig 2)
Your sander features an automatic belt-control
system that helps to keep the belt running in the
centre of the rollers. The system has been preset
at the factory, but may require adjustment to avoid
frayed belt edges and wear on the sander frame
when a belt is changed or an older belt stretches.
To adjust the belt (if necessary)
1. Plug in the cord with the tool OFF.
2. Hold handle of the sander with one hand and tilt
the sander so that the belt is facing the operator.
3. Squeeze trigger switch to begin rotation of the
belt.
4. Turn the belt adjustment knob counterclockwise
to move the belt away from the sander motor. Turn
the belt adjustment knob clockwise to move it
towards the sander motor.
5. Release the trigger switch and make sure that the
belt has come to a complete stop before setting
the tool down.
3-position adjustable handle
Rotate the handle knob and position handle to one of
the three positions. Tighten the knob to secure handle
in place (see fig 3).
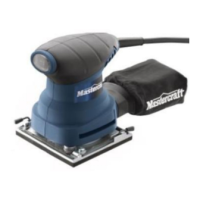
INSTALLING AND REMOVING THE
DUST COLLECTION BAG
To install: Align the edge of dust port with the slot
of dust bag outlet. Insert into tool until firmly seated
(see fig 4).
To remove: Lift dust bag outlet up, and gently pull on
dust bag.
To clean the dust bag: Empty the dust bag by
unzipping the lever lock (see B in fig 5) located on
bottom of the bag, gently tap to remove dust.
Occassionally, slip the bag off of the frame and turn
bag inside out. Brush dust off of the lining using a soft
brush.
ASSEMBLY INSTRUCTIONS
fig 2
 Loading...