10
ASSEMBLY INSTRUCTIONS
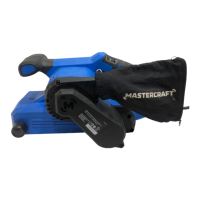
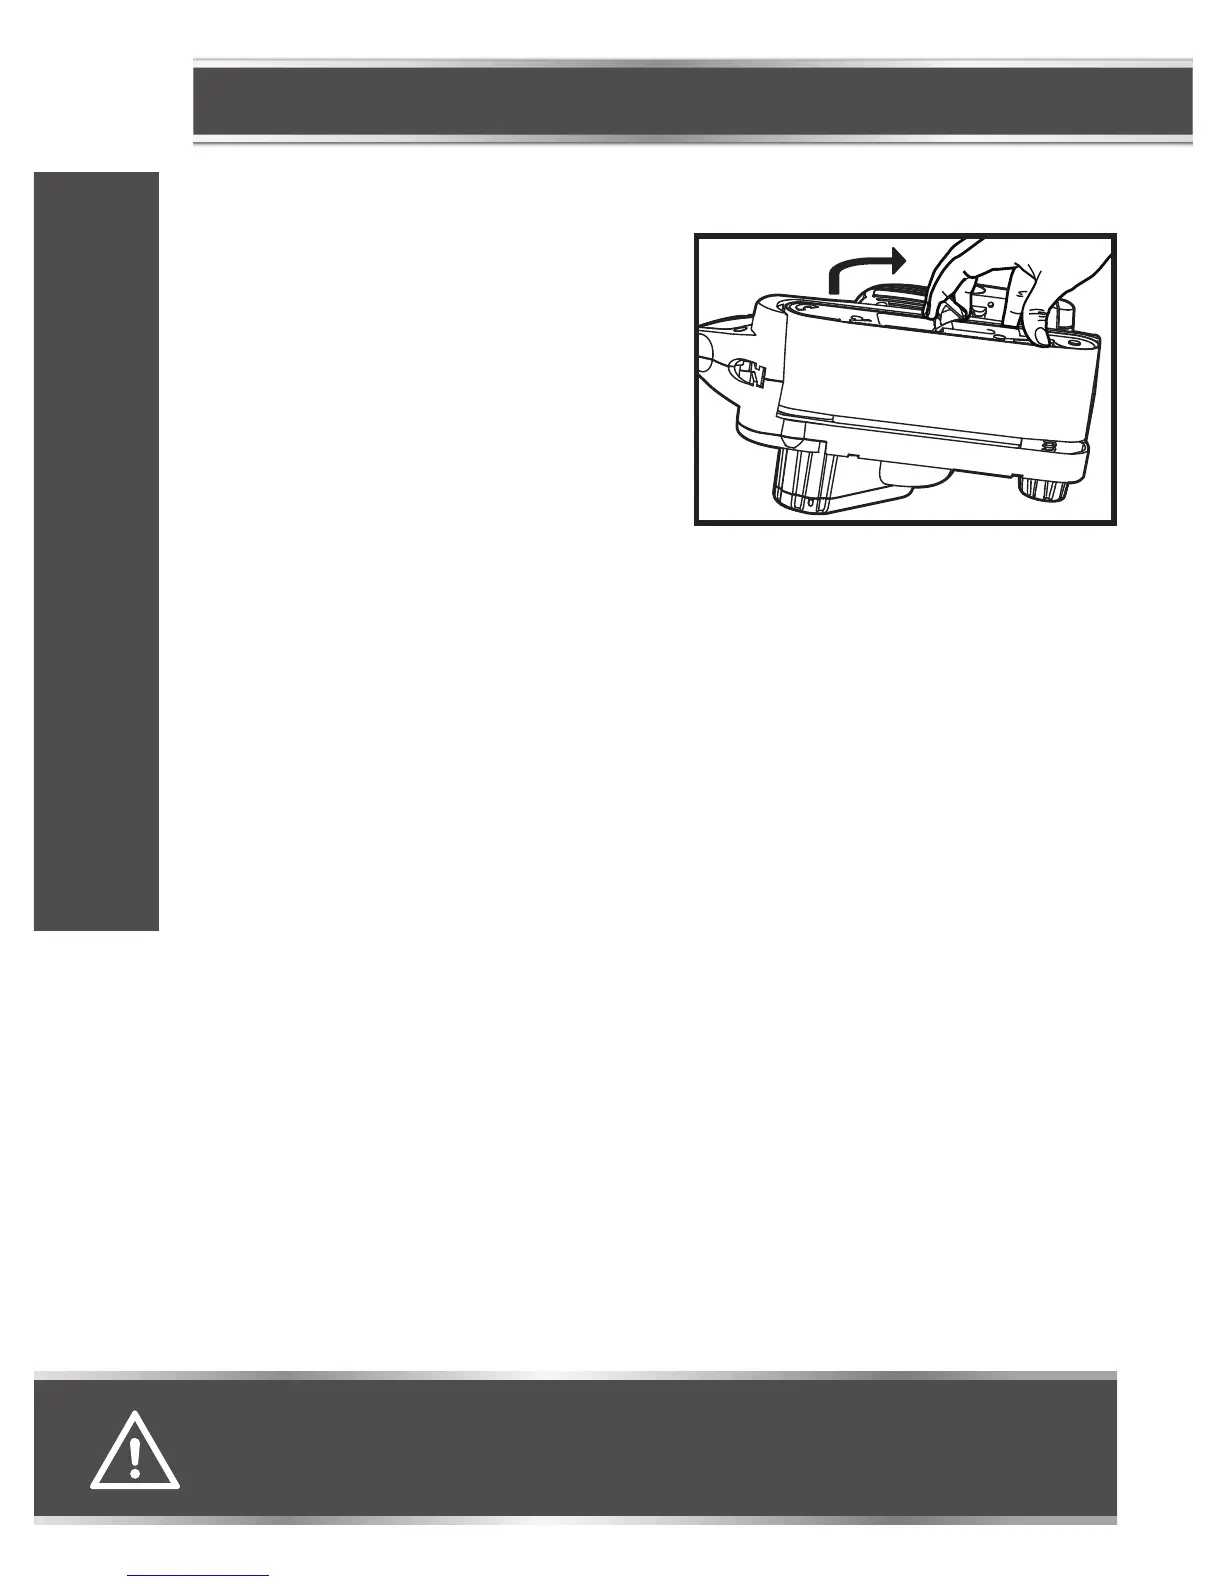
SANDER BELT (fig 1)
To install belt:
1. Place sander on its side and pull the quick release
tension lever out, as shown in fig 1.
2. Insert the new belt around both rollers. Ensure
the arrow on the inside of belt is pointing in the
direction of rotation as indicated on housing.
3. Once the belt is centred over the rollers and
bottom plate, place quick release tension lever
back in its original position to restore belt tension.
To remove belt:
1. Place the sander on its side and rotate the quick-release lever away from the sander, as shown in
fig.1.
2. With the sander on its side and the open side facing you, you can easily remove the belt.
ASSEMBLY INSTRUCTIONS
fig 1
WARNING!
• Always disconnect the sander from its power supply before attaching or removing sandpaper.
 Loading...