REPLACING THE PLANER BLADES
REMOVING THE OLD PLANER BLADES
1. Disconnect the plug from the power source.
2. Place the planer upside down on a flat surface.
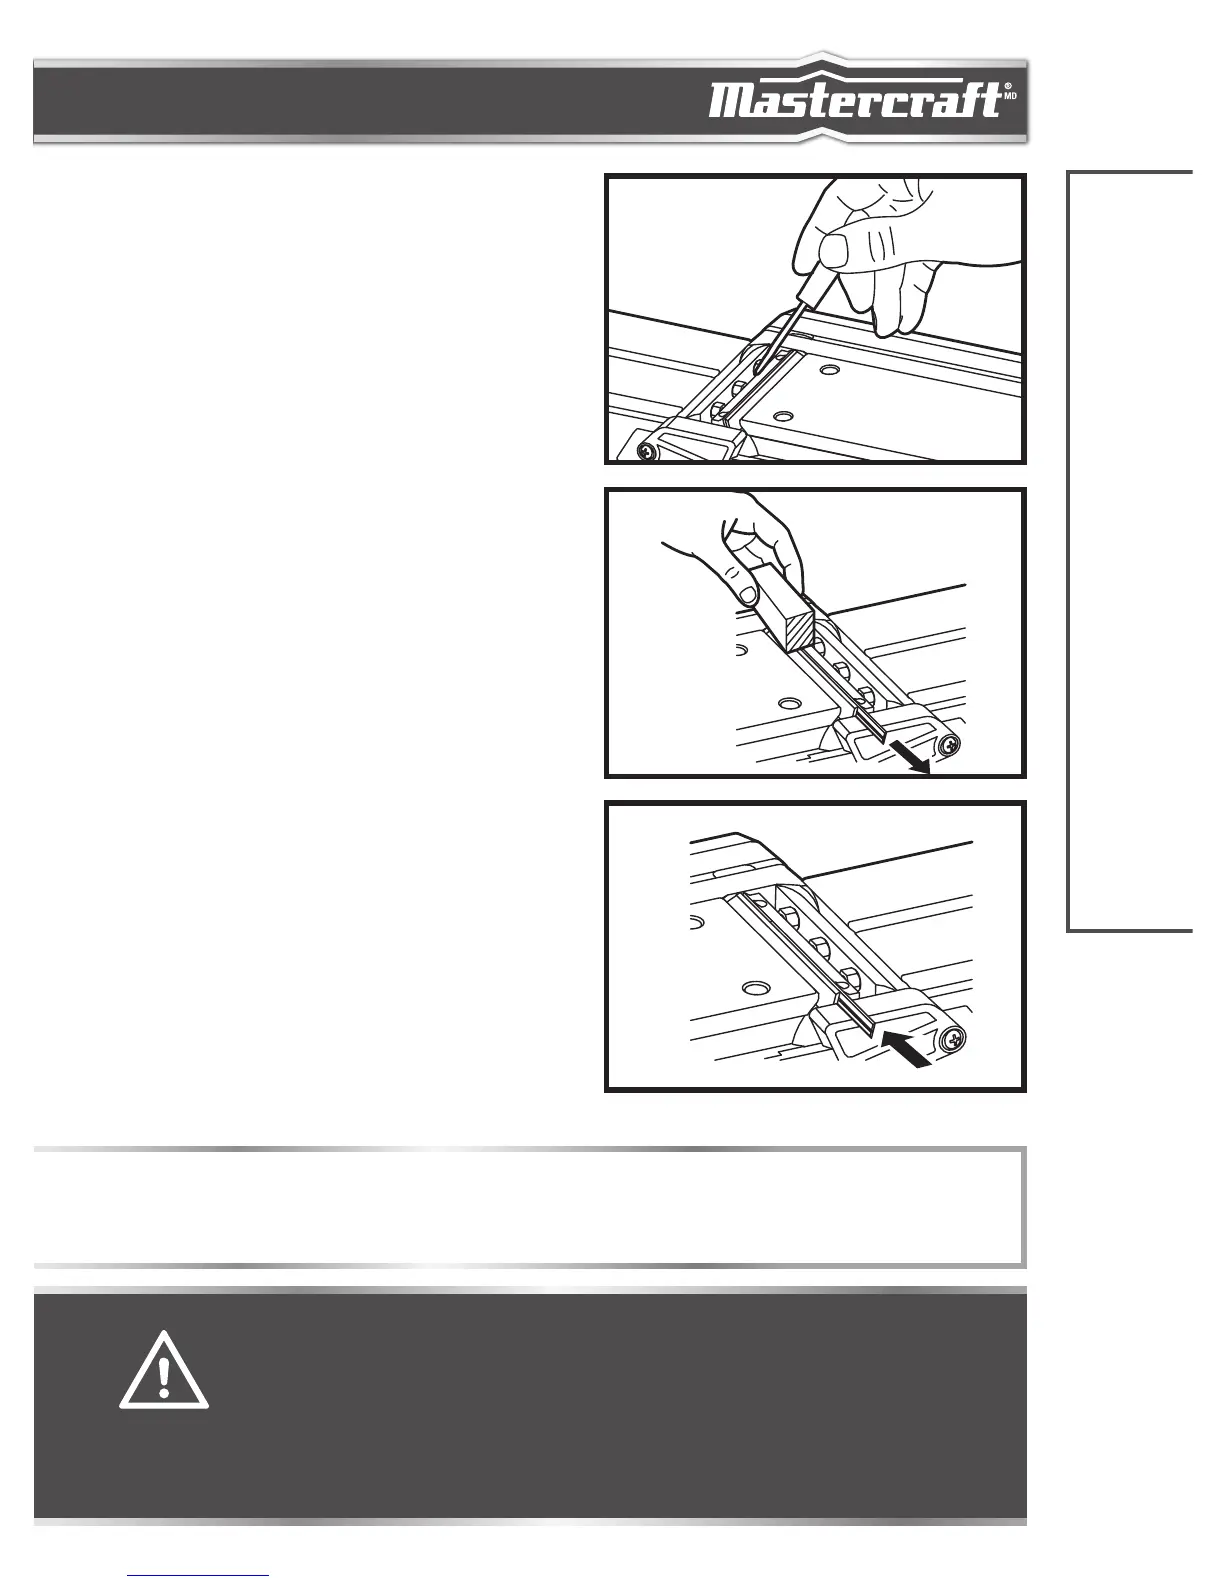
3. Loosen the three clamping screws with the wrench
that is provided (fig 14).
4. Push the blade sideways out of the blade drum.
A piece of wood may be used for this purpose (fig 15).
INSTALLING NEW PLANER BLADES
1. Disconnect the plug from power source.
2. Place the planer upside down on a flat surface.
3. Clean all surfaces before reinstalling the new blade,
as this will ensure an accurate blade setting and
proper tool performance.
4. Slide a new sharp blade into the blade holder of the
clamping element (fig 16). The blade groove must
engage with the blade holder.
5. Tighten the three clamping screws again with the
wrench (provided).
CAUTION!
• When installing blades, first clean out all chips and/or foreign matter adhering to the
blade drum and the clamping element. Use blades of the same dimensions and weight, or
else the drum will oscillate and vibrate, causing poor planing action and tool breakdown.
Tighten the clamping screws carefully when attaching the blades to the planer. A loose
clamping screw could be extremely dangerous. Regularly check and ensure that the
clamping screws are securely tightened.
 Loading...