headline bars
continuation tabs
notes
warnings
headline bars
continuation tabs
notes
warnings
headline bars
continuation tabs
notes
warnings
15
OPERATING INSTRUCTIONS
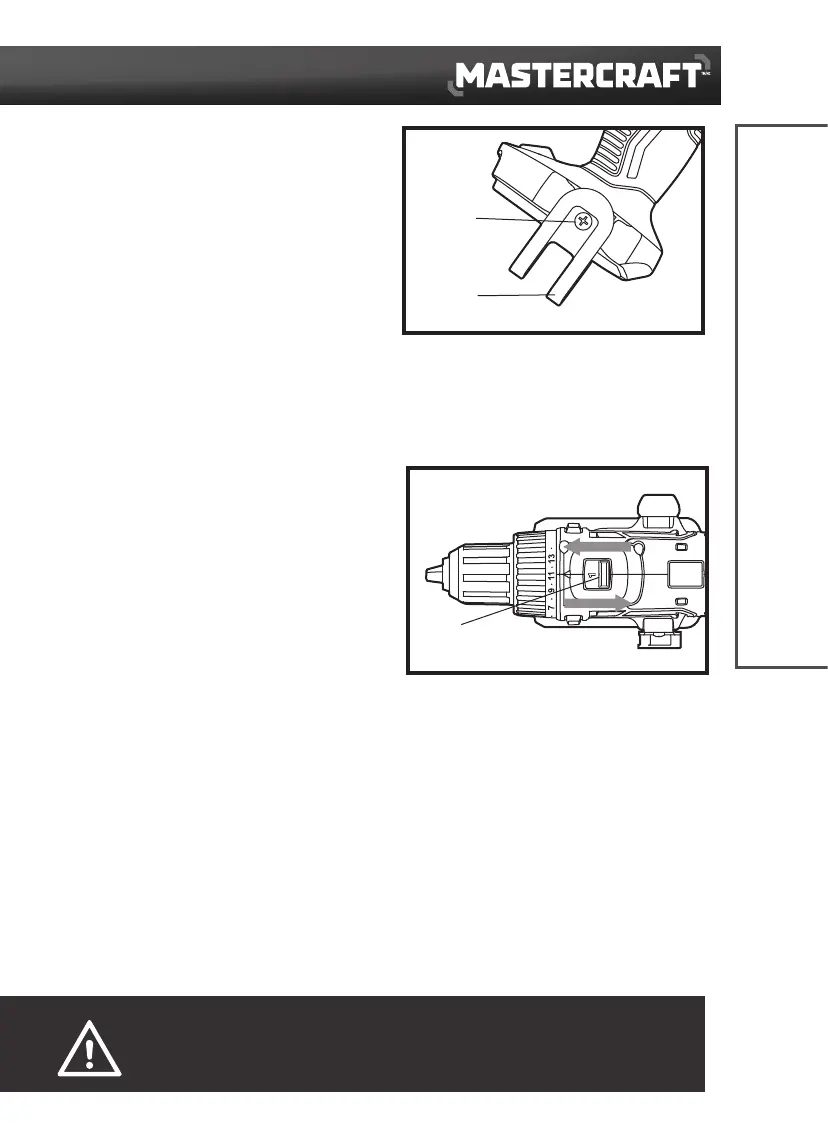
INSTALL THE BELT CLIP
(fig 7
)
1. Remove the battery from the tool.
2. Align the rib of the clip with the hole on the base of
the drill/driver.
3. Insert the screw (included) and tighten the screw
securely with a screwdriver (not included). The belt
clip can be positioned on either side of the tool.
REMOVE THE BELT CLIP
(fig 7)
1. Remove the battery from the tool.
2. Use a screwdriver (not included) to loosen the screw that attaches the
belt clip to the drill/driver.
3. Remove the screw and the belt clip.
TWO-SPEED GEAR BOX
(fig 8)
This drill/driver features a two-speed gearbox that
is designed for drilling or driving at speed “1” (low
speed range) or at speed “2” (high speed range). A
slide switch is located on the top of the cordless drill/
driver to select either low or high speed.
When using the cordless drill/driver in the low speed
range, the cordless drill/ driver will have more power
and torque.
When using the cordless drill/driver in the high speed
range, the cordless drill/ driver will have less power
and torque.
Use low speed for high power and torque applications,
and use high speed for fast drilling applications.
fig 7
Screw
Belt clip
15
fig 8
Slide switch
Low speed
High speed
CAUTION!
• Do not change between low speed and high speed while the tool is running. Failure to obey this caution
could result in serious damage to the cordless drill/driver.
 Loading...