headline bars
continuation tabs
notes
warnings
17
headline bars
continuation tabs
notes
warnings
model no. 054-8258-2 | contact us 1.800.689.9928
16
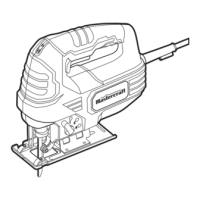
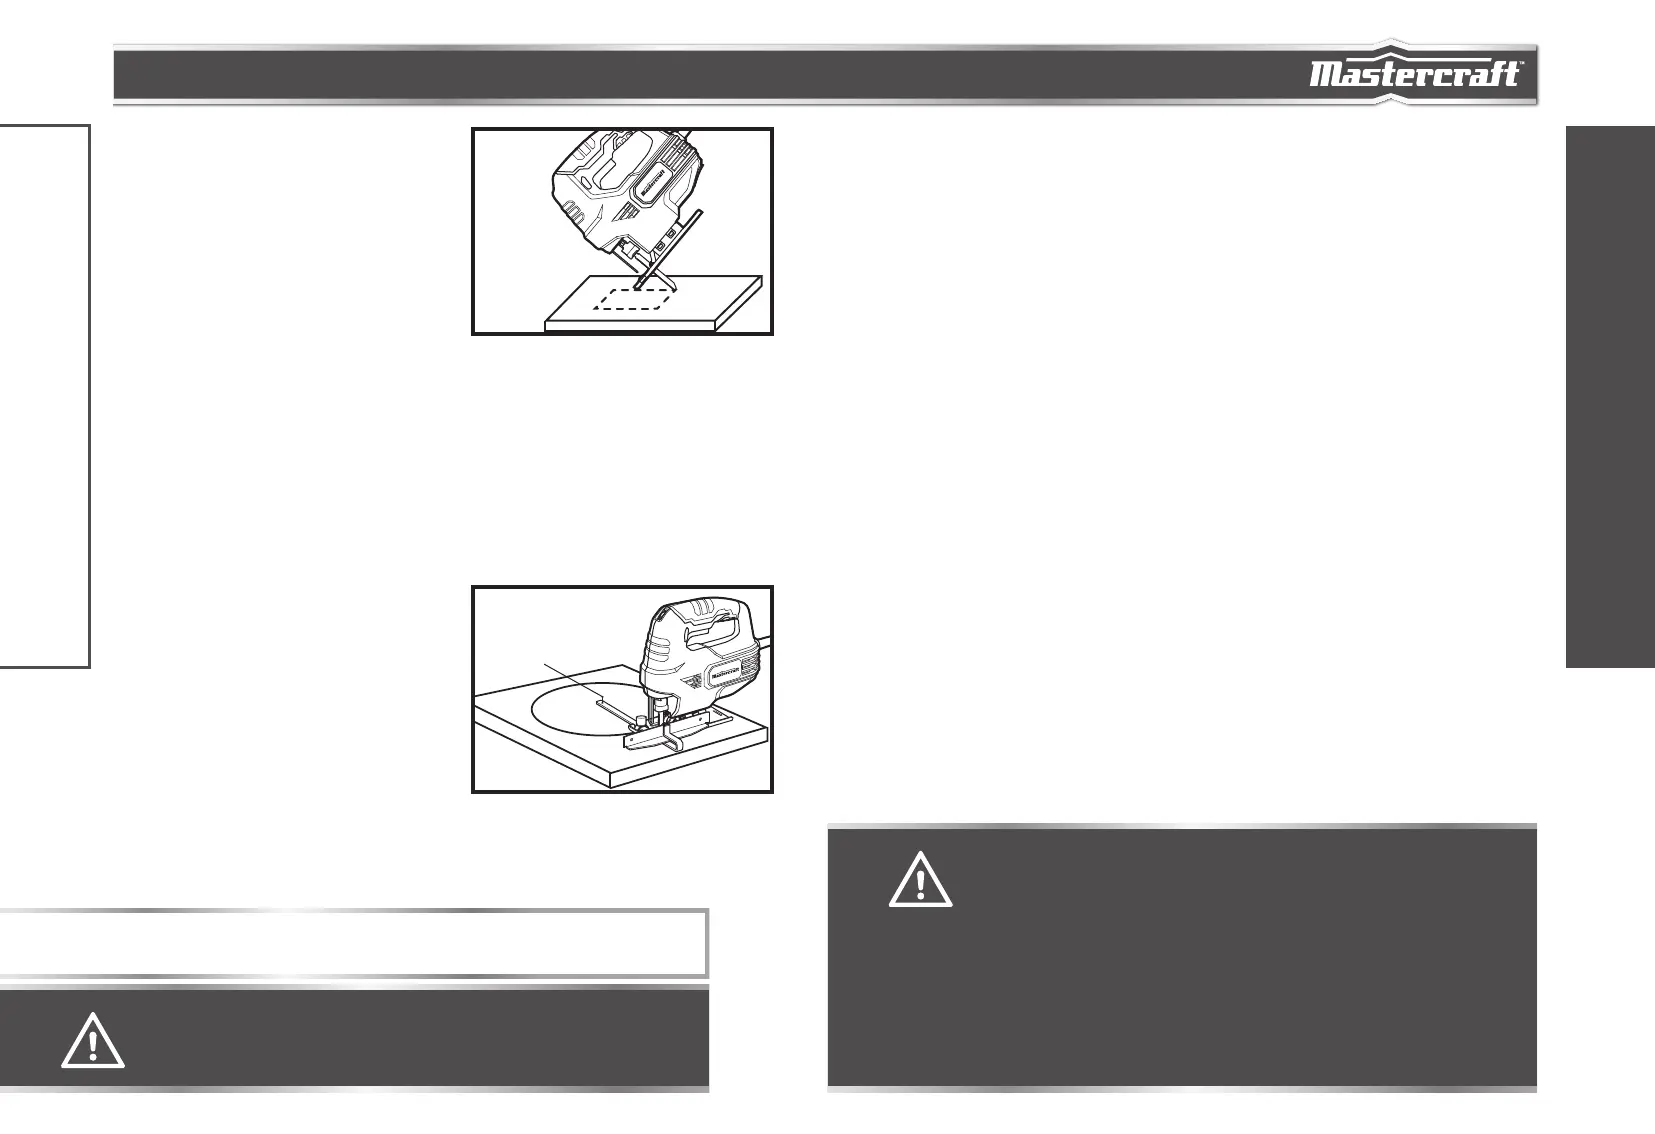
PLUNGE CUTTING
(fig 9)
Plunge cutting is useful and time-saving for making
rough openings in soft materials. It makes it unnecessary
to drill a hole for an inside or pocket cut.
1. Draw cutting lines for the opening.
2. Hold the saw firmly and tilt it forward so the toe of
the shoe plate rests on the workpiece.
3. Make sure that the blade is well clear of the workpiece.
4. With the toe of the shoe plate held firmly against the
workpiece to prevent side wobble, start the saw and then gradually lower the blade into the workpiece.
5. When the blade touches the workpiece, continue pressing down on the toe of the shoe plate.
6. Slowly pivot the saw like a hinge until the blade cuts through the workpiece and the shoe plate rests flat
on the workpiece.
7. Then begin sawing in the usual manner along the cut line.
CUTTING CURVES
Curved cuts can be made with the jigsaw by guiding the direction of the cut with pressure applied on the saw.
CUTTING A CIRCLE
(fig 10)
1. Before attaching the edge guide, draw a circle and
drive a finishing nail into the workpiece at the center
of the circle.
2. Drill or plunge cut near the circle’s edge.
3. Turn the saw off and disconnect the plug from the
power source.
4. Attach the edge guide to the saw with the edge
guide facing “up”.
5. The distance from the finishing nail to the blade
should be equal to the circle radius.
6. Insert the plug into the power source, hold the saw firmly, squeeze the trigger and slowly push the saw
forward. To make a hole, cut from inside the circle. To make wheels or discs, cut from the outside.
MAINTENANCE
BEFORE EACH USE
1. Inspect the jigsaw, the trigger switch, the cord and the accessories for damage.
2. Check for damaged, missing, or worn parts.
3. Check for loose screws, misalignment or binding of moving parts, or any other condition that may affect
the operation.
4. If abnormal vibration or noise occurs, turn the tool off immediately and have the problem corrected before
further use. Unplug the tool from power source before cleaning or performing any maintenance. Using
compressed air may be the most effective cleaning method. Always wear safety goggles when cleaning
tools using compressed air.
MAINTENANCE
OPERATING INSTRUCTIONS
NOTICE: Cut slowly so the blade will stay straight in the cut. Place small wedges in the cut to keep the
inner circle from spreading when near the end of the cut.
WARNING!
• Do not try to plunge cut into hard materials, such as steel.
fig 9
WARNING!
• Do not allow brake fluids, gasoline and petroleum-based products, penetrating oil, etc.
come into contact with plastic parts. These substances contain chemicals that can
damage, weaken, or destroy plastic.
• When servicing, use only identical replacement parts. The use of any other parts may
create a hazard or cause damage to the product.
• Use only accessories that are recommended for this jigsaw by the manufacturer.
Accessories that may be suitable for one tool may become hazardous when used with
another tool.
• Maintain tools with care. Keep cutting tools sharp and clean. Properly maintained
tools with sharp cutting edges are less likely to bind, and are easier to control.
• To ensure safety and reliability, all repairs should be performed by a qualified service
technician.
fig 10
Finishing nail