headline bars
continuation tabs
notes
warnings
headline bars
continuation tabs
notes
warnings
headline bars
continuation tabs
notes
warnings
14
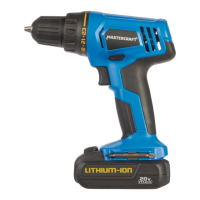
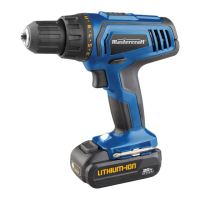
model no. 054-7527-8 | contact us 1-800-689-9928
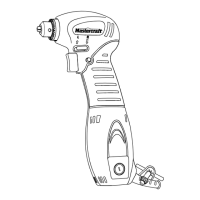
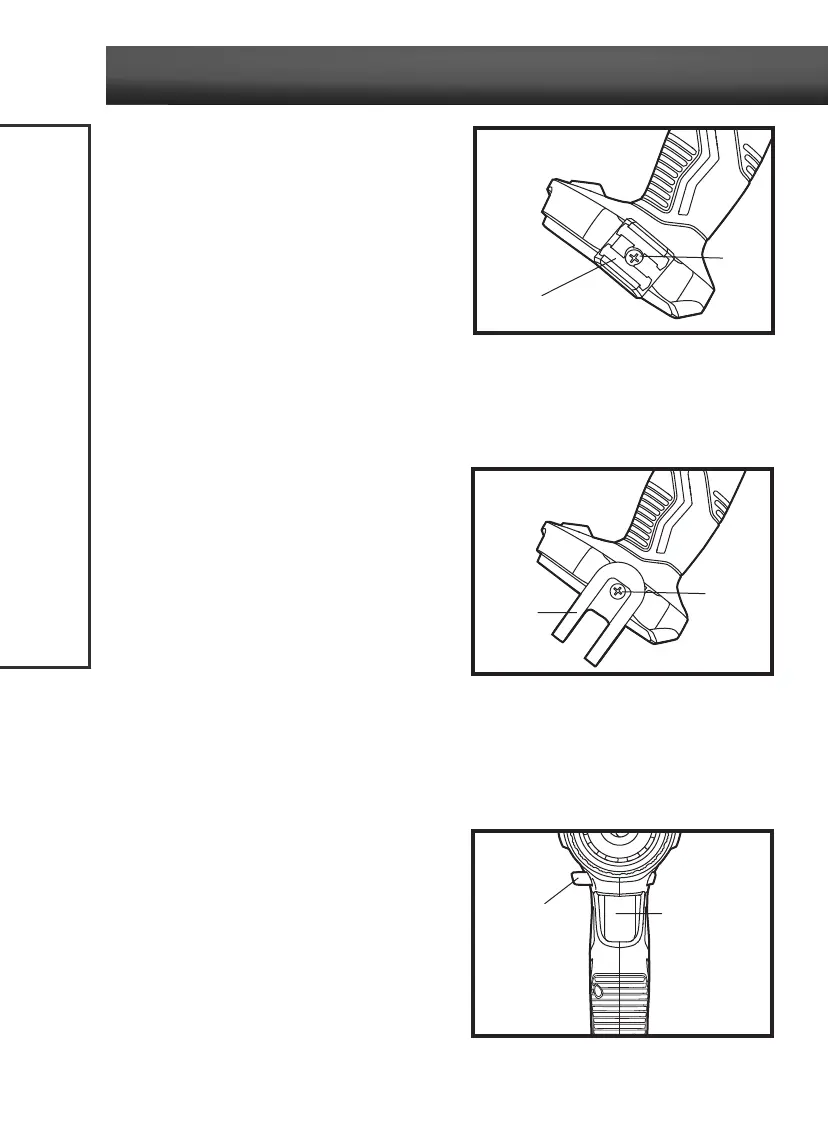
INSTALL THE BIT HOLDER
(fig 4)
1. Remove the battery from the tool.
2. Align the rib of the bit holder with the hole on the
base of the cordless drill/driver.
3. Insert the screw (included) and tighten the screw
securely with a screwdriver (not included). The bit
holder can be positioned on either side of the tool.
REMOVE THE BIT HOLDER
(fig 4)
1. Remove the battery from the tool.
2. Use a screwdriver (not included) to loosen the screw that attaches the bit holder to the cordless
drill/driver.
3. Remove the screw and the bit holder.
INSTALL THE BELT CLIP
(fig 5)
1. Remove the battery from the tool.
2. Align the rib of the clip with the hole on the base
of the cordless drill/driver.
3. Insert the screw (included) and tighten the screw
securely with a screwdriver (not included). The
belt clip can be positioned on either side of the
tool.
REMOVE THE BELT CLIP
(fig 5)
1. Remove the battery from the tool.
2. Use a screwdriver (not included) to loosen the screw that attaches the belt clip to the cordless drill/
driver.
3. Remove the screw and the belt clip.
TRIGGER SWITCH
(fig 6)
To turn the cordless drill/driver on, depress the
variable-speed trigger switch. To turn it off, release
the variable-speed trigger switch.
VARIABLE SPEED
(fig 6)
The variable-speed trigger switch delivers higher
speed with increased trigger pressure and lower
speed with decreased trigger pressure.
OPERATING INSTRUCTIONS
fig 4
Screw
fig 6
Direction-of-
rotation selector
Variable-speed
trigger switch
Bit holder
fig 5
Belt clip
Screw