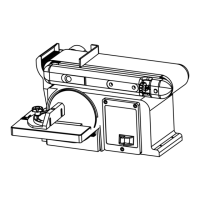
To properly track the sanding belt:
1. Plug in the sander.
2. Turn power switch ON, then immediately OFF, noting whether the belt tends to slide off its
track, and to which side (front or back) of the sander.
3. If the sanding disc did not tend to either side, it is tracking properly.
4. If the sanding belt moves toward the disc (the front side of the sander), turn the tracking knob
clockwise ¼ turn.
5. If the sanding belt moves away from the disc (towards the back side of the sander), turn the
tracking knob counter clockwise ¼ turn.
6. Turn power switch ON, then immediately OFF again, again taking note of any belt movement.
7. Readjust tracking knob another ¼ turn, as necessary.
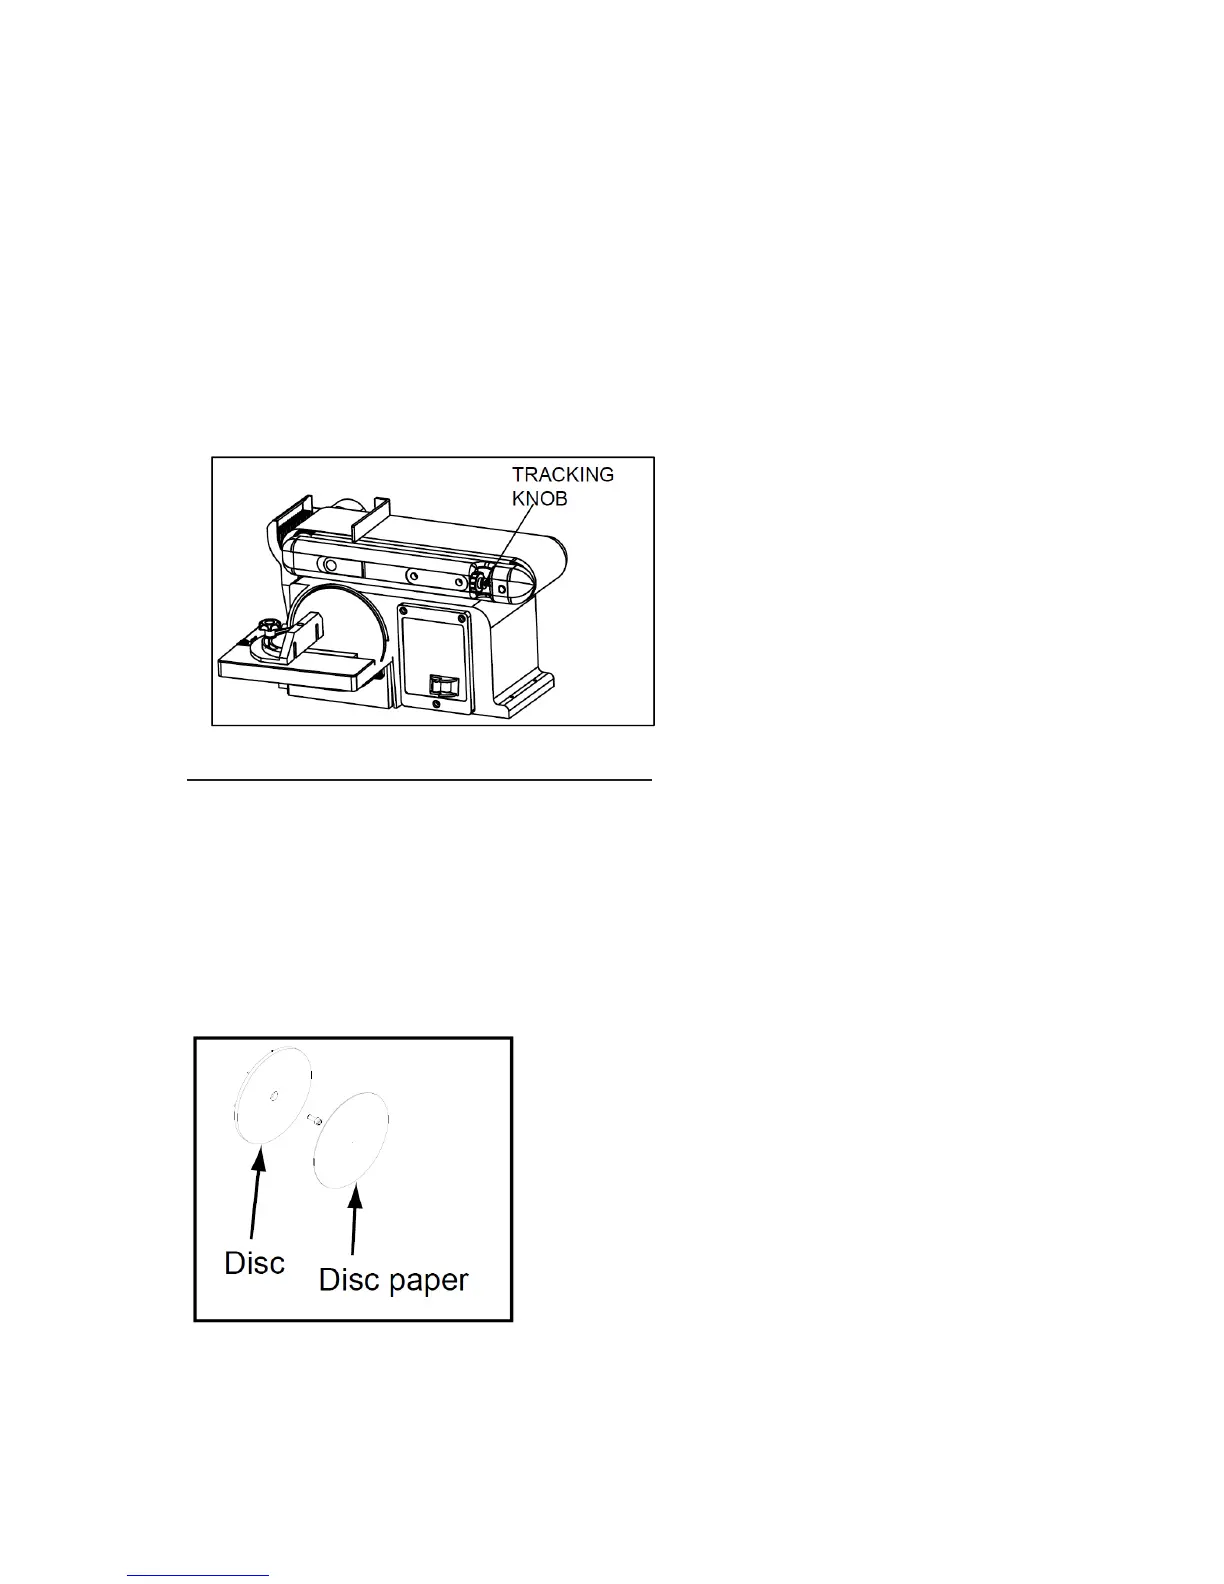
Installing or Changing Accessories – Sanding Discs
WARNING! Turn the power off and remove the plug from the outlet before changing the
accessories.
Note: Hook & Loop sanding discs cannot be used with this type of sander!
Removal:
1. Remove and set aside mitre gauge.
2. Completely remove the disc-sanding table.
Sanding discs are adhered to the plate using a “pressure-sensitive adhesive”. Remove
sanding disc from disc plate.
12
 Loading...