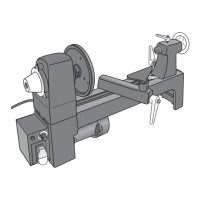
Mounting the lathe on a workbench (Fig. 2)
1. Measure and mark three hole centres in a clear space on the workbench, as shown in
Fig. 2.
2. Drill clearance holes through the workbench. Position the lathe on the workbench.
3. Install the bolts and washers (included in the hardware bag) from underneath the
workbench, and into the tapped holes in the bottom of the lathe frame.
Note: In order to hold the lathe securely, the bolts must extend at least 1" (2.5 cm) into
the frame.
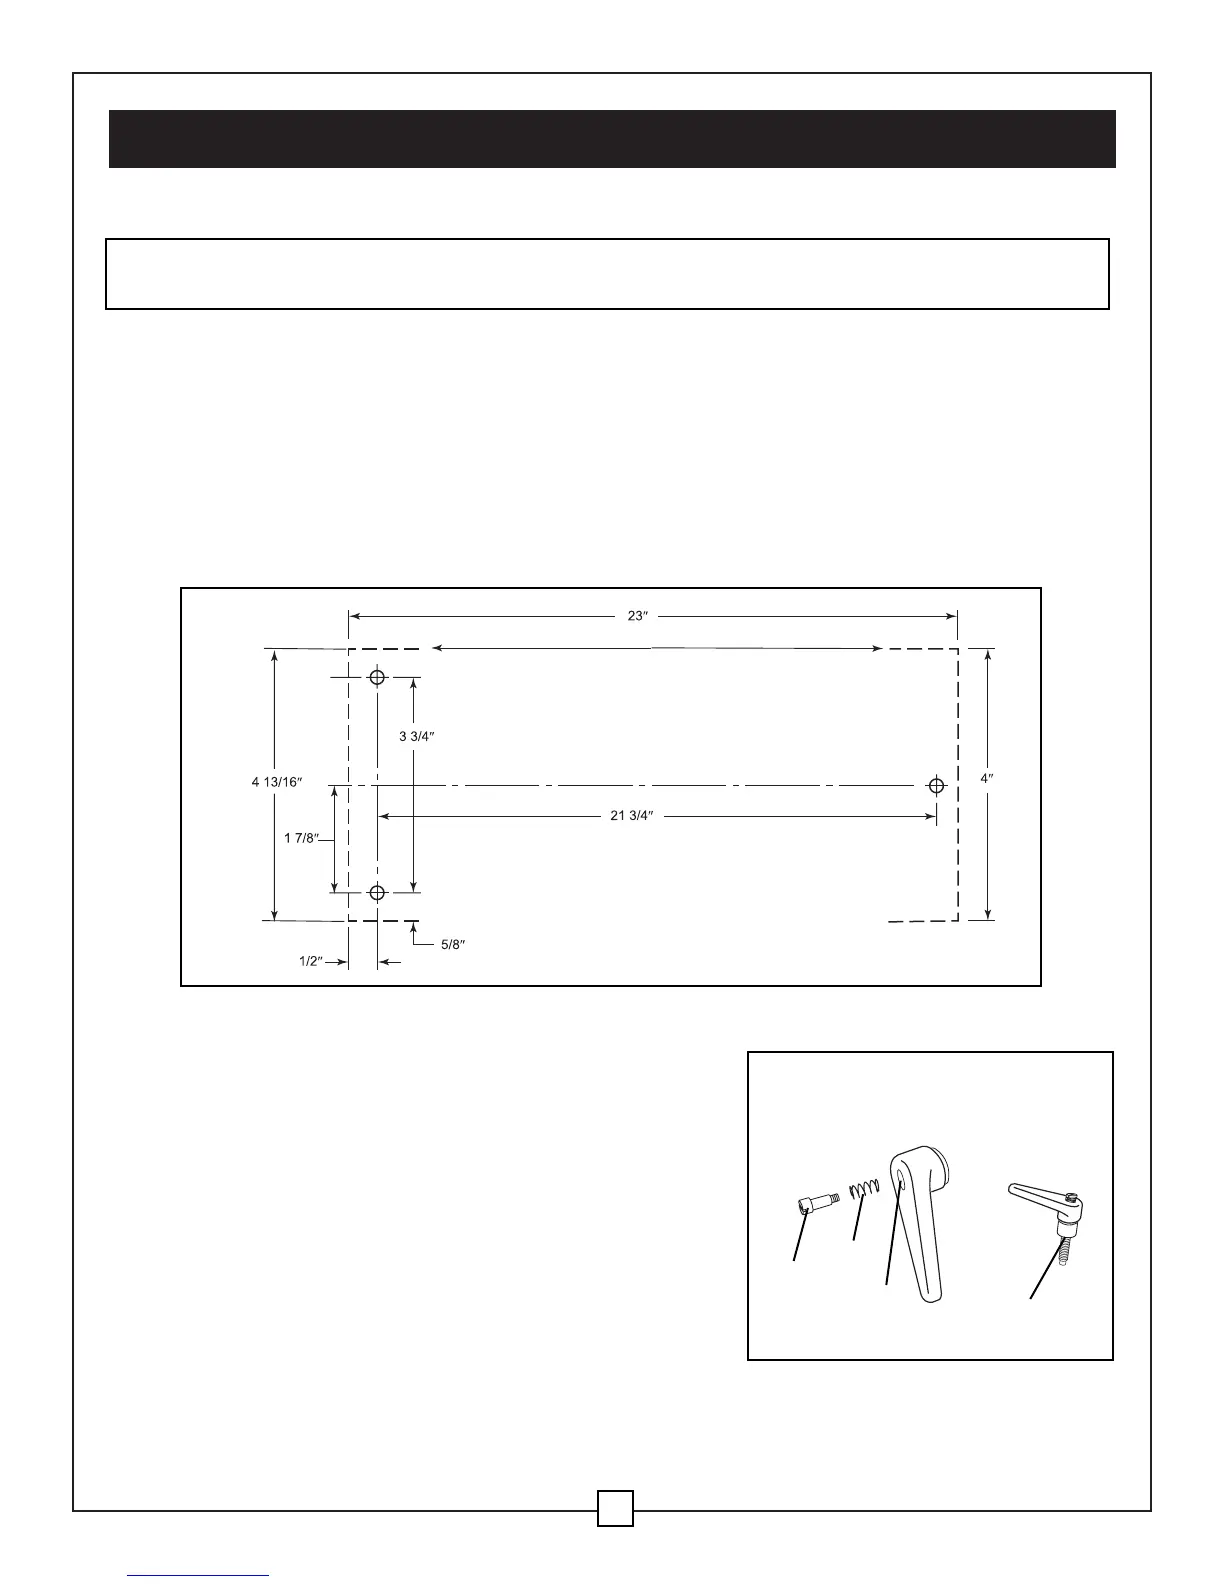
Spring-loaded lock levers (Fig. 3)
The spring-loaded lock levers for the tailstock spindle
and the tool rest are constructed using four pieces.
The shoulder screw (1) passes through the spring (2)
and the handle lever (3) and bolt (4). If either of the lock
levers has come loose from the lathe or has come apart
in shipping, reassemble it and thread into place.
Note: The spring-loaded handles on the lathe are
designed to minimize interference with other parts of the
lathe or the workpiece. Push the handle lever in and turn
clockwise in order to tighten the handle. Pull the handle
lever out in order to disengage the threaded shaft, which
allows the lever handle to be repositioned so that it is out of the way.
VI. Assembly and Adjustment Instructions (continued)
10
WARNING: THE LATHE MUST BE BOLTED TO A WORKBENCH. OPERATING A LATHE
THAT IS NOT BOLTED DOWN MAY RESULT IN SERIOUS INJURY.
Fig. 2
Fig. 3
1
2
3
4
 Loading...