Caution
Using “Porridge” Program - You can use the ‘Custom’ key to
select your cooking duration. For a mixture of various grains,
please choose the ‘More’ duration. Stir the porridge before
serving. Please note, after the program has ended, do not
‘Quick Release’ the pressure, otherwise porridge will block
the stream release. Please use the ‘Natural Release’ method
instead.
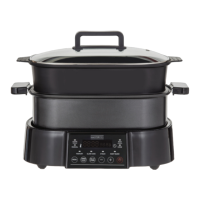
Using “Steam” Program - You can steam both vegetables and
seafood with this function, or you can use it to preheat food.
Using 1-2 cups (160ml) of water is sufficient for steaming fresh
or frozen vegetable, with 1-2 minutes of pressure keeping
time. Please use ‘+’ or ‘-’ keys to change the steam time.
Use the steam rack to elevate food above the water, or you may
burn food in direct contact with the bottom of the inner pot.
Alternatively, use a metal basket or (oven safe) glass/ceramic
container that fits into the inner pot to contain the food. When
steaming vegetables and seafood, please use the ‘Quick
Release’ function to release the steam as soon as the cooking
time has ended.
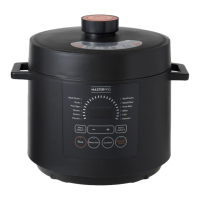
PRESSURE COOKING
1. Follow steps in the ‘Cooking Preparation’ section of this
manual.
2. Connect the power cord. The LED display shows ‘000’
indicating that it’s in a standby state.
3. Select your desired cooking function, e.g., ‘Rice’. Once a
function key is pressed, its indicator lights up.
Within 5 seconds after pressing a function key, you can still
select any other function key and adjust your cooking duration.
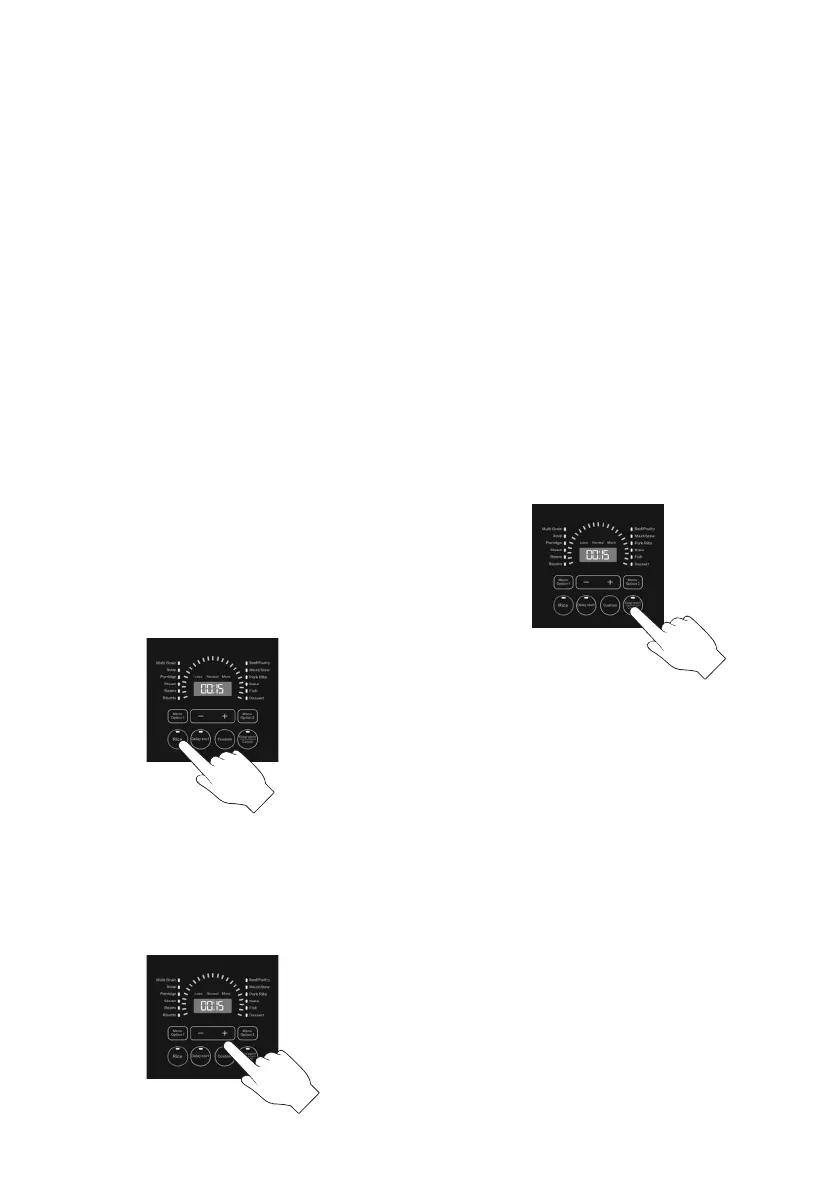
4. Select your cooking time.
You may use the ‘Custom’ key to adjust your cooking duration.
Press the ‘Custom’ key repeatedly to change between ‘Less’,
‘Normal’ and ‘More’ modes which will light up on the display.
If necessary, change the cooking time with the ‘+’ and ‘-’
functions.
5. Cooking starts automatically in 5 seconds after the last key
is pressed.
In the standby state, press any function such as ‘Rice’. The
selected function begins after 5 seconds – when a light
appears on the function button, the appliance is in a working
state. The top display screen shows the time remaining to
cook.
As the pressure increases inside the appliance, it is perfectly
normal for traces of steam to escape from the float valve until
it pops up.
The cooking time counts down to indicate the remaining time
in minutes. During this pressurised state, you should not see
any steam gushing out of the lid. However, from time to time,
you may see a small smoke effect coming from the steam
release handle and occasionally a little sputtering. This is
perfectly normal.
At any time, you can cancel the cooking program in progress by
pressing the ‘Keep Warm/Cancel’ key.
6. When the pressure cooking cycle finishes, the appliance
beeps and automatically goes into the ‘Keep Warm’ cycle,
called ‘Auto Keep Warm Cycle’. The LED display shows a ‘bb’ to
indicate the appliance is in the ‘Keep Warm’ cycle.
It is not recommended to leave cooked rice in the ‘Keep Warm’
state for too long as it may affect the texture or taste of
the food.
7. To serve the food, press ‘Keep Warm/Cancel’ to stop the
keep warm cycle and open the lid according to the ‘Safe Lid
Opening’ section of this manual.
When opening the lid, the inner pot may appear to be stuck on
the lid by vacuum. This is caused by contraction of air due to
cooling. Please press the steam release button on the handle
for ‘Venting’ to let air in which releases the vacuum.
Delayed Cooking with Timer
Your appliance has a timer function to delay the start of
cooking for 24 hours. The ‘Timer’ function does not apply to
the ‘Keep Warm’ function. The following steps show you how to
program your delayed cooking.
1. Press the ‘Delay Start’ key to set the minutes to be delayed.
Use ‘+’ and ‘-’ to set the delayed time and then press your
desired function key.
2. Follow steps in the previous ‘Pressure Cooking’ sections to
set a cooking program.
3.To cancel the ‘Delay Start’ operation, press the ‘Keep Warm/
Cancel’ key at any time.
4. Your appliance will start cooking when the delay timer
counts down to ‘0’. After cooking, the appliance will enter the
automatic ‘Keep Warm’ cycle.
Please Note: We highly discourage using the ‘Delayed Cooking’
6
 Loading...