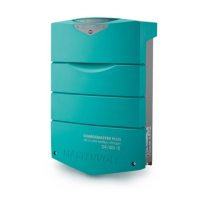
Installation manual ChargeMaster 1
8
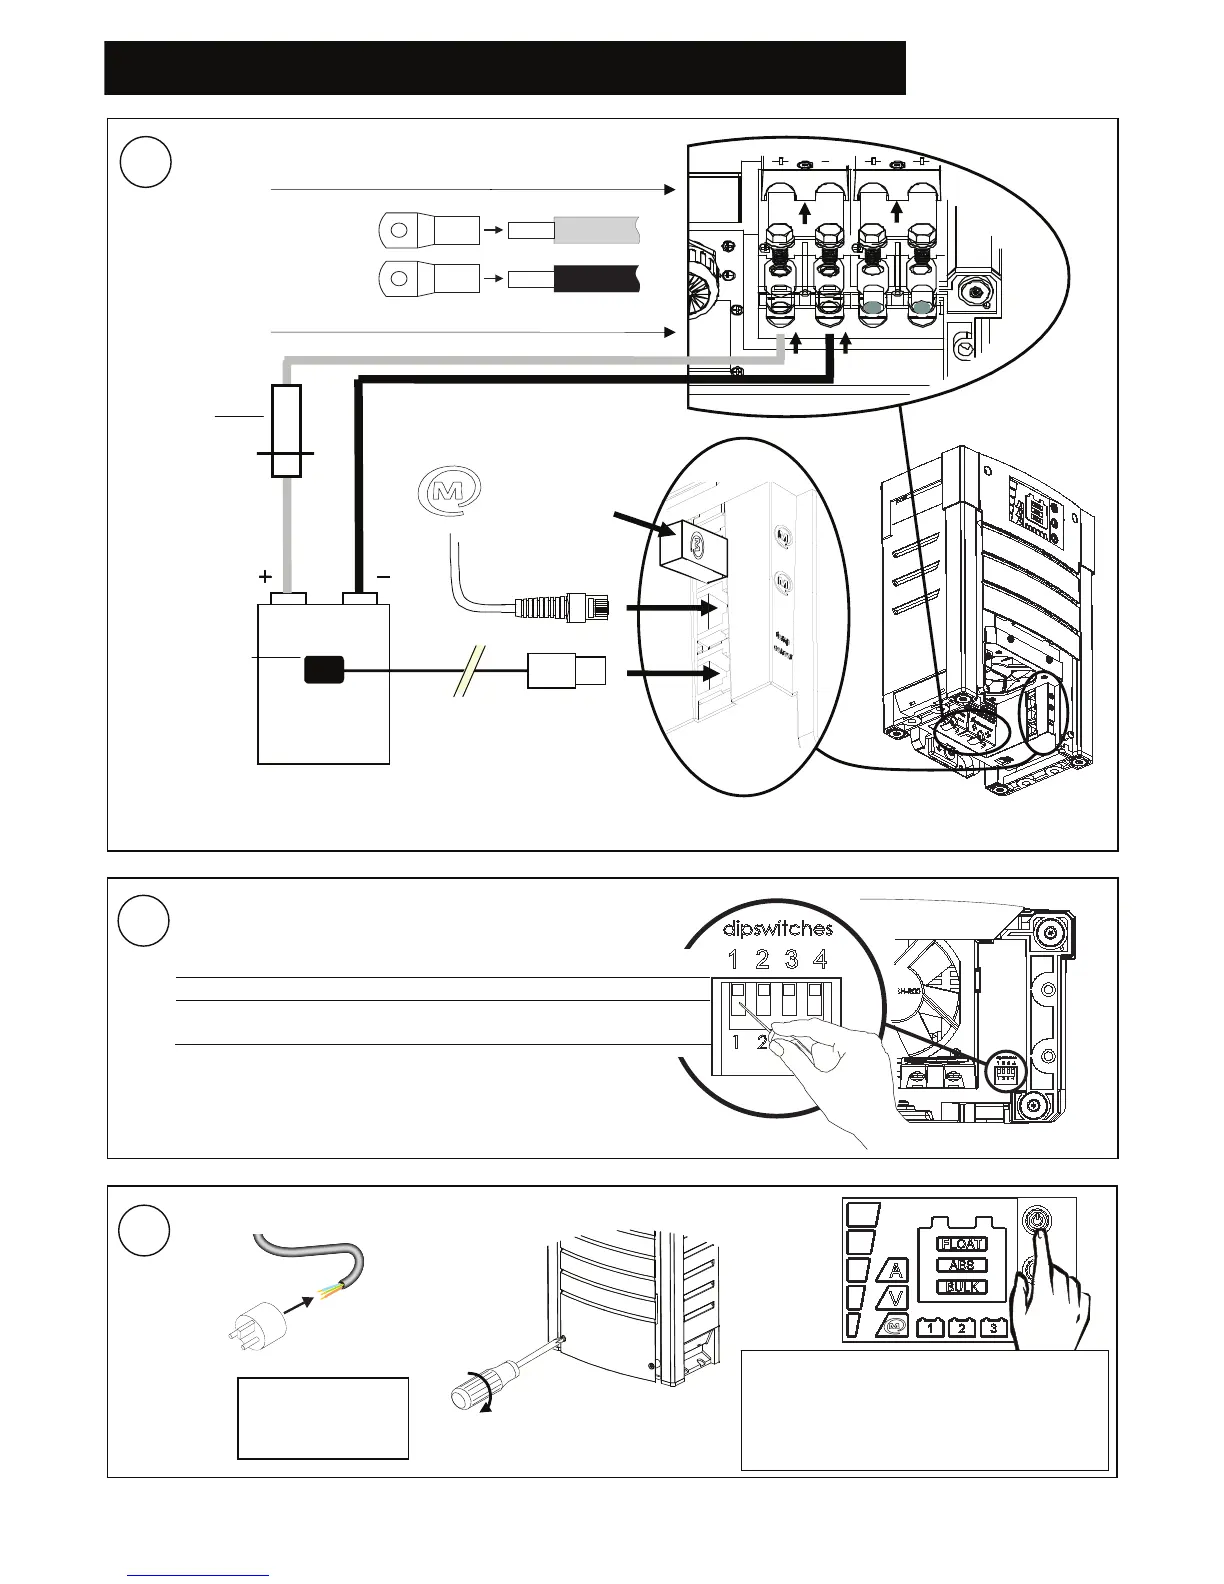
Check all wiring;
see step 6 for
wiring details.
Hold POWER pressed for 3 seconds to
switch On the charger.
POWER LED green = on, red = standby.
If a failure occurs, refer to the user’s
manual for error codes.
b
c
d
See user’s manual section 5.1 for Dip switch 3 and 4 settings.
Switch 1 Switch 2
Wet battery 3step+ charging Off
AGM, Gel, Spiral battery Constant voltage charging
(Float = 13.25/26.5V)
On
7
Change the Dipswitch settings if necessary.
Step 4 show
s wire cross sections and fuse ratings.
6
Battery
fuse
Battery
temperature
sensor
MasterBus
terminator
MasterBus
cable
 Loading...