Follow these steps to replace this part.
1. Remove the Console from the Frame.
2. Remove the Console Frame from the Console.
3. Detailed replacement instructions are under development.
4. Install the Console Frame into the Console.
5. Install the Console on the Frame.
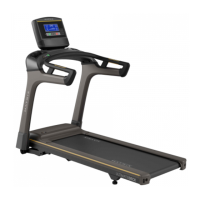
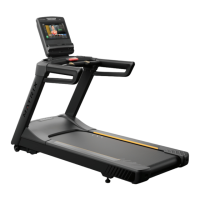
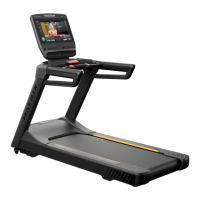
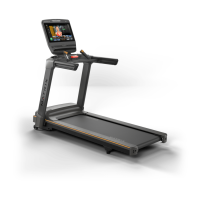
TouchXL reference: W41
Touch reference: Not installed
Console photo index: 16a (TouchXL)
Touch Panel
The touch input panel is permanently affixed to the console outer plastic ‘shell’. Replacing the schell &
touch panel requires near-complete console disassembly and should only be undertaken by someone
comfortable with electronics repair.
The method detailed here leaves many connections intact, removing the display bracket with most
cables and the boards that connect to it attached. All parts of the failed console will be transferred and
reused – fan vent, reading rack, earphone port, etc.
Recommended to take pictures of cable routing before disassembly. Taping cable bundles together may
be helpful. All hardware and parts will be reused when reassembling the console, except when noted
otherwise.
Follow these steps to replace this part.
1. Remove the Console from the Frame.
2. Remove the Console Frame from the Console.
3. Touch only: Remove the UCB.
4. Remove 2 #1 Phillips screws from fan vent.
5. Remove 2 #1 Phillips screws from RFID antenna bracket.
• Pull up tape securing antenna wire to console panel.
6. TouchXL only: Remove RFID antenna from UCB connector CN13.
7. TouchXL only: Remove 1 #2 Phillips from Wi-Fi board in UCB socket CN5.
• Board will tilt upwards, pull away in line with the Wi-Fi board.
• Leaving Antenna wires connected, flip board out of the way.
8. Remove both Wi-Fi antenna – release the tab and carefully lift out of console panel.
• Wi-Fi board was detached from UCB during UCB Removal – pull up tape securing
antenna wires to console panel.
9. Clip all zip ties securing cables to console panel.
• Only zip ties securing cables to the panel must be cut; zip ties on the display can remain.
• If a zip tie mount is screwed on to the panel, unscrew it with the appropriate tool.
10. Clip zip tie securing headphone cable to headphone port board; disconnect the headphone
cable from the board.
11. Remove 3 #1 Phillips screws fixing ANT+/HR board.
12. Remove 2 #1 Phillips screws fixing Console Proximity Sensor bracket.
13. Remove 2 #1 Phillips screw fixing Energy Saver LED.
14. Remove 2 #1 Phillips screws fixing Front USB port.