17
Transcoding for Blu-ray Disc authoring in Adobe Encore
progressively, such as an LCD or computer monitor. (This option won’t be
present if you’re transcoding to an interlaced format or your source video
is progressive.)
$ Maintain aspect ratio when scaling Select this option if you’re
scaling your source video for transcoding, and you want to maintain your
source video’s aspect ratio. Your source video will be transcoded as
pillarbox video when transcoding SD video to HD for Blu-ray Disc
authoring. If this option is not selected, scaled video that doesn’t match
the specified aspect ratio will be transcoded as anamorphic video.
$ Use Matrox MAX hardware scaler When scaling your source video
for transcoding to HD for Blu-ray Disc, it’s recommended that you select
this option to use the Matrox MAX hardware scaler to perform the
scaling.
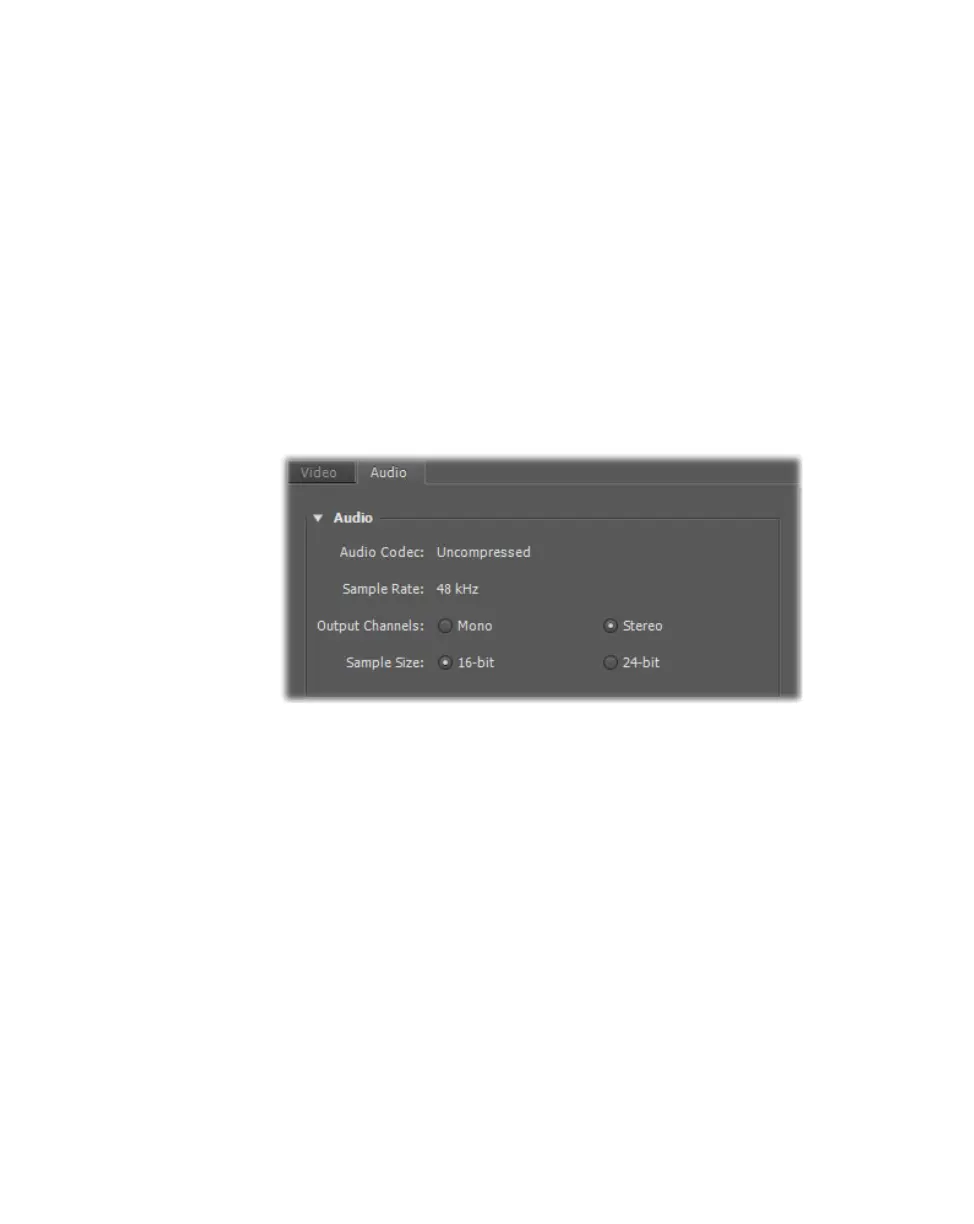
7 Click the Audio tab to display the settings for your transcoded audio.
8 Under Audio, you can customize the settings that you want for your
transcoded audio:
$ Audio Codec This is set to Uncompressed.
$ Sample Rate This is set to 48 kHz.
$ Output Channels Specifies the audio channels to be transcoded.
¦NoteWhen transcoding audio from an Adobe Premiere Pro sequence to
Matrox H.264 format for Blu-ray Disc authoring, the available output channels
depend on the type of audio tracks being transcoded. For example, you can
select
Surround 5.1 to transcode 5.1 surround tracks.
$ Sample Size You can select 16-bit or 24-bit.
9 Click OK to save your settings. If you changed any of the preset settings,
you’ll be prompted to name the preset.
10 Right-click the clip or sequence that you want to transcode in the Project
panel, and choose
Transcode Now to start the transcoding.