Do you have a question about the Maxi-Cosi Mico AP and is the answer not in the manual?
Expresses gratitude for choosing the product and highlights brand commitment to comfort and convenience.
Details product registration for safety recalls and provides NHTSA contact information for safety updates.
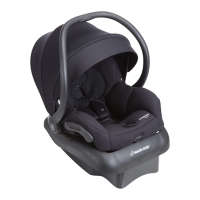
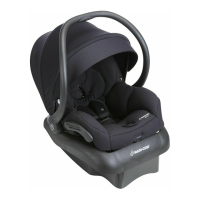
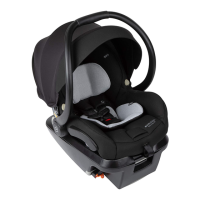
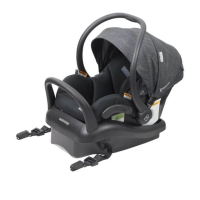
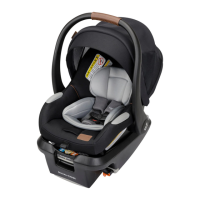
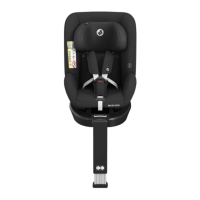
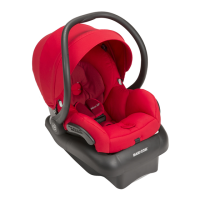
Identifies and labels all parts of the infant car seat and its harness system for user comprehension.
Provides critical safety advice on placing the child restraint, especially regarding airbags and seating positions.
Emphasizes checking vehicle belts or LATCH belts for proper tightening and security before each use.
Outlines essential usage rules, weight limits, and hazards like leaving a child unattended or using damaged parts.
Step-by-step instructions for detaching and attaching the child restraint carrier to its base unit.
Explains how to adjust the recline position of the base for optimal fit and comfort.
Details how to use the carrier, including adjusting the handle and important safety warnings for its use.
Specifies the weight and height limits for rear-facing use and clarifies when not to use the restraint.
Guides users through adjusting harness height, buckle position, and placing the child correctly.
Provides detailed instructions on how to properly buckle and tighten the harness and chest clip for the child.
Outlines the procedure for loosening the harness, releasing the chest clip, and unbuckling the child.
Details how to detach harness straps from the splitter plate and chest clip for cleaning purposes.
Explains how to remove the seat pad and canopy for cleaning, with instructions on reassembly.
Provides steps for correctly installing the canopy by checking hoop angle and attaching it to the shell.
Guides on rethreading harness straps through buckle tongues, chest clip, and splitter plate.
Describes the infant insert and harness covers, including how to install, adjust, and remove them.
Advises consulting the vehicle owner's manual for identifying specific features like seat belts, LATCH anchors, and airbags.
Discusses safe seating positions in the vehicle and advises checking the owner's manual for specific recommendations.
Explains the LATCH system and when to choose it over vehicle seat belts for installation.
Guides users to consult their vehicle manual to understand seat belt types and compatibility with the child restraint.
Details how and when to use a locking clip for securing the child restraint if the vehicle belt lacks a built-in locking system.
States the restraint is certified for aircraft use and provides guidance for installation on aircraft seats.
Instructs on how to properly store the LATCH system connectors when they are not in use.
Illustrates rear-facing installation using the base with either LATCH or vehicle lap/shoulder belts.
Details how to unhook LATCH connectors from storage and thread the LATCH belt through the correct path.
Provides step-by-step instructions for connecting the base to vehicle LATCH anchors and tightening the belt.
Guides users on storing LATCH belts and installing the base using vehicle lap or lap/shoulder belts.
Explains how to install the child restraint rear-facing directly with vehicle belts, without using the base.
Details the process of threading the vehicle belt through the restraint's path and tightening it for rear-facing installation.
Outlines the product warranty against defects, limitations, and how to make a claim.
Provides instructions and a form for ordering replacement parts, including required information and payment details.
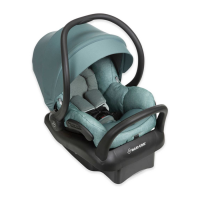
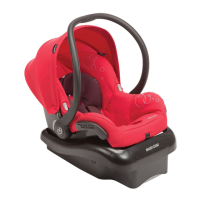
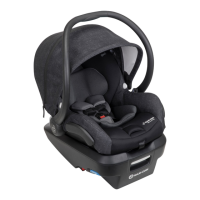
| Product Category | Infant Car Seat |
|---|---|
| Brand | Maxi-Cosi |
| Model | Mico AP |
| Height Capacity | up to 29 inches |
| Base | Included |
| Installation | LATCH or seat belt |
| Safety Features | Side-impact protection, 5-point harness |
| Harness | 5-point harness |
| Additional Features | machine washable fabrics |
| Compatibility | Compatible with many Maxi-Cosi and other strollers (adapter may be required) |