MAINTENANCE
NOTICE
5. Wash the foam air filter element by submerging
the element in a solution of household detergent
soap and warm water. Slowly squeeze the foam
to thoroughly clean.
NEVER twist or tear the foam air filter element
during cleaning or drying. Only apply slow but
firm squeezing action.
6. Rinse in clean water by submerging the air filter
element in fresh water and applying a slow
squeezing action (see Figure 18).
Figure 18
NOTICE
NOTICE
Never dispose of soap cleaning solution used to
clean the air filter by dumping the solution into
a sewer, on the ground, or into ground water or
waterways. Always be environmentally
responsible. Follow the guidelines or other
governmental agencies for proper disposal of
hazardous materials. Consult local authorities
or reclamation facility.
7. Dispose of used soap cleaning solution properly.
8. Dry the air filter element by again applying a
slow firm squeezing action.
9. Return the air filter element to its position in the
air cleaner housing.
10. Install the air cleaner cover, making sure the
tabs lock into place.
11. Install the engine service panel.
DRAINING THE FLOAT BOWL
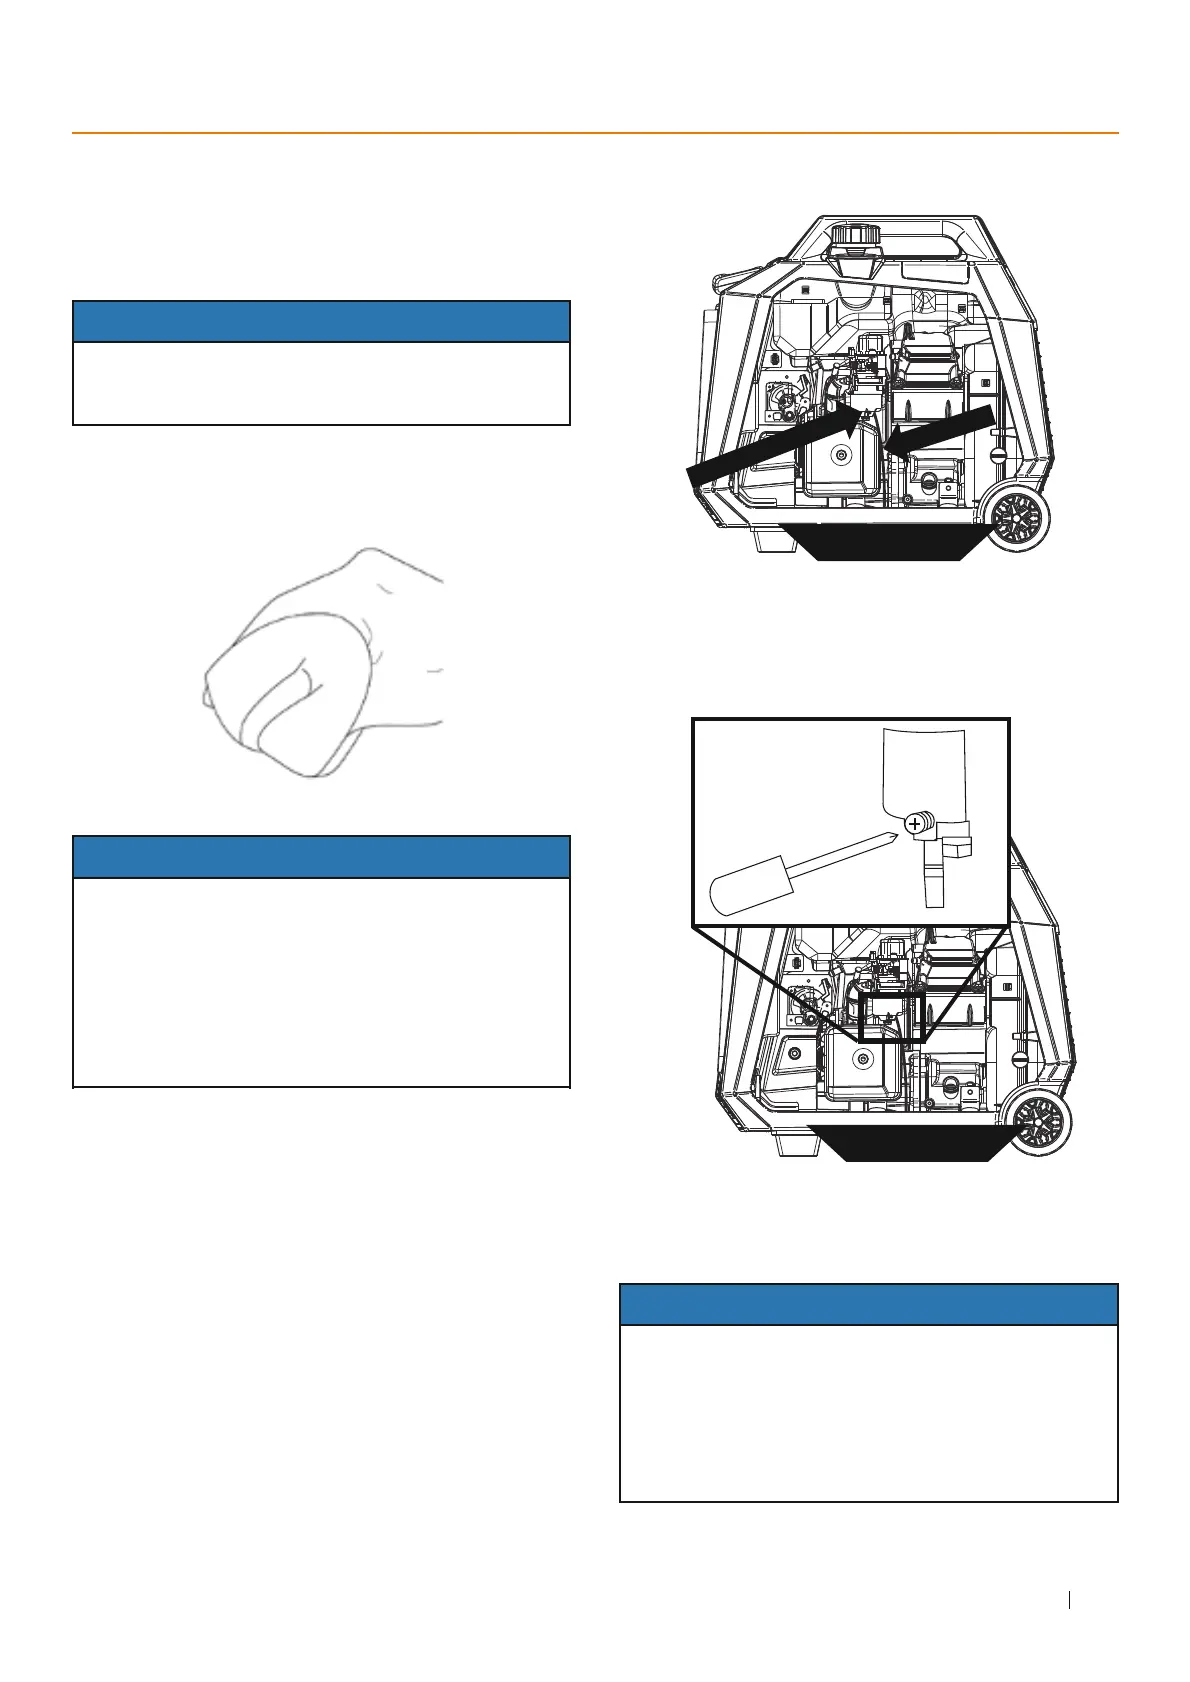
1. Remove the engine service panel to access the
carburetor.
2. Locate the clear plastic hose from the float that
is exiting out the bottom of the inverter, and
place a suitable container under it to catch the
drained fuel (see Figure 19).
Figure 19: Fuel drain hose
3. Loosen the float bowl drain screw (see Figure 20)
until fuel is seen draining from the float bowl.
Figure 20: Loosen float bowl screw
4. Allow fuel to drain into the container, and then
tighten the float bowl drain screw.
Never dispose of fuel by dumping fuel into a
sewer, on the ground, or into groundwater or
waterways. Always be environmentally
responsible. Follow the guidelines or other
governmental agencies for proper disposal of
hazardous materials. Consult local authorities
or reclamation facility.
5. Install the engine service panel.
19
MAXPEEDINGRODS
fuel pan
Fuel Drain Hose
Fioat Bowl Drain Screw
fuel pan