Page 10
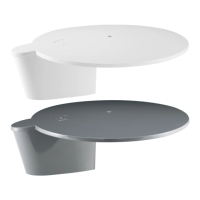
Installing Cable Entry Cover
1. Plan your installation carefully
2. Drill a 32mmø hole in roof
3. Prepare surface for adhesion
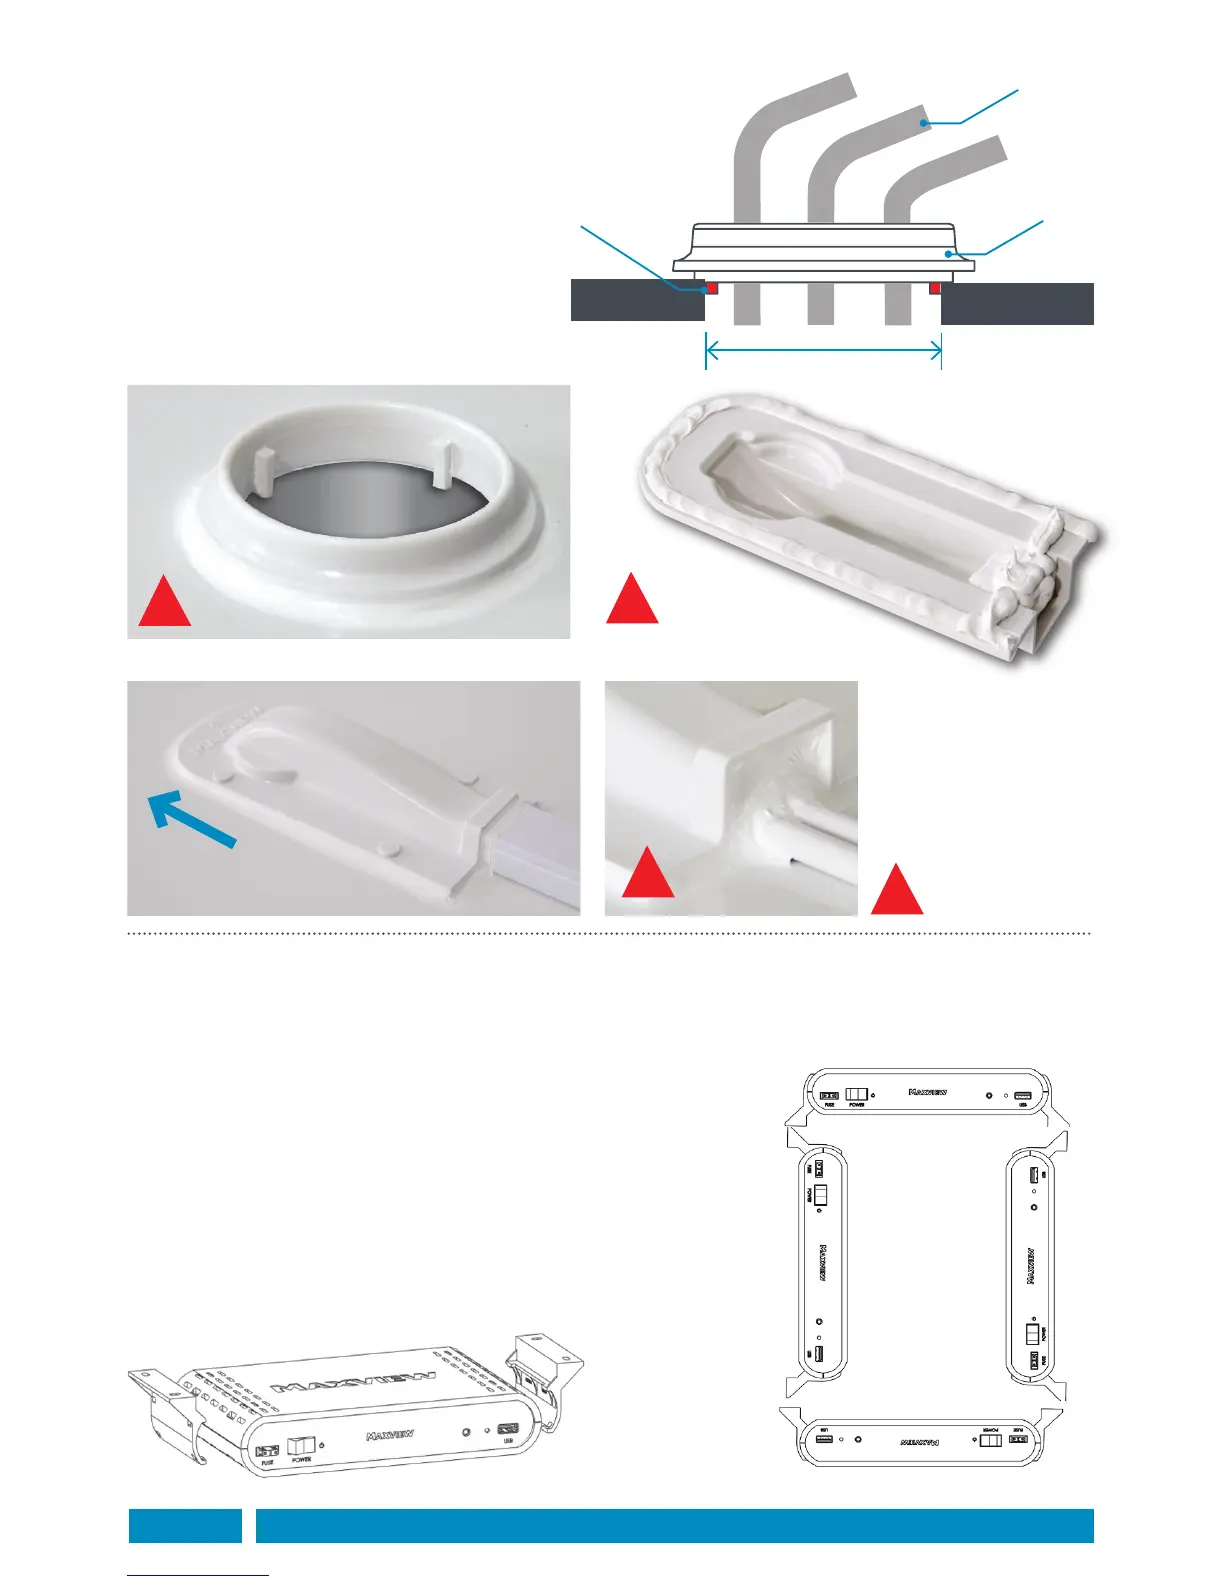
4. Apply sealant as shown in A,B,C
(we recommend Sikaflex-512 Caravan)*
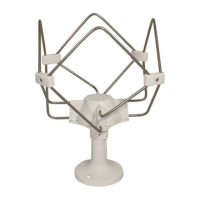
5. Position top hat
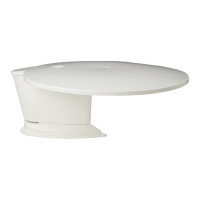
6. Position cable entry cover
7. Wipe excess sealant with a dry cloth
Applying sealant example:
Installing Control Box
Having previously chosen a suitable location
1. Clip the mounting brackets onto the Control Box.
2. Place Control Box on the horizontal or vertical surface and mark the 4 holes.
3. Depending on material drill a pilot hole or use a bradawl.
4. Attach cables to Control Box refer to page 11 for details.
5. Screw control box into position using 4 x No. 6 Screws.
Mounting positions:
Position the Control Box in one of the 4 ways shown left.
Make sure that the front is easily accessible.
Fitting the Control Box Brackets:
The brackets snap fit to the Control Box casing
!
!
!
= Generously apply
wet seal adhesive
!
Vehicle roof
Top hat
Hole location
tabs
Cable
32mm ø
A B
C
Direction of travel
(front of vehicle)