Model 50613 / 50620 Page 7
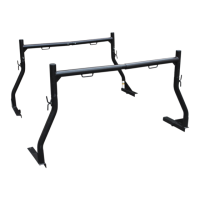
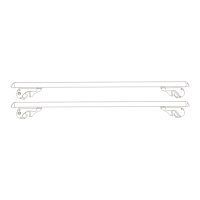
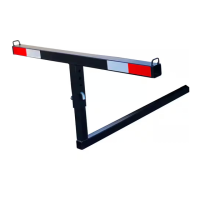
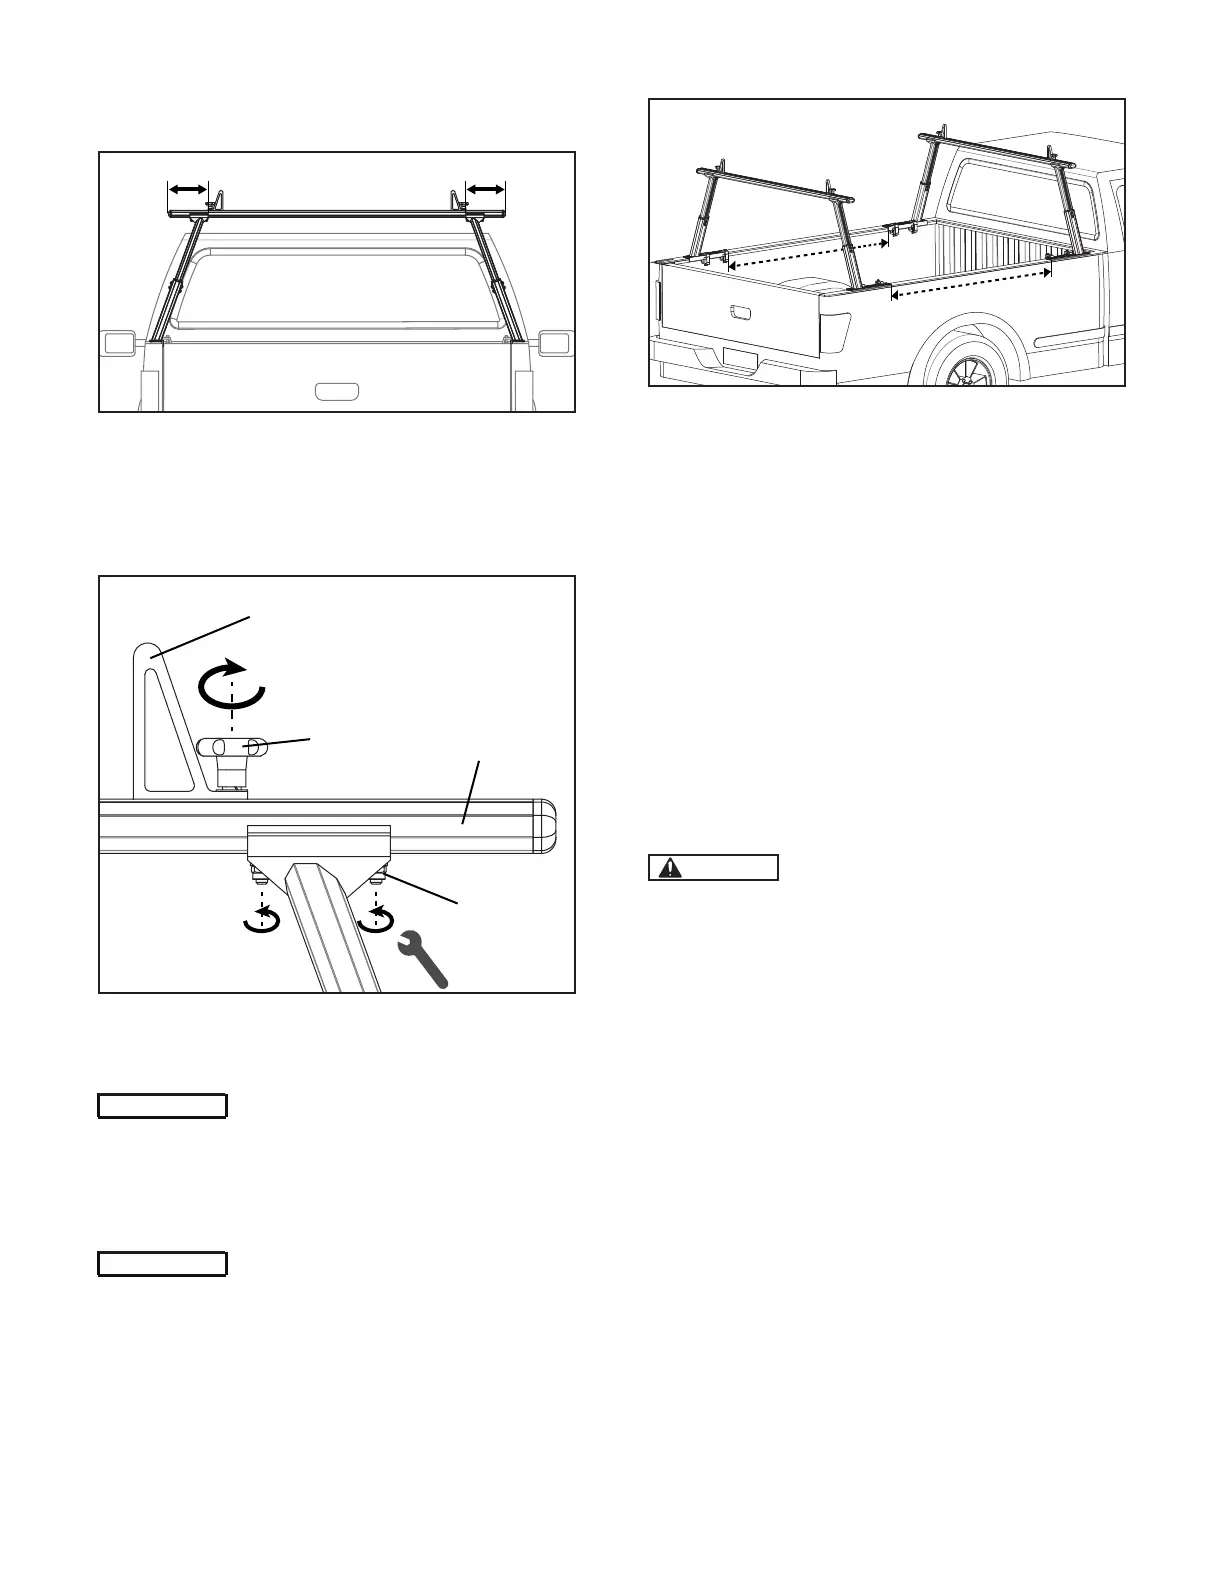
6. Measure and center the Crossbar (A) of the
Truck Rack.
7. Secure Crossbar (A) by tightening Locknuts
(Q). (Wrench in below picture is not included.)
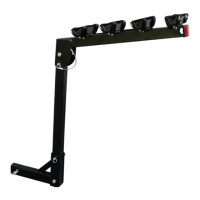
Adjust all Cargo Retainer Components to desired
positions, then secure all Cargo Retainer Com-
ponents by tightening Knobs (S).
8. Repeat above Step 1 - 7 to mount the rear
Truck Rack on the bed rails.
When mount the left and right
Uprights on the rear of the bedrails, ensure that
they are as close as possible to tailgate. Using a
tape measure, ensure equal front-rear Crossbar
spacing.
Some accessories require a
specic distance between Crossbars. If installing
secondary accessories, check accessory tment
prior to positioning and securing.
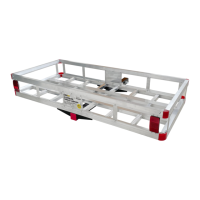
9. Above picture shows the nal status of this
Product. Please ensure that two Truck Racks are
in same height. If not, please release and adjust
related hardware to ensure two Truck Racks are
in same height, then tighten all hardware again.
10. Check all connection points in front and rear
Truck Racks to ensure all of them are secured
tightly.
OPERATION
Adhere to all Department of Transportation
(D.O.T.) requirements when using this product.
Use ropes and tie downs to securely
hold all cargo in place.
Do not exceed the Truck Rack’s
maximum capacity of 500 lb. (on-road rating) /
300 lb. (o-road rating).
MAINTENANCE
1. Frequently check the condition of the Product.
Make sure all components are in good condi-
tion. If the Product becomes damaged through
an accident, or if any weld damage is noted, the
Product should be replaced.
2. Check to make sure that all hardware is tightly
secured in place. Keep the Product clean.
3. When the Product is not being used, it should
be removed from the vehicle and stored indoors.
S
Q
A
Component
DANGER
WARNING
CAUTION
NOTICE
DANGER
WARNING
CAUTION
NOTICE
DANGER
WARNING
CAUTION
NOTICE
 Loading...