4 Maytag Co. 450274-4
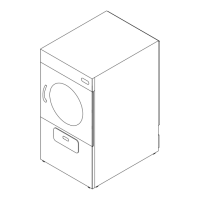
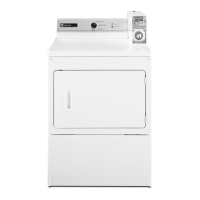
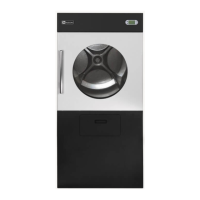
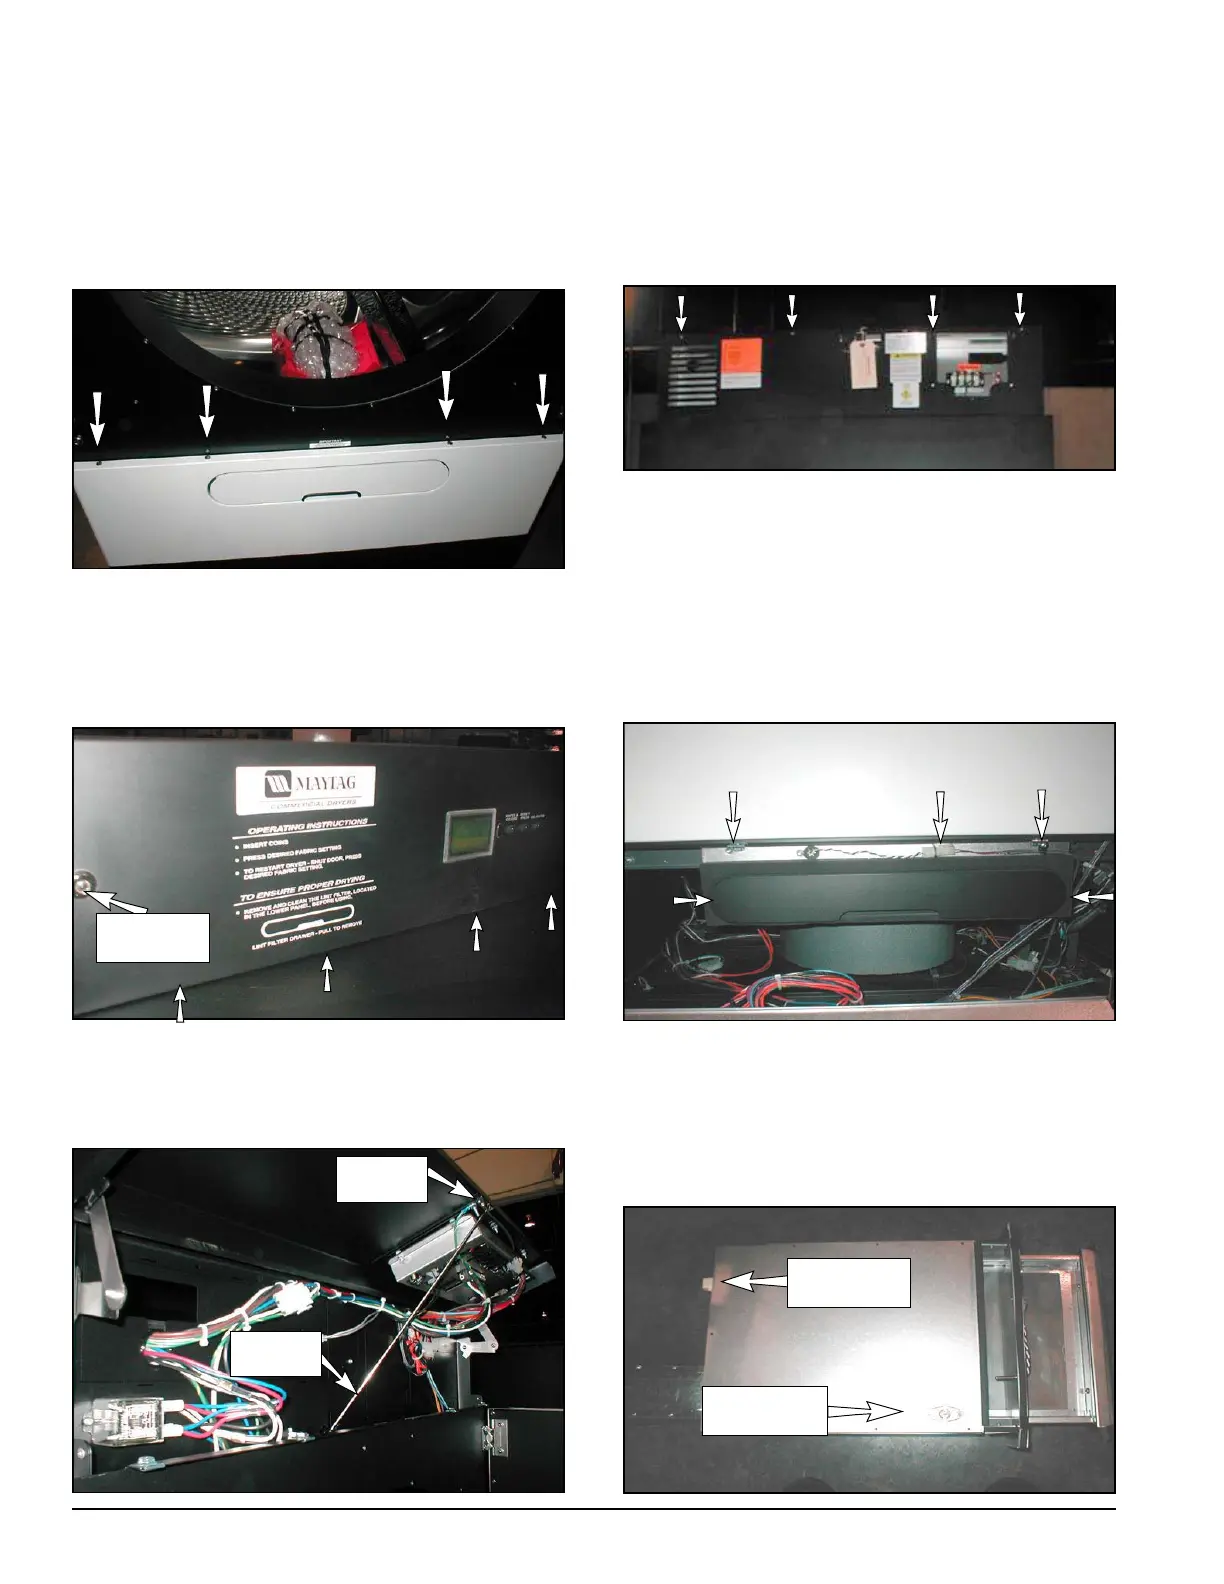
Part Locations and Removal
LOWER FRONT PANEL REMOVAL:
Remove the lint drawer. Remove the four screws
located just below the loading door. Tilt the top of
the panel out and lift the panel up and away from the
dryer.
UPPER FRONT PANEL REMOVAL:
Remove the four screws located just above the top
loading door. Tilt the bottom of the panel out and lift
the panel up and away from the dryer.
Unplug two connections on the exhaust hi-limit at
the left of the lint box. Also disconnect the two
connections for the lint drawer switch, located at the
back of the lint box. The lint box may now be pulled
out through the front of the dryer.
Unplug the motor harness.
For MDG31, remove two screws above the lint
drawer. For MDG 51,77, also remove two screws
beneath the gasket on the left and right side of the
lint drawer. Also, unplug the exhaust temperature
probe.
LINT BOX/BLOWER ASSEMBLY REMOVAL:
TOP COVER REMOVAL:
First remove the back guard, the four screws holding
top cover. Next pull top cover toward the rear of the
dryer and lift up.
Tilt the bottom of the panel out and lift the panel up.
Align support rod into hole to support control panel.
Disconnect the electrical connections. Remove
screw from hinge to remove the control panel.
LINT DRAWER
SWITCH
EXHAUST
HI-LIMIT
For Models MDG31,51,77
For Models MDG31,51,77
For Models MDG31,51,77
SUPPORT
ROD
DOOR
SWITCH
For Models MDG31,51,77
SERVICE
SWITCH
 Loading...