6 Maytag Co. 450266-2
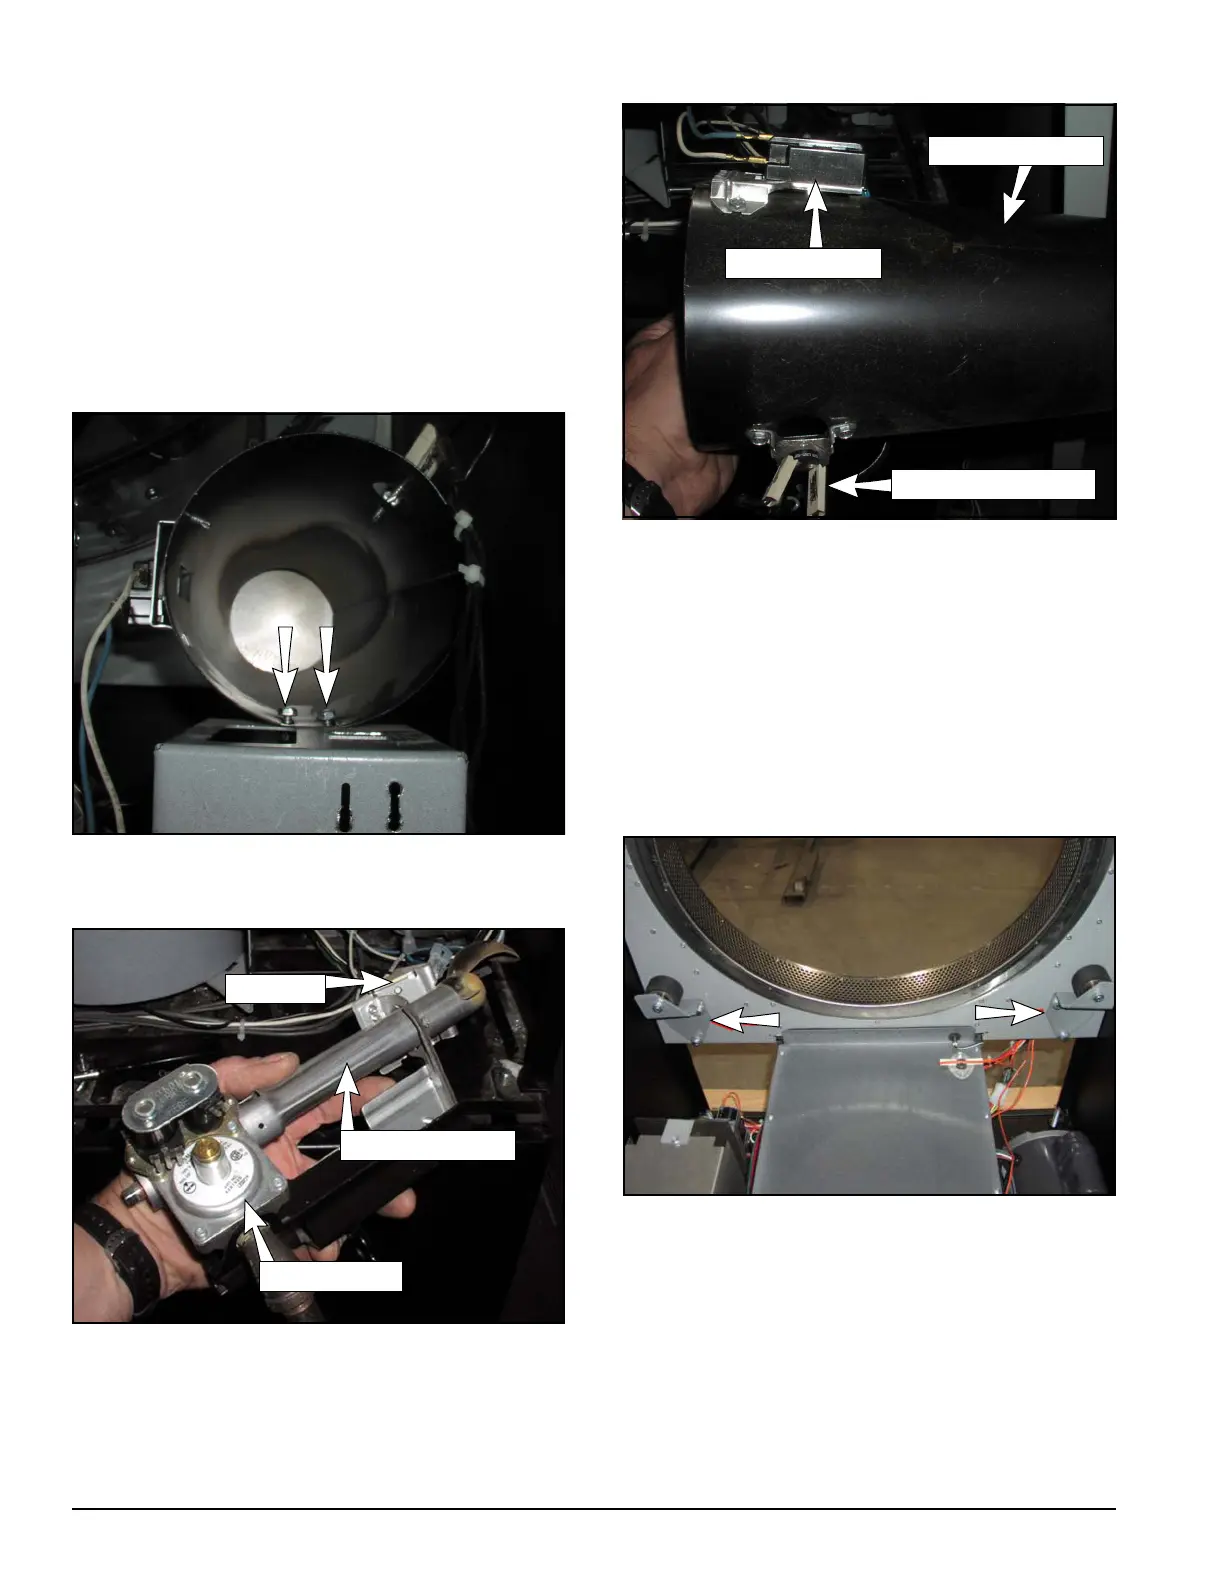
TUMBLER SUPPORT
WHEEL ASSEMBLY REPLACEMENT:
The front wheel assemblies can be replaced with
the lower front panel removed. Remove the three
bolts by reaching upward with a socket or box
wrench. The illustration below is provided to show
the location of these wheels as the wheels cannot
easily be seen while standing in front of the dryer.
The left rear wheel assembly can be removed with
just the back guard removed. The rear right wheel
requires removing the back guard, heat duct, and
oven. Be sure to mark the position of rear wheel
brackets prior to removal (refer to page 7).
OVEN CHAMBER REMOVAL:
The oven chamber can be removed after the gas
valve/ignition system has been removed.
Remove the two screws indicated by the arrows.
Pull the oven housing part way out through the front
and disconnect all wire connections. The oven
housing can now be removed.
Replace assembly by leading the housing cone into
the hole in the rear wall. Replace screws and wire
connections.
GAS VALVE/IGNITION SYSTEM COMPONENTS:
BURNER TUBE
IGNITOR
GAS VALVE
OVEN HOUSING COMPONENTS:
HEAT SENSOR
OVEN CHAMBER
BURNER HIGH-LIMIT
 Loading...