Sharpening grass cutters and grass
blades
See the cutting attachment packaging for correct
sharpening instructions. Sharpen blades and cutters
XVLQJDVLQJOHFXWÀDW¿OH
Sharpen all edges equally to maintain the balance of
the blade.
aWARNING:$OZD\VGLVFDUGDEODGHWKDWLV
EHQWWZLVWHGFUDFNHGEURNHQRUGDPDJHGLQDQ\
RWKHUZD\'RQRWDWWHPSWWRVWUDLJKWHQDWZLVWHG
blade so that it can be reused. Only use original
EODGHVRIWKHVSHFL¿HGW\SH
Trimmer head
IMPORTANT: Always ensure the trimmer line
is wound tightly and evenly around the drum;
otherwise the unit may generate vibration which
could be harmful.
2QO\XVHWKHVSHFL¿HGFXWWLQJDWWDFKPHQWV6HHWKH
³7(&+1,&$/'$7$´VHFWLRQ
Smaller units generally require small trimmer heads
DQGYLFHYHUVD7KLVLVEHFDXVHZKHQFOHDULQJXVLQJ
WULPPHUOLQHWKHHQJLQHPXVWWKURZRXWWKHWULPPHU
OLQHUDGLDOO\IURPWKHWULPPHUKHDGDQGRYHUFRPHWKH
resistance of the grass being cleared.
The length of the trimmer line is also important. A
ORQJHUWULPPHUOLQHUHTXLUHVJUHDWHUHQJLQHSRZHUWKDQ
a shorter trimmer line of the same diameter.
Make sure that the cutter on the trimmer guard is
intact. This is used to cut the trimmer line to the
correct length.
To increase the life of the trimmer line it can be soaked
LQZDWHUIRUDFRXSOHRIGD\V7KLVZLOOPDNHWKHOLQH
tougher so that it lasts longer.
127(0DNHVXUHXQLWLVDVVHPEOHGFRUUHFWO\DV
VKRZQLQWKLVPDQXDO
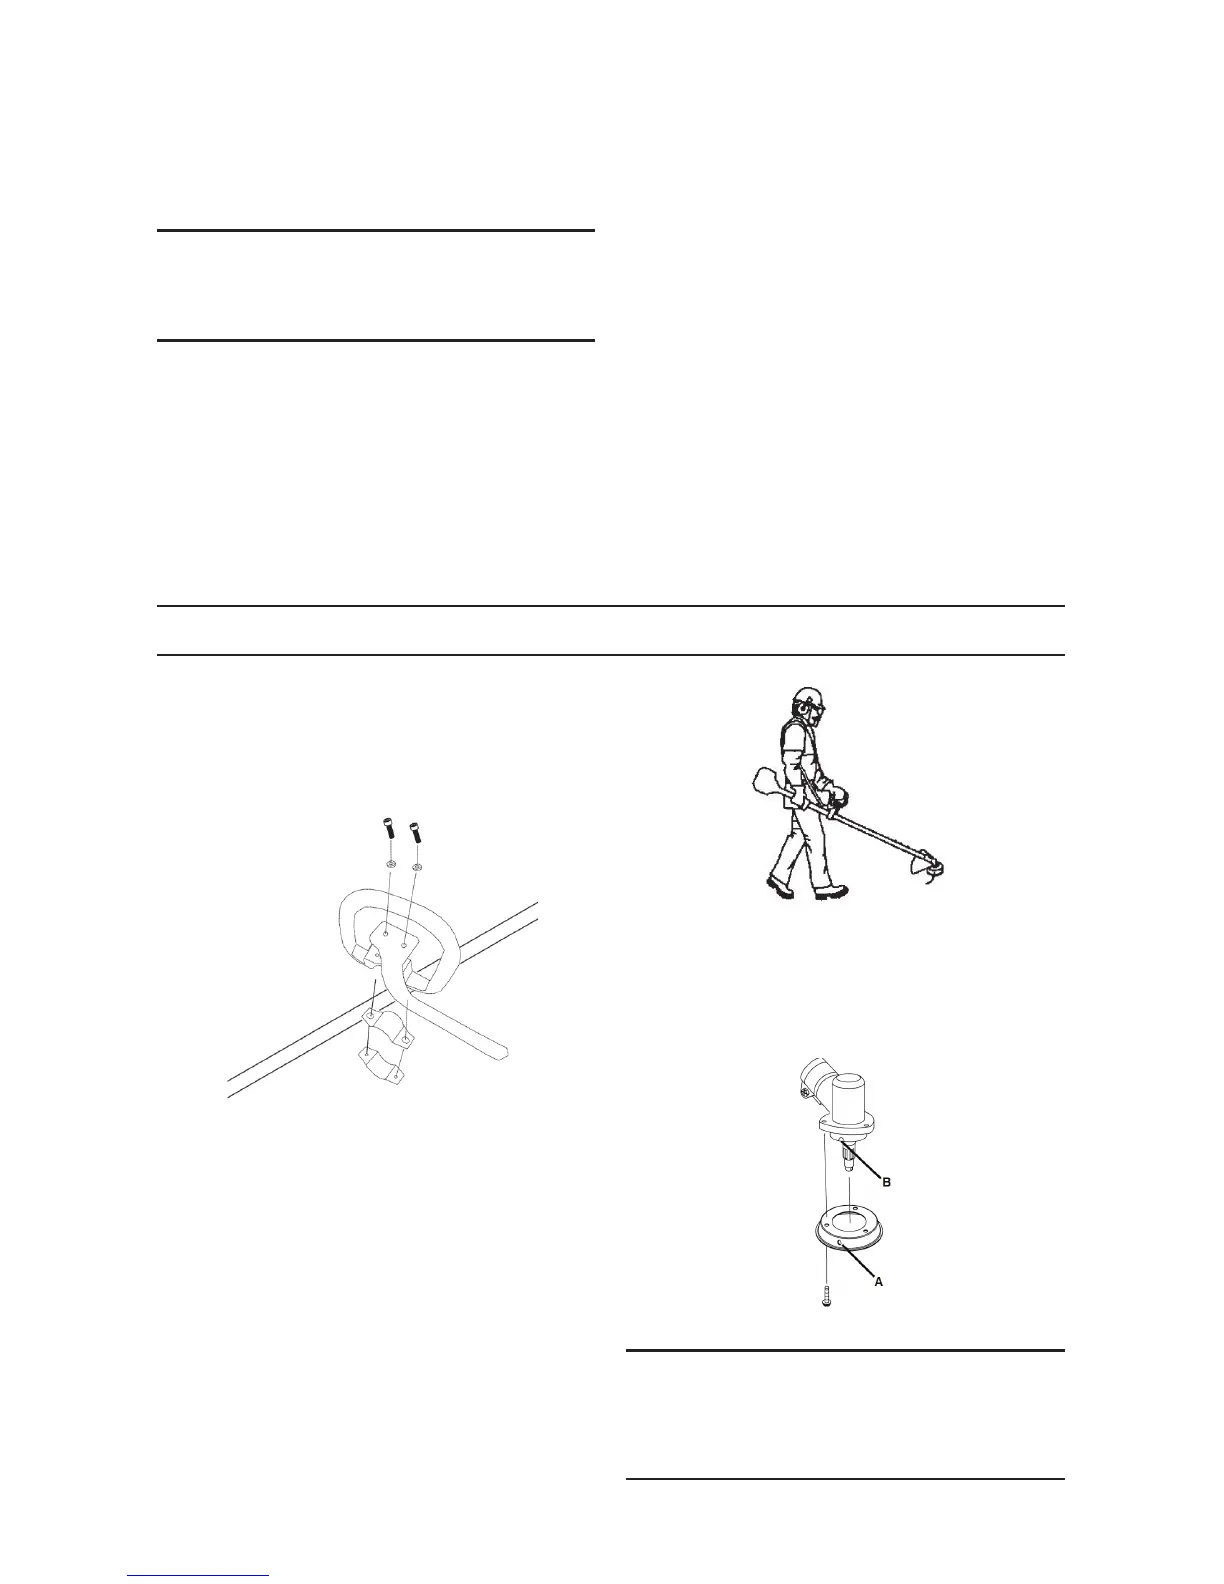
Fitting the handlebar
1. 3RVLWLRQWKHKDQGOHEDUDVVKRZQ)LWWKH
PRXQWLQJFRPSRQHQWVDVVKRZQ
Put on the harness and hang the unit from the
support hook.
3. 0DNHD¿QDODGMXVWPHQWVRWKDWWKHXQLWLVLQD
FRPIRUWDEOHZRUNLQJSRVLWLRQZKHQLWKDQJVIURP
the harness.
4. Tighten all fasteners securely.
Assembling the safety guard
$WWDFKWKHVDIHW\JXDUGWRWKHJHDUFDVHZLWKWKUHH
VFUHZVDVVKRZQ0DNHVXUHWKHKROH$LQWKHVLGH
RIWKHVDIHW\JXDUGDOLJQVZLWKWKHVORW%LQWKHJHDU
FDVHÀDQJH
Assembling the cutting equipment
aWARNING::KHQ
¿WWLQJWKHFXWWLQJDWWDFKPHQW
it is extremely important that the raised section on
WKHGULYHGLVFVXSSRUWÀDQJHHQJDJHVFRUUHFWO\
in the center hole of the cutting attachment. If the
FXWWLQJDWWDFKPHQWLV¿WWHGLQFRUUHFWO\LWFDQUHVXOW
LQVHULRXVDQGRUIDWDOSHUVRQDOLQMXU\
ASSEMBLY