Do you have a question about the Medeli DD518DX and is the answer not in the manual?
Important warnings regarding finger safety and potential metal shavings during assembly.
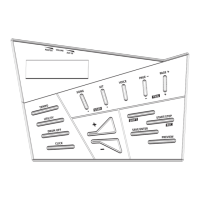
List of all items included in the package to ensure completeness before assembly.
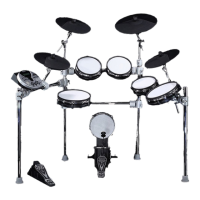
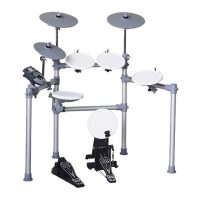
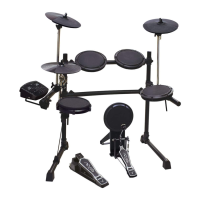
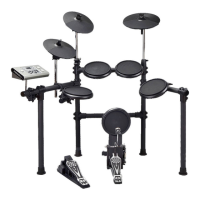
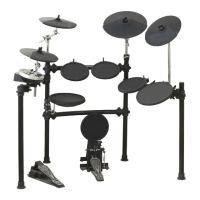
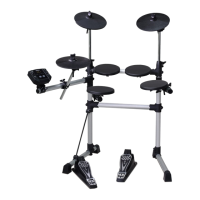
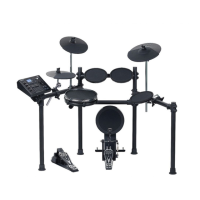
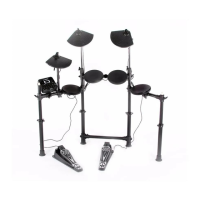
Visual identification of all major drum set components and boxes, including pads, rack, and module.
Detailed instructions for connecting pipes and arms to the pillars to build the main drum set frame.
Steps for connecting drum pads to the rack using L-rods and clamps.
Instructions on how to securely attach the drum module to the rack clamp.
Guidance on inserting cymbal arms, attaching holders, and mounting cymbal pads correctly.
Instructions for positioning the kick pad and hi-hat pedal, and connecting cables to the drum module.
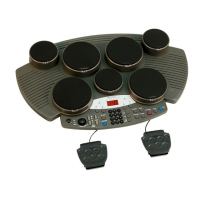
| Type | Electronic Drum Kit |
|---|---|
| Number of Pads | 9 |
| Display | LCD |
| Effects | Reverb, Chorus |
| Sequencer | Yes |
| MIDI Compatibility | Yes |
| USB | Yes |
| Demo Songs | 10 |
| Built-in Speaker | Yes |
| Headphone Output | Yes |
| MIDI Output | Yes |
| Connectors | Aux In, MIDI Out, USB |
| Power Supply | AC Adapter |