POWERHEAD
90-883728 JULY 2001 Page 4A-57
Piston and Connecting Rod Reassembly
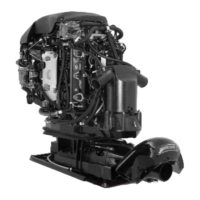
1. Place needle bearings on a clean piece of paper and lubricate with Quicksilver 2-4-C
with Teflon Marine Lubricant.
NOTE: There are 29 needle bearings per piston.
2. Place sleeve which is part of piston pin tool (91-74607A1) into connecting rod and install
needle bearings around sleeve as shown.
3. Place locating washers on connecting rod.
IMPORTANT: Position connecting rod part number facing towards flywheel.
Carefully position piston over end of rod. Make sure locating washers remain in place.
a
a
51851
b
a
51851
b
a
a-Sleeve
b-Locating Washers
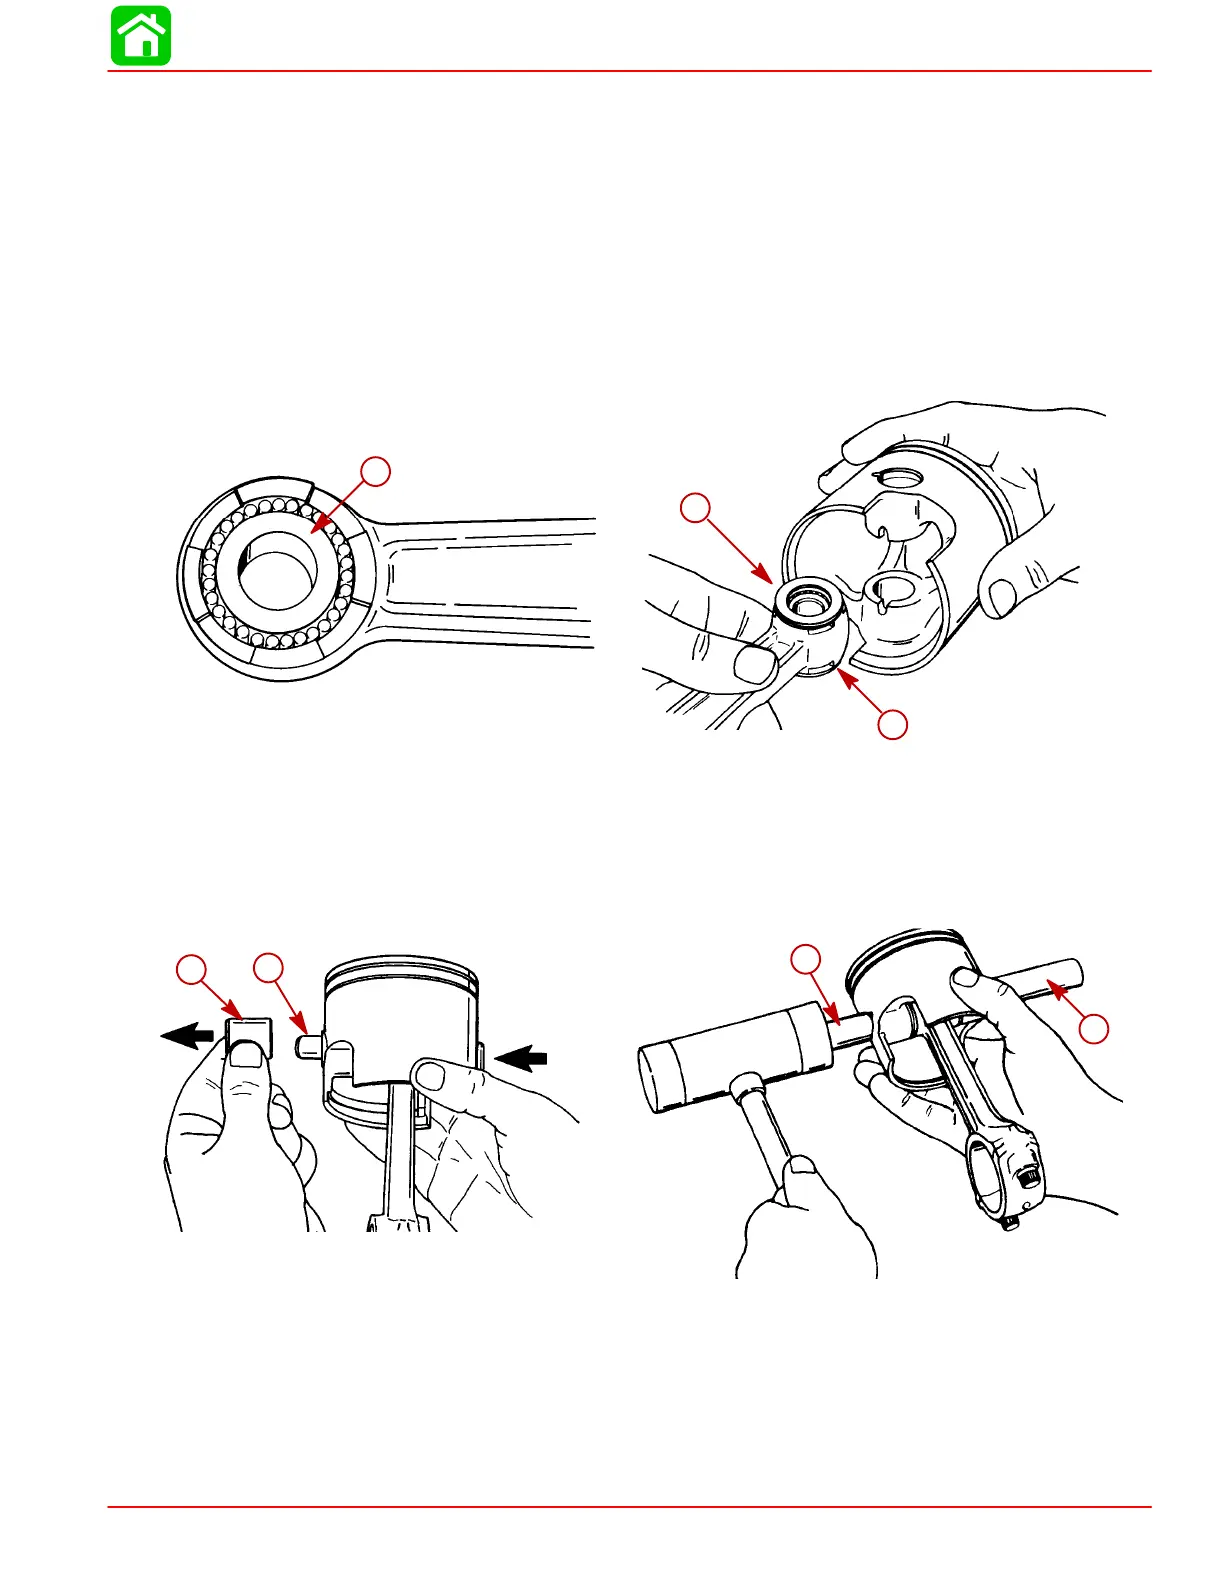
4. Insert piston pin tool (91-74607A1) and push sleeve out of piston. Keep piston pin tool
in piston.
5. Use a mallet and tap piston pin into piston and push piston pin tool out.
a
b
51086
ab
51080
c
d
a
b
a-Piston Pin Tool
b-Sleeve
c-Piston Pin
d-Piston Pin Tool
6. Install new piston pin lockrings (one each end of piston pin) with Lockring Installation
Tool (91-79109A3).
 Loading...