7
I
I
n
n
s
s
t
t
a
a
l
l
l
l
i
i
n
n
g
g
t
t
h
h
e
e
M
M
o
o
t
t
h
h
e
e
r
r
b
b
o
o
a
a
r
r
d
d
i
i
n
n
a
a
C
C
a
a
s
s
e
e
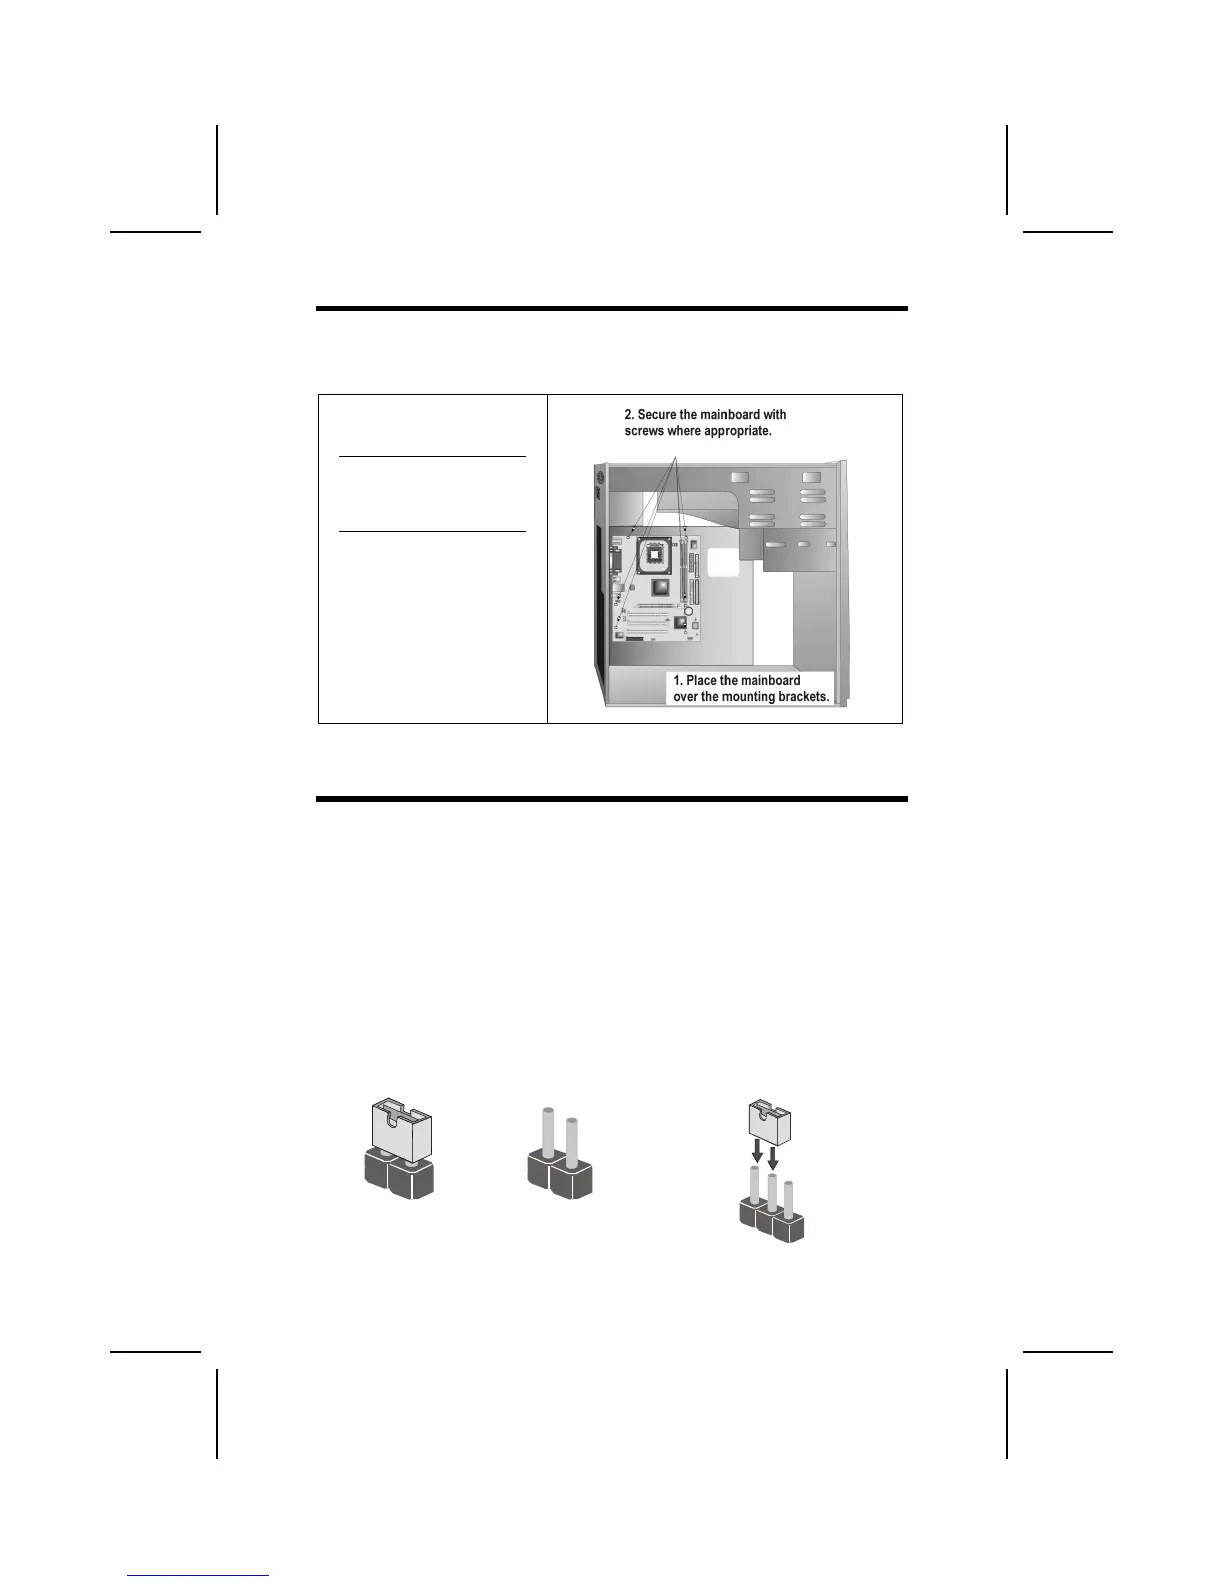
Refer to the following illustration and instructions for installing the mother-
board in a case:
This illustration shows an ex-
ample of a motherboard being
installed in a tower-type case:
Note: Do not overtighten
the screws as this
can stress the moth-
erboard.
Most system cases have
mounting brackets installed in
the case, which correspond to
the holes in the motherboard.
Place the motherboard over
the mounting brackets and
secure the motherboard onto
the mounting brackets with
screws.
Ensure that your case has an I/O template that supports the I/O ports and
expansion slots on your motherboard.
C
C
h
h
e
e
c
c
k
k
i
i
n
n
g
g
J
J
u
u
m
m
p
p
e
e
r
r
S
S
e
e
t
t
t
t
i
i
n
n
g
g
s
s
This section explains how to set jumpers for correct configuration of the moth-
erboard.
Setting Jumpers
Use the motherboard jumpers to set system configuration options. Jumpers
with more than one pin are numbered. When setting the jumpers, ensure that
the jumper caps are placed on the correct pins.
The illustrations below show a 2-pin jumper.
When the jumper cap is placed on both pins,
the jumper is SHORT. If you remove the
jumper cap, or place the jumper cap on just
one pin, the jumper is OPEN.
This illustration shows a 3-pin
jumper. Pins 1 and 2 are SHORT.
Short Open
1
2
3
 Loading...