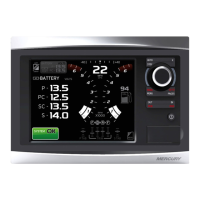
VESSELVIEW 703
Page 2 / 6 © 2017 Mercury Marine 90-8M0124492 eng MARCH 2017
•
Vinyl‑covered panels: Use a razor blade to carefully remove the vinyl from the area being cut to avoid tearing the
vinyl.
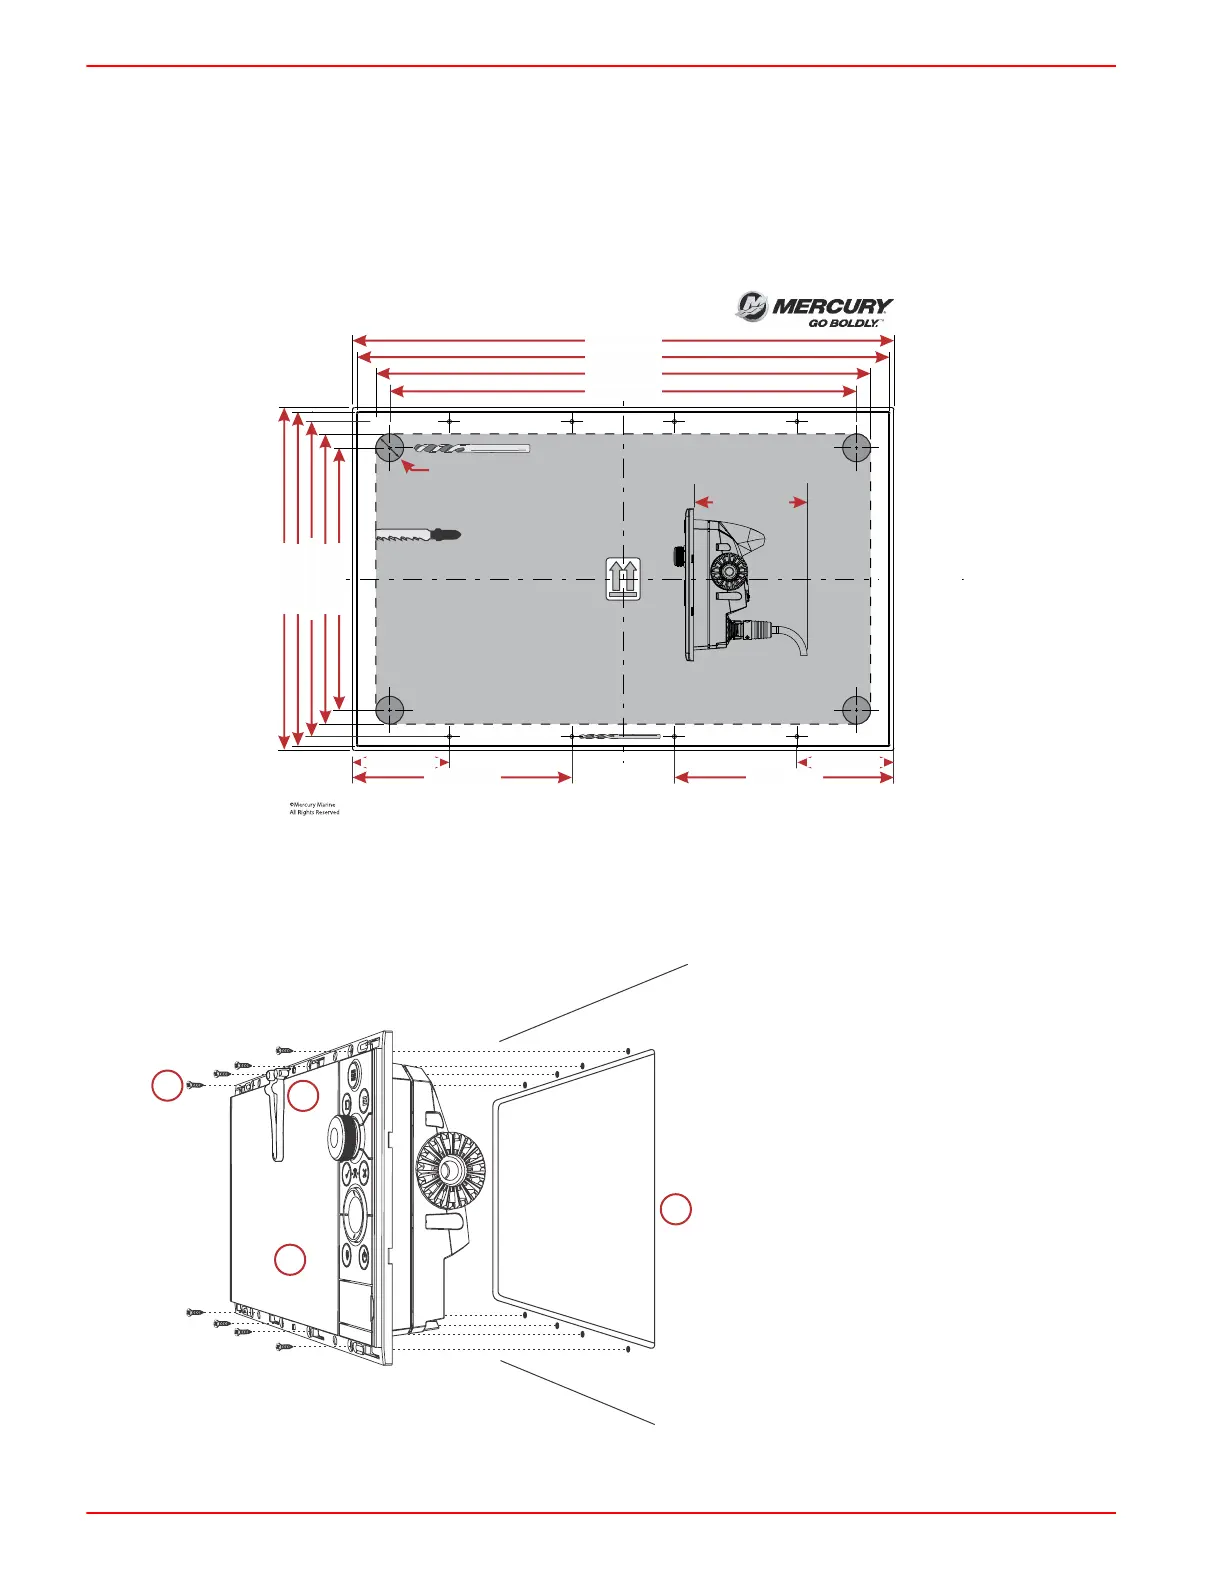
Cutting the Panel
1. After preparing the area to be cut, tape the mounting template to the panel.
2. Use appropriate tools to cut out the shaded portion of the template. The mounting screw holes should be drilled using a 3
mm (1/8 in.) bit.
NOTE: The following diagram is an example only. Use the template that came with the kit.
8M0124493 JANUARY 2017
150 mm (5.90 in.)
154 mm (6.05 in.)
130 mm (5.12 in.)
118 mm (4.64 in.)
141.48 mm (5.57 in.)
243.0 mm (9.56 in.)
239.0 mm (9.41 in.)
222.0 mm (8.74 in.)
210.0 mm (8.25 in.)
43.43 mm (1.71 in.)
98.55 mm (3.88 in.)
43.43 mm (1.71 in.)
98.55 mm (3.88 in.)
62829
112.1 mm (4.41 in.)
(x4) Ø12.5 mm (0.50 in.)
VesselView 703
Cutout Template
62945
3. Remove the template and insert the VesselView into the panel to ensure fit. Do not secure to the instrument panel at this
time.
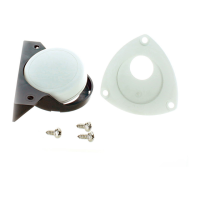
Securing VesselView to the Instrument Panel
a - Mounting screws
b - Mounting screw alignment tool
c - VesselView
d - Helm panel
1. Insert the VesselView into the opening.

 Loading...