Merlin Power Systems version: 2.0.2
SmartGauge Installation and User Guide
Page 12
The SmartGauge “Set-Up Menu” allows the user to program and adjust many of the monitor’s
features. Each parameter is covered in sub-sections hereafter in section 5.x of this user manual.
When in the set-up menu, the PGM/Batt 2 LED will flash. All battery monitoring ceases while the
SmartGauge is in Set-Up Mode. For this reason, the user gets 2 minutes to set-up each parameter. If
the two minutes is exceeded, the current selection in the display window is written to SmartGauge
memory, and the unit reverts back to monitoring the batteries.
When in the Set-Up Menu, the main legends on the control buttons are no longer active. The
buttons assume the role of the secondary legends on each button (in smaller characters below the
main legends).
Pressing the SELECT button will scroll through all available selections offered in that menu. Pressing
the SET button will select the currently displayed option. The display will flash 4 times to indicate
this option has been successfully selected and will be written to the SmartGauge memory.
The Set-Up Menu will then move on to the next menu item.
At any time when moving onto the next menu item, the currently selected option will be displayed
first without ever changing any of them. This allows you to look through the menu to check all the
settings without changing any of them.
Pressing the EXIT button does the same as the SET button, except after writing the currently
displayed option to SmartGauge memory, the Set-Up Menu will be exited without moving onto the
next menu item, and battery monitoring will re-commence.
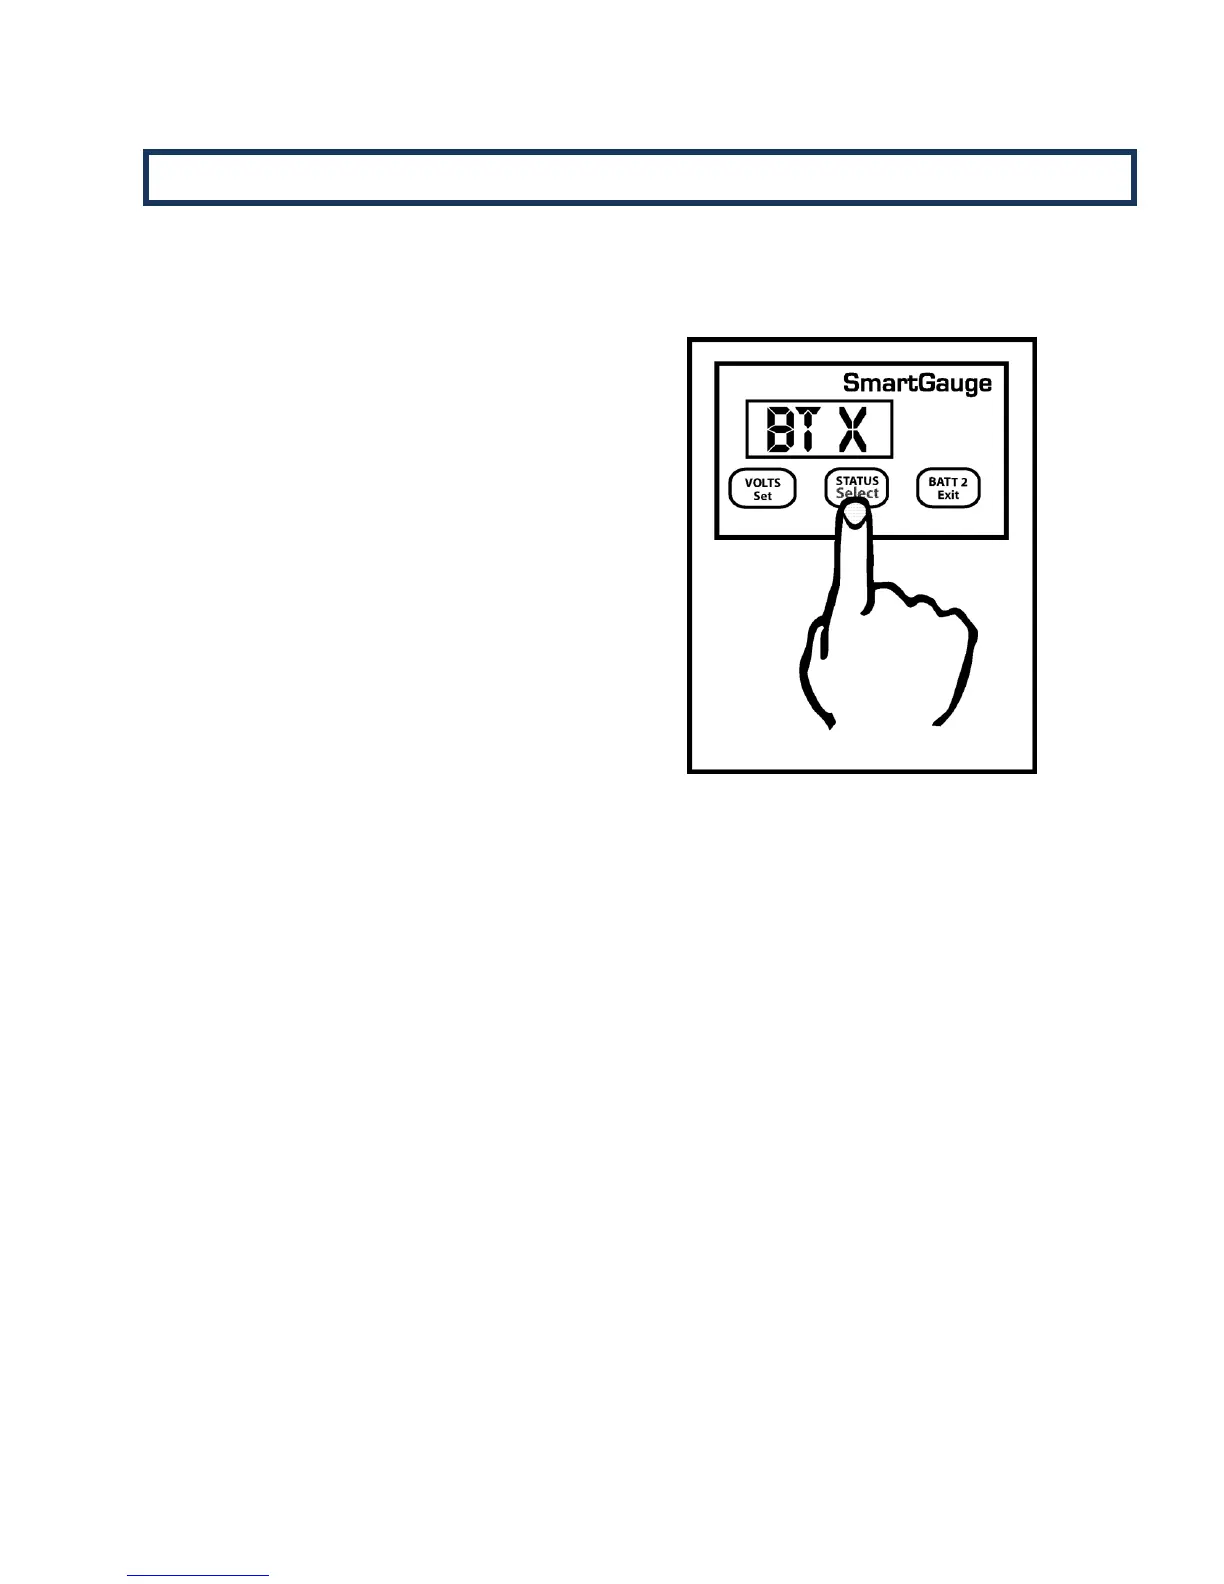
To enter the set-up menu press both the Volts and
Status buttons simultaneously and keep them
pressed. After 2 seconds the display will change. If a
SmartBank split charge system is not installed in
conjunction with SmartGauge, the display will
automatically enter the set-up menu and “BT X” will
be displayed.
If a SmartBank is installed the display will first show
“SU 1” (Set-up menu 1). By pressing VOLTS at this
time “SU 1” will be selected (the SmartGauge set-up
menu) and “BT X” will be displayed.
In either case, once “BT X” is visible, the monitor is
now in “Set-Up Mode – Battery Type”
Refer to section 5.1 for further instruction.