Merlin Power Systems version: 2.0.2
SmartGauge Installation and User Guide
Page 14
1. If you know what the state of charge is (for instance you
may know the batteries to be fully charged) you can enter
the set-up menu and manually set the charge status (refer to
this section of the user guide below).
2. Charge or discharge the batteries to approach 75%. When
the actual state of charge of the batteries meets the default
display of 75%, SmartGauge will be in perfect synchronisation
with the batteries and will track the charge status from that
time onwards.
3. Leave SmartGauge working for 48 hours. Use the battery
system as usual, SmartGauge will self-calibrate over the next
2-3 charge and discharge cycles of the battery bank. Unlike all
other battery state of charge meters currently available,
SmartGauge becomes more accurate the longer it is used. All
other battery state of charge meters become less accurate
the longer they are used and require ever more frequent re-
calibration.
On initial set-up, SmartGauge defaults to a charge status of 75%. This is highly unlikely to match the
actual charge status of the batteries being monitored.
There are 4 simple ways in which this can be corrected:
4. Switch on a charging device and wait until you know the batteries are fully charged (by the
charger switching into float charge mode). Enter the set-up menu and manually set the charge status
to 100%.
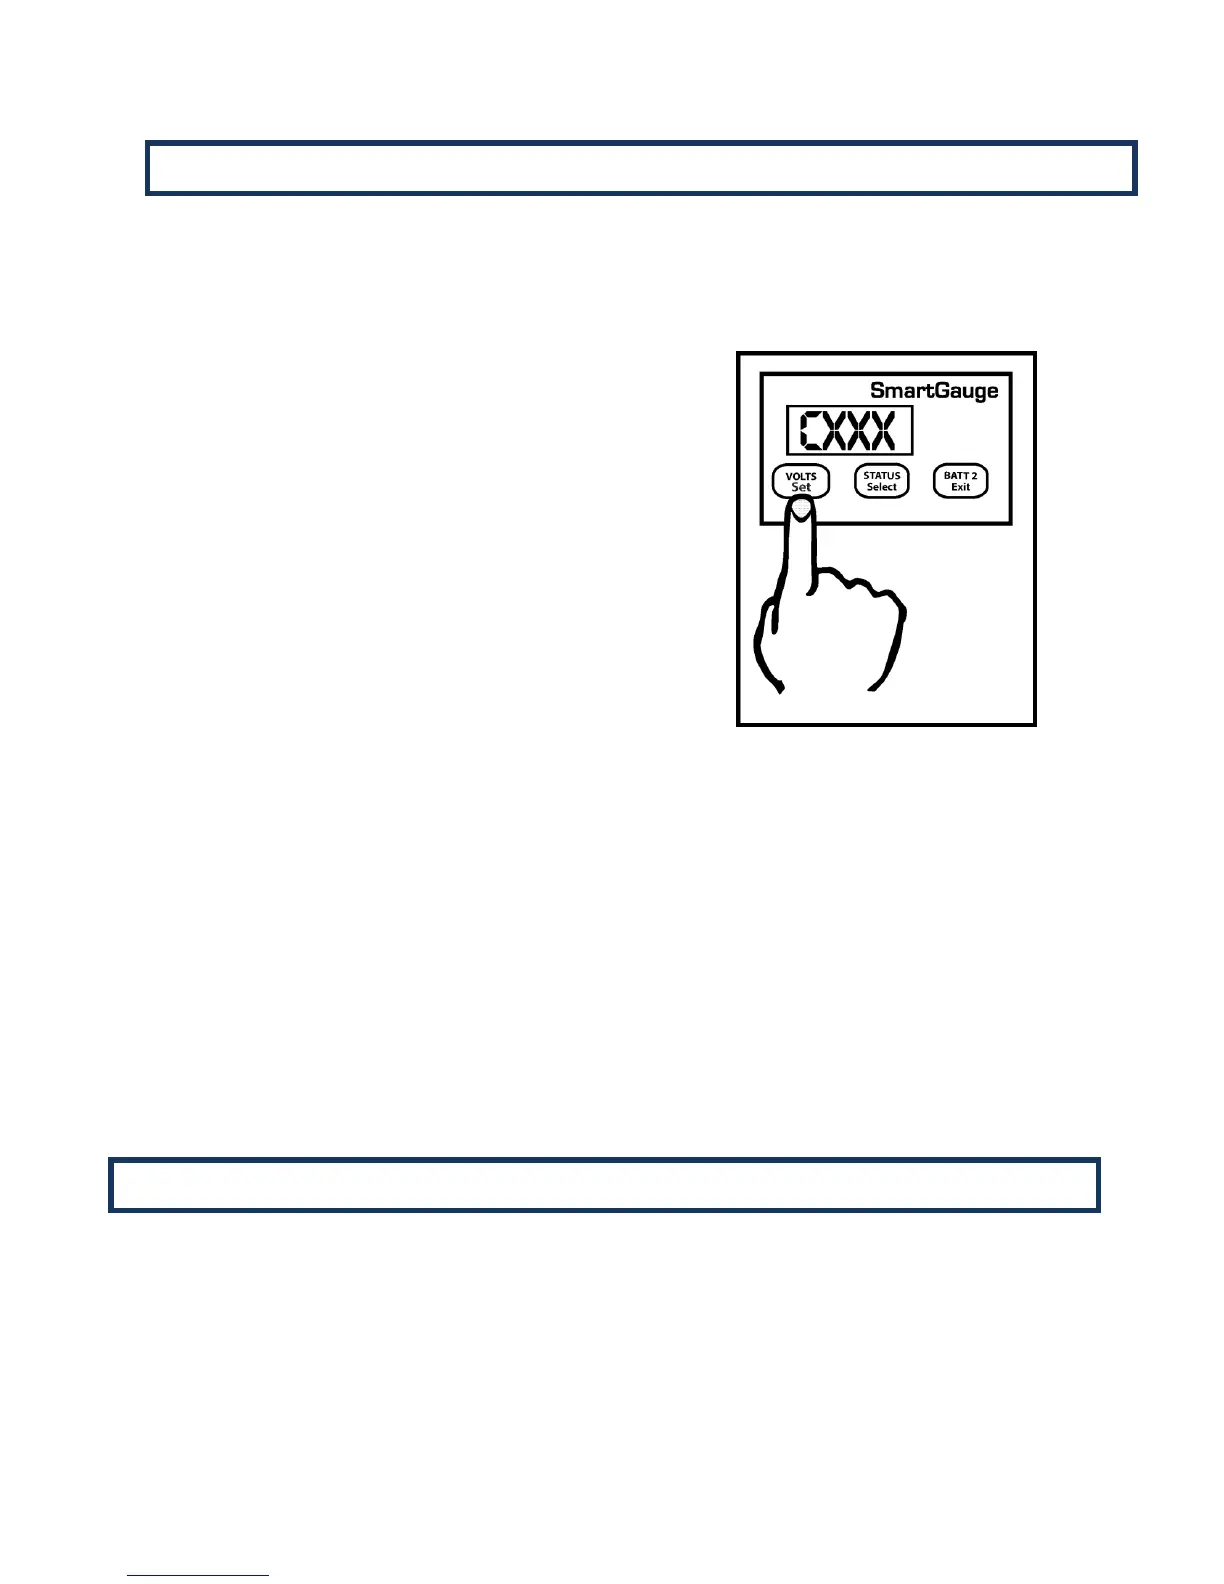
Charge Status can be manually set to any value between 0 and 100%. While in the Set-Up Menu,
press the Set key a number of times until “Cxxx” is displayed. “C” signifies Charge status and “xxx”
the % value. Pressing the Select button will scroll up from 0 to 100% .When the desired value is
displayed, press the SET key. The display will flash 4 times to show the value has been stored. The
display will then move onto the next menu item.
Alternatively, pressing the Exit button will write the value to memory then exit the set-up menu.
There are two types of alarm incorporated in SmartGauge, the Primary Alarm and the Secondary
Alarm. They both operate on the same hardware output but are designed for different purposes.
The first is the Primary Alarm which can be set OFF or set to operate on a user programmable
low/high voltage or to operate on one of two types of user programmable low charge status.
5.2 Set-Up Menu – Charge Status
5.3 Set-Up Menu – Alarm Functions
 Loading...