Merlin Power Systems version: 2.0.2
SmartGauge Installation and User Guide
Page 16
Clarification –
For a low voltage alarm:
1. The battery voltage has to fall below the activation voltage to trigger the alarm.
2. The battery voltage has to rise to the deactivation voltage to kill the alarm.
For a high voltage alarm:-
1. The battery voltage has to rise to the deactivation voltage to trigger the alarm.
2. The battery voltage has to fall below the activation voltage to kill the alarm.
Set-up mode – Low Status Alarm:
There are two types of Low-Status alarm. The first is exactly the same as the low-voltage alarm but
operates on charge status instead of on battery voltage. So the alarm will activate once the charge
status falls below the chosen activation status, and will deactivate after the charge status rises back
up to the chosen deactivation status. This type is designated in the display as “PA S”
Set-up mode – Timed Low Status Alarm:
The second type of status alarm is the “PA T” (Timed Low Status Alarm)
If this alarm is set, the alarm will trigger (be activated) once the charge status falls below the
activation status. The alarm will remain triggered until the status rises back up to the same
activation level but then, once this happens, a timer is started which counts down from the set time
period, and when it reaches zero, the alarm is deactivated. The main reason for this type of alarm is
to enable an auto start generator set to be started once the charge status falls to a certain level and
then run for a certain fixed period.
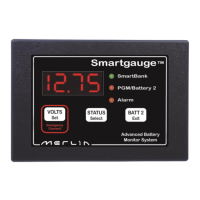
If a high voltage alarm was set then the procedure remains
identical except the upper voltage trip point is the voltage which
the battery voltage will have to rise to in order to activate the
alarm. Once the alarm is triggered, the battery voltage will have
to fall back down below the lower voltage trip point in order to
deactivate the alarm.
The display will then move on to the next item in the set-up
menu. At any time in the set-up menu, pressing the Exit button
will write the current value to memory then exit the set-up
menu.
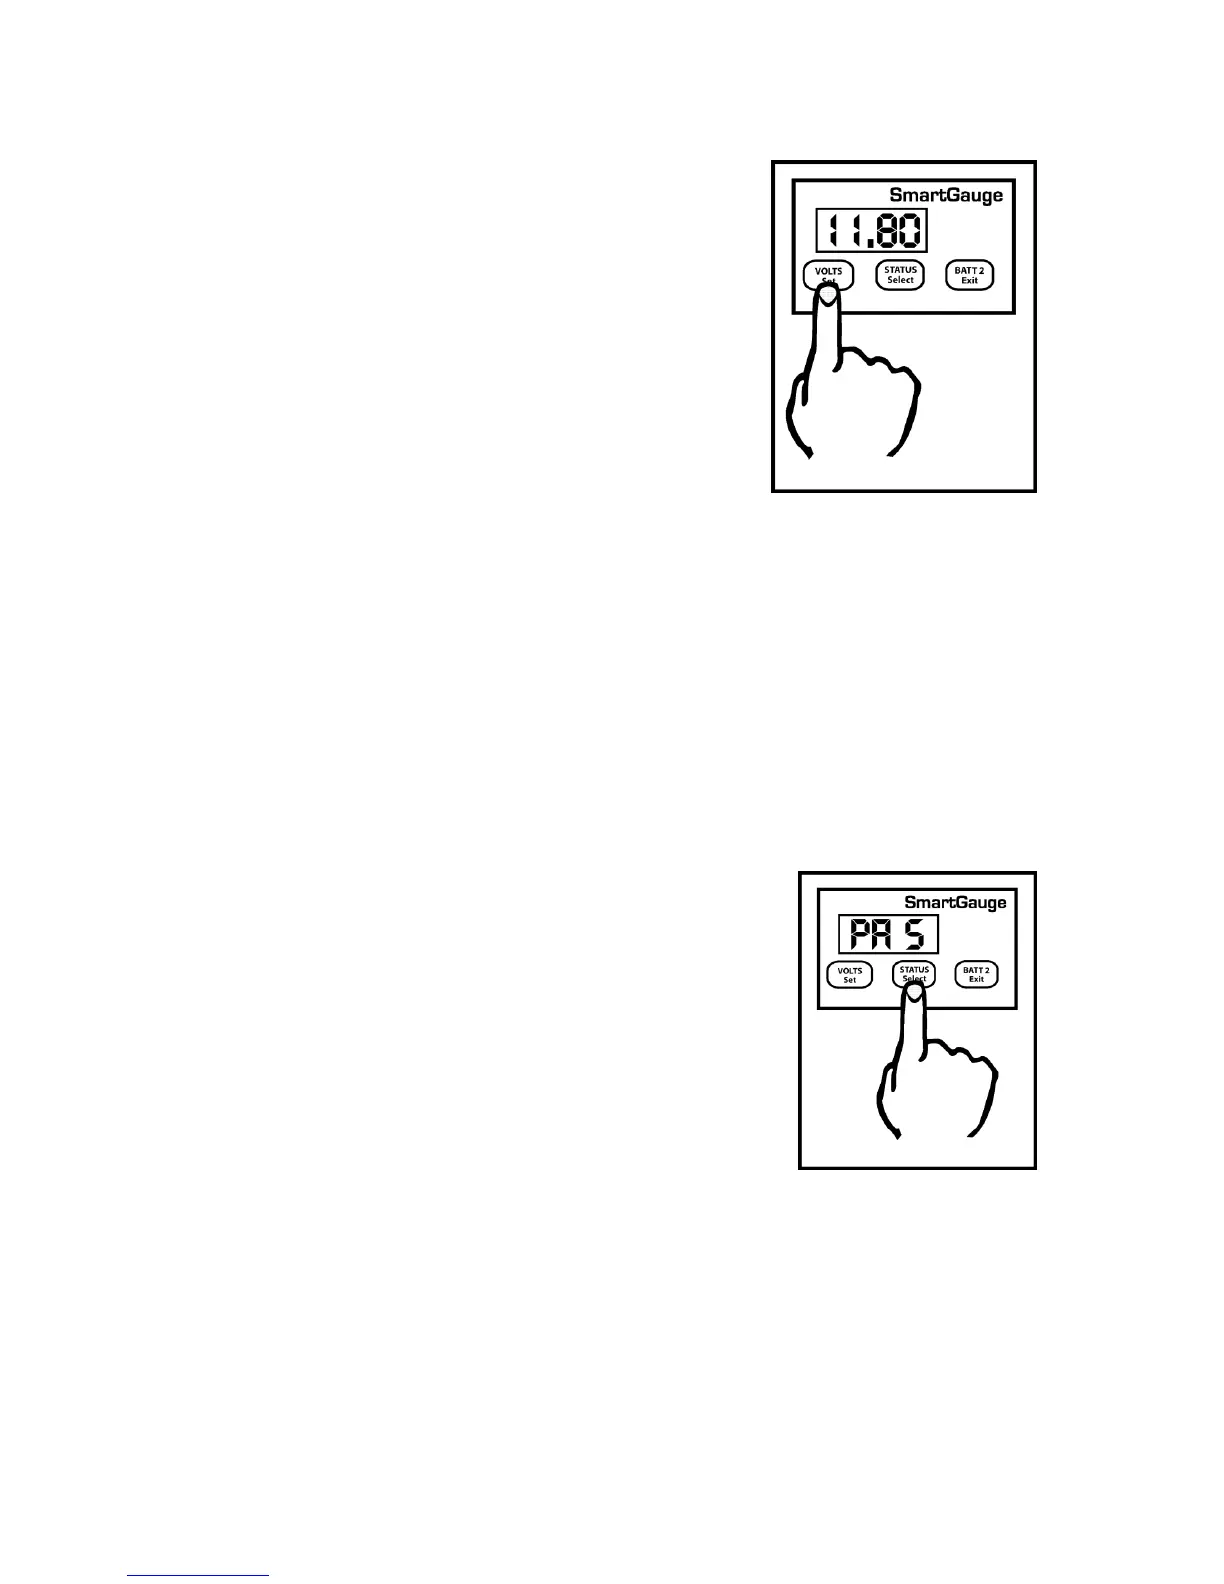
The “PA S” type alarm is set in exactly the same way as
the “PA U” alarm except “PA S” is selected instead of
“PAU”. i.e. the activation status will be set, followed by
the deactivation status.
Clarification:
1. The charge status has to fall below the activation
status to trigger the alarm.
2. The charge status has to rise to the deactivation
status to kill the alarm.
The range limits are:
1. Activation status = 1 to 75%
2. Deactivation status = activation status to 100%