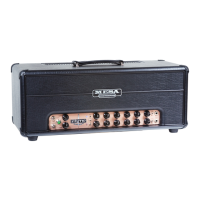
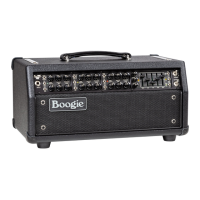
PAGE 13
REAR PANEL: Controls & Features (Continued)
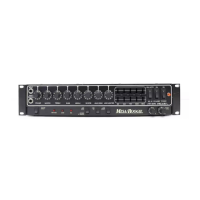
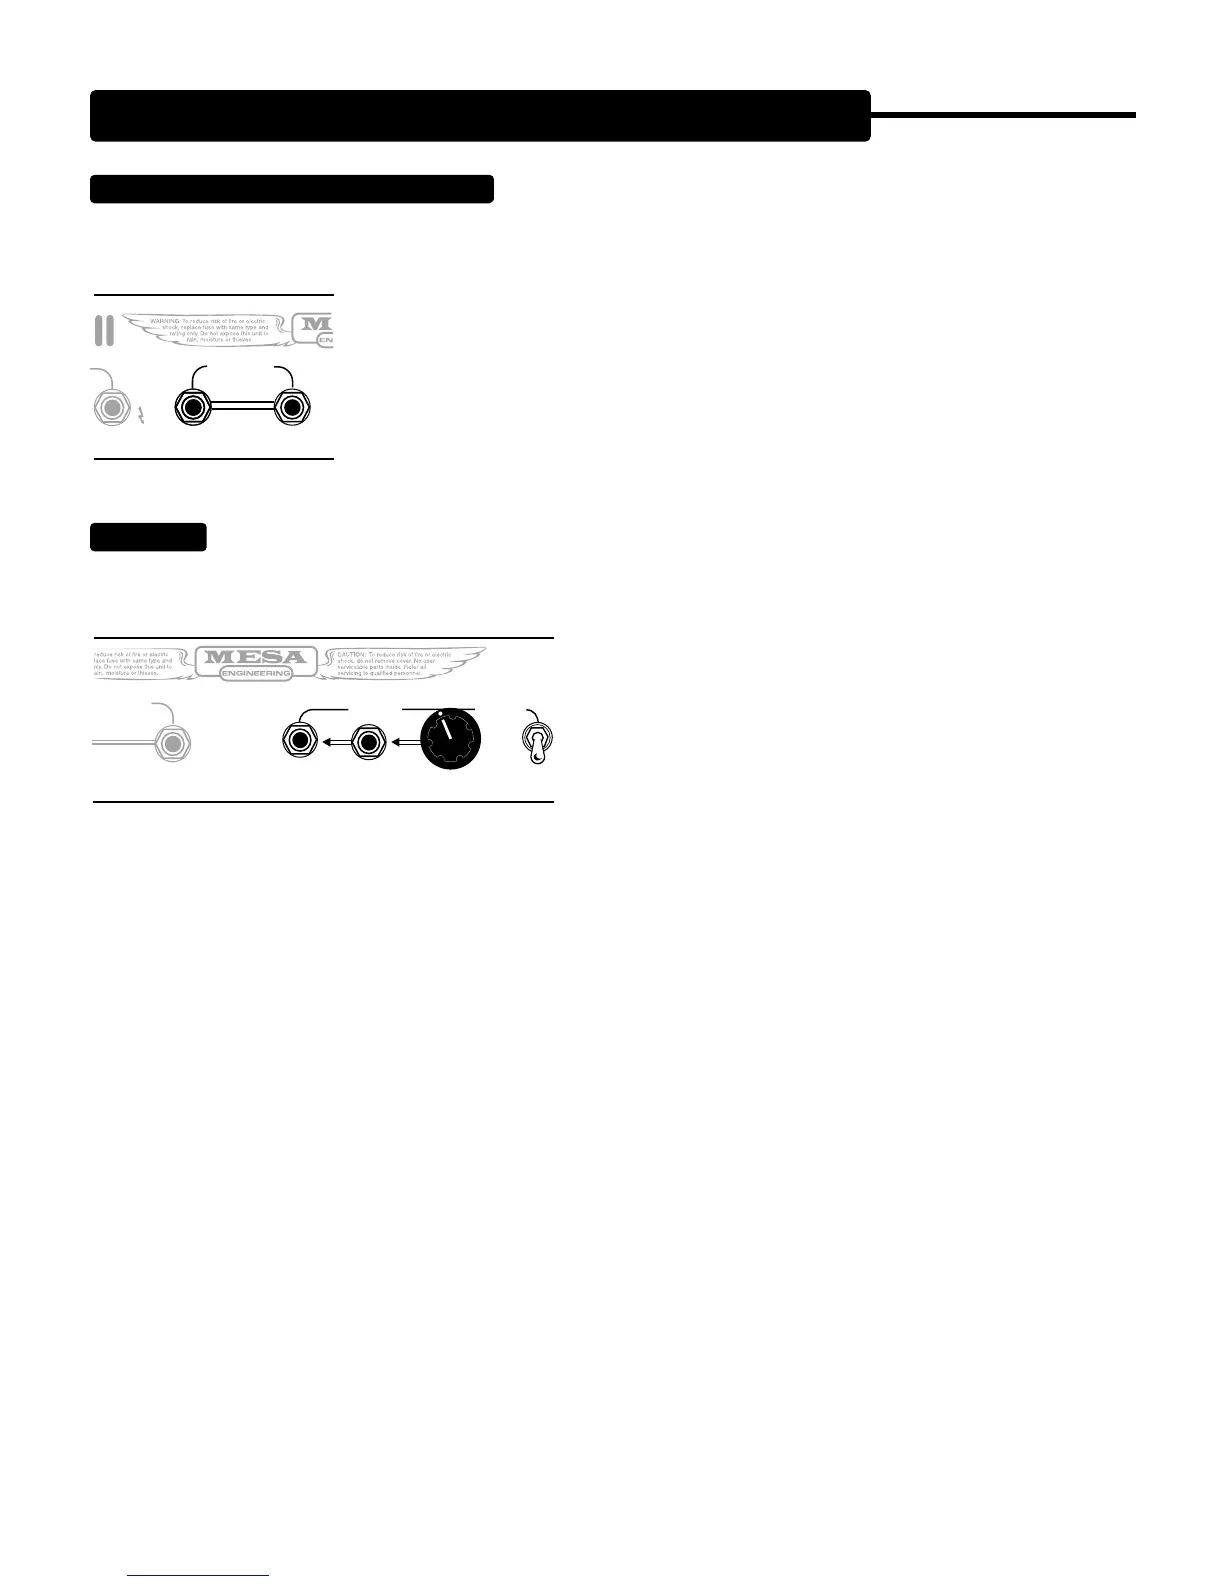
CHANNEL SOLO: External Switch Ports
These jacks provide an external trigger port for the Channel Select and SOLO
functions. They may be connected to an external master controller (usually MIDI programmable) so that one command can control all
footswitchable functions on your Stiletto, along with any midi program change commands sent to your outboard processors. This is
a great feature that will allow you to avoid the dreaded pedal board dance.
The EXTERNAL SWITCH jacks respond to latching type logic where the “tip” is shorted to the “ring”
or ground. This is also referred to as tip-to-ground logic and is the most common type of switching
logic used in tube musical instrument amplifiers. Simply connect a standard unshielded 1/4” cable
to the Stiletto
EXTERNAL SWITCH jacks and connect these to a latching tip-to-ground port on
the master switching device. Refer to the master switcher’s manual as to how to control and store
the function jacks under a program.
Your Stiletto is fitted with a Series Effects Loop for interfacing outboard processing. The Loop is placed at the junc-
tion between the preamp and the power amp and is optimized for levels that will match up with most good quality processing devices.
A SEND LEVEL Control is provided to fine tune the signal strength coming from the preamp and allows for some compensation for
extreme Channel MASTER settings. As mentioned earlier, the Front
Panel OUTPUT (and SOLO) Control is part of the Effects Loop Return
stage and therefore these are not active when the Loop is switched
out of the circuit.
As you have probably noticed, the Loop may be switched out of the
signal path completely using the LOOP IN/HARD BYPASS switch
located adjacent to the loop. This switch engages the Loop SEND and
RETURN jacks, SEND LEVEL Control, OUTPUT and SOLO Control
and all associated circuitry. When LOOP BYPASS is selected (switch down) the entire Loop is removed from the signal path and the
individual Channel MASTER Controls become your final output level controls. This HARD BYPASS feature allows you to use your
Stiletto in all its’ raw glory in the studio where processing will be added later on a separate channel and you need every ounce of
pure, unfiltered, Tone for a magical performance.
To use the FX LOOP, start by using premium quality shielded cables of the shortest possible length (preferably no more than 3 feet).
1) Connect the SEND to your processors INPUT.
2) Connect the RETURN to your processors OUTPUT.
3) Set the two Channels to your dedicated sounds and levels using the Channel MASTER Controls.
4) Select LOOP IN on the LOOP Select switch.
5) Set your processors’ INPUT Level control for unity gain.
6) After playing in the two channels, Adjust the Rear Panel SEND LEVEL to achieve a good unity gain peak level (remember that
clean sounds will peak a bit higher because of their more dynamic, less compressed nature).
7) Adjust the Front Panel OUTPUT Control to the desired playing volume.
8) Connect the Footswitch (to the Front Panel FOOTSWITCH jack, select SOLO and adjust the SOLO Control for the desired amount
of volume boost.
IN PETALUMA, CA
8 OHM
CHANNEL SOLO
EXT SWITCH
SOLO
EXT SWITCH
RETURN SEND
SEND LEVEL
LOOP IN
FX LOOP
 Loading...