4
OPERATION
Table 1 Installation (continued)
Installation
(continued)
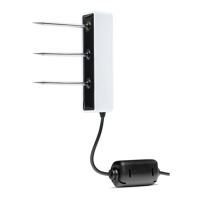
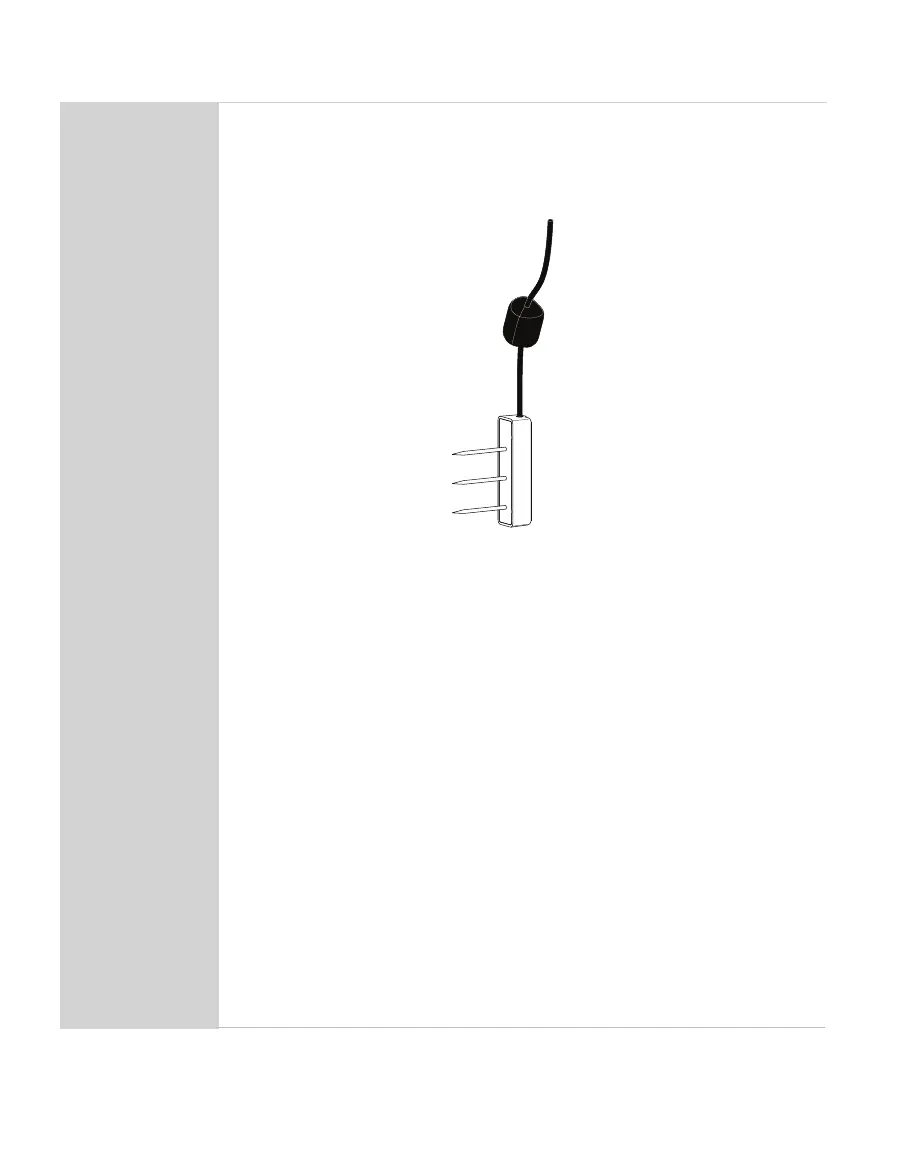
Sensor orientation. When the TEROS 12 sensor is installed, it may be
positioned in any direction (needles aligned horizontally or vertically). However,
installing the sensors with the needles in a horizontal position (as shown
below) will provide the least restriction to water ow through soil because the
water will ow through the soil directly to the needles.
Sensor body vertical and needles horizontal
Because of the shape of the sensor electromagnetic eld, installing the
sensor with the body oriented vertically will integrate more soil depth into
the soil moisture measurement. Installing the sensor with the body oriented
horizontally (on its side) will provide measurements at a more discreet depth.
See Measurement volume of METER volumetric water content sensors for
more information on sensor measurement volume.
Backll the Hole
Return soil to the hole, packing the soil back to its native bulk density.
Do not hit the ferrite core as this could potentially pull the sensor out of the soil.
Connect to Logger
Connect the 3.5-mm stereo plug connector into a stereo port on METER
data logger.
METER data loggers will automatically recognize TEROS sensors.
Use ZENTRA Utility software (Section2.2) to congure desired measurement
intervals and verify proper sensor identication by the logger.
Click SCAN in ZENTRA Utility to verify the TEROS 12 is active and providing
reasonable readings based on soild conditions.
Verify that these readings are reasonable based on soil conditions.
To connect to a non-METER data logger, refer to the TEROS 12 Integrator Guide.