METRA. The World’s best kits.
™
metraonline.com
© COPYRIGHT 2004-2015 METRA ELECTRONICS CORPORATION
REV. 10/28/2015 INST95-8212
KNOWLEDGE IS POWER
Enhance your installation and fabrication skills by
enrolling in the most recognized and respected
mobile electronics school in our industry.
Log onto www.installerinstitute.com or call
800-354-6782 for more information and take steps
toward a better tomorrow.
Metra recommends MECP
certified technicians
Installation instructions for part 95-8212
IMPORTANT
If you are having difficulties with the
installation of this product, please call our
Tech Support line at 1-800-253-TECH.
Before doing so, look over the instructions a
second time, and make sure the installation
was performed exactly as the instructions
are stated. Please have the vehicle apart
and ready to perform troubleshooting steps
before calling.
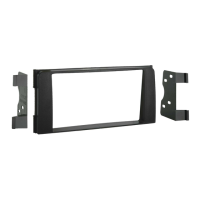
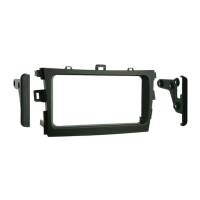
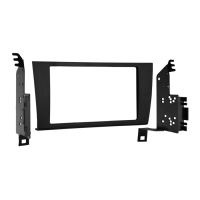
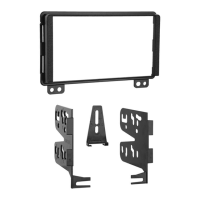
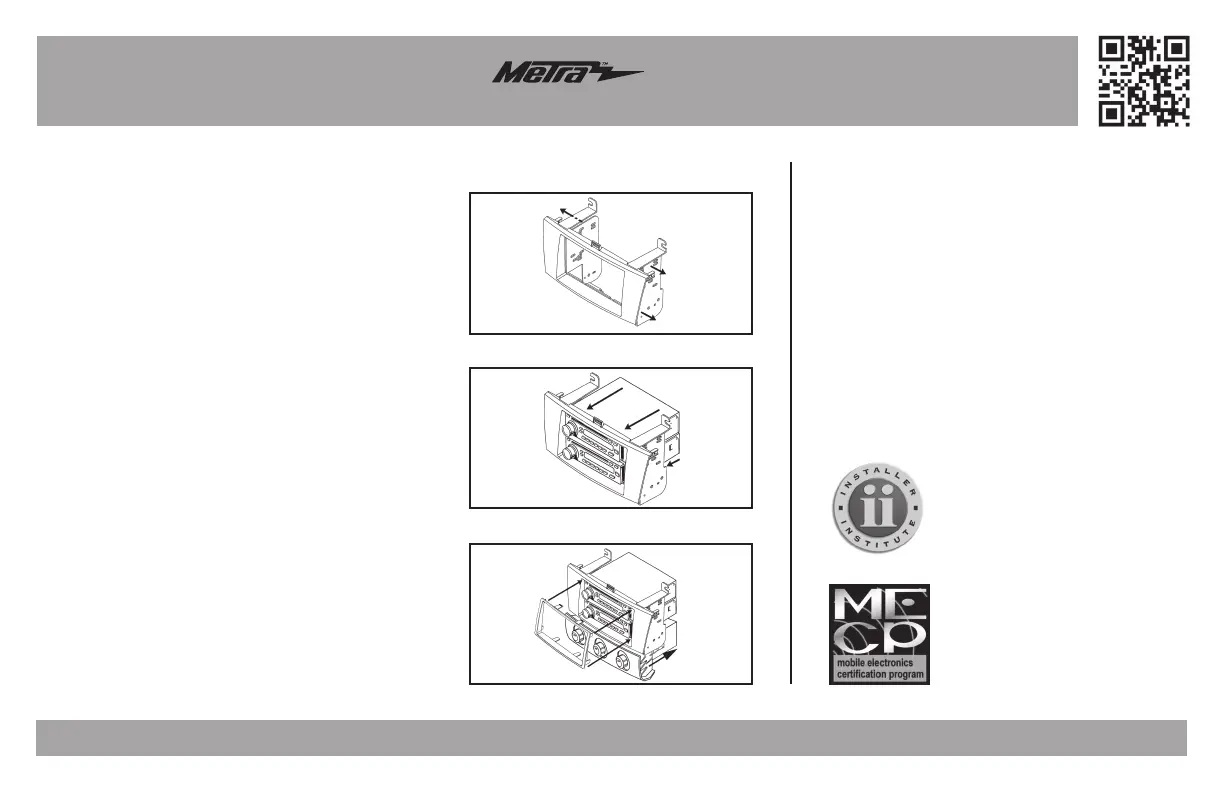
Kit Assembly
(Figure A)
(Figure B)
(Figure C)
ISO DDIN radio provision
1. Snap the ISO DDIN brackets to the inside edge of
the radio housing. (Figure A)
2. Slide the radio into the completed assembly, and
then secure it to the assembly using the screws
supplied with the radio. (Figure B)
3.
Slide the factory climate controls into the
completed assembly, and then secure with the
factory hardware removed in dash disassembly.
(Figure C).
4. Snap the ISO DDIN trim plate onto the front of the
radio housing. (Figure C).
5. Locate the factory wiring harness and antenna
connector in the dash, and complete all necessary
connections to the radio. Metra recommends
using the proper mating adapter from Metra and/
or AXXESS. Re-connect the negative battery
terminal and test the radio for proper operation.
6. Reassemble the dash in reverse order of
disassembly.