EasyManua.ls Logo

Metra Electronics 95-9308B User Manual

Default Icon
4 pages
To Next Page IconTo Next Page
Page #1 background imageLoading...
Page #1 background image
METRA. THE WORLD’S BEST KITS.™
© COPYRIGHT 2004-2009 METRA ELECTRONICS CORPORATION
APPLICATIONS
KIT FEATURES
KIT COMPONENTS
TOOLS REQUIRED
1-800-221-0932 metraonline.com
METRA. THE WORLD’S BEST KITS.™
© COPYRIGHT 2004-2009 METRA ELECTRONICS CORPORATION
REV. 7/30/2010
1-800-221-0932 metraonline.com
INSTALLATION INSTRUCTIONS FOR PART 95-9308BINSTALLATION INSTRUCTIONS FOR PART 95-9308B
BMW X5
2000 - 2006
(non-navigation models)
95-9308B
• DDIN Head Unit Provision
• ISO Stacked Head Unit Provision
• Painted Scratch Resistant Matte Black
• DDIN Radio Trim Plate • DDIN Brackets • (4) Plastic Snaps • (8) Flush ISO Screws
• Phillips Screwdriver • Torx Screwdriver • Panel Removal Tool
• Small Flat Blade Screwdriver • Cutting Tool or File
Question and Answer IconNeed help?

Do you have a question about the Metra Electronics 95-9308B and is the answer not in the manual?

Metra Electronics 95-9308B Specifications

General IconGeneral
BrandMetra Electronics
Model95-9308B
CategoryAutomobile Accessories
LanguageEnglish

Summary

Kit Features and Components Overview

Dash Disassembly Procedure

Disconnect Battery and Remove Volume Knob

Disconnect the negative battery terminal and remove the volume knob for safety and access.

Release and Remove Factory Head Unit

Use a T-10 torx screwdriver to release the head unit and disconnect its wiring.

Remove Top Section of Factory Head Unit

Loosen specific torx screws and remove the top part of the factory head unit.

Remove Factory Radio Door

With the radio door open, press tabs to remove the door from the dash.

Modify Sub-Dash Section

Cut and remove a specific section from the sub-dash to prepare for the new unit.

Kit Assembly and Installation

Mount DDIN Radio to Brackets

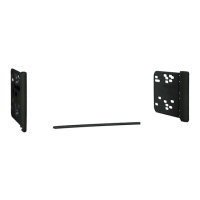
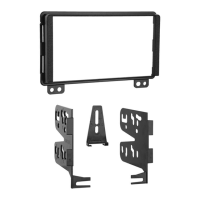
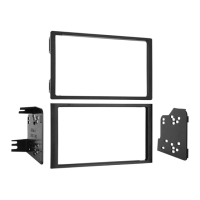
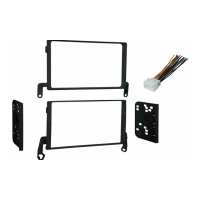
Attach the DDIN radio to the supplied brackets using flush ISO screws.

Connect Wiring and Test Unit

Connect factory wiring using adapters, reconnect battery, and test the new radio.

Install Radio Assembly into Dash

Snap the radio bracket assembly firmly into the dash opening.

Attach DDIN Trim Plate

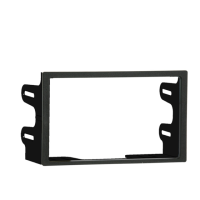
Align and snap the DDIN trim plate over the radio and into the brackets.

Related product manuals