EasyManua.ls Logo

Metra Electronics 99-7502 User Manual

Default Icon
8 pages
To Next Page IconTo Next Page
Page #1 background imageLoading...
Page #1 background image
INSTALLATION INSTRUCTIONS FOR PART 99-7502
99-7502
APPLICATIONS
Mazda MPV 2000-2006
KIT FEATURES
DIN Mount Radio Provision
ISO Mount Radio Provision
A) Radio Housing • B) ISO Snap In Brackets • C) Trim Plate
KIT COMPONENTS
A
Small Flat Blade Screwdriver/ Panel Removal Tool
Phillips Screwdriver
1-800-221-0932
© COPYRIGHT 2004 METRA ELECTRONICS CORPORA
TION
www.metr
aonline.com
B
C
TOOLS REQUIRED:
Question and Answer IconNeed help?

Do you have a question about the Metra Electronics 99-7502 and is the answer not in the manual?

Metra Electronics 99-7502 Specifications

General IconGeneral
BrandMetra Electronics
Model99-7502
CategoryAutomobile Accessories
LanguageEnglish

Summary

Dash Disassembly

Disconnect Battery and Remove Trim Panel

Steps to disconnect the battery, remove screws above the instrument cluster, and unclip the radio trim panel.

Remove Radio and Disconnect Wiring

Instructions for removing retaining screws securing the radio and unplugging its connections.

Kit Assembly - DIN Mount

Install DIN Cage into Housing

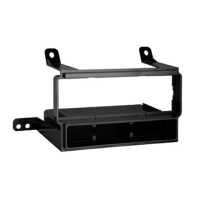
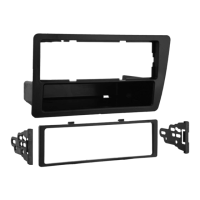
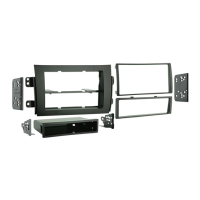
Slide the DIN cage into the radio housing and secure it by bending metal locking tabs outward.

Install Aftermarket Radio

Slide the aftermarket radio into the secured DIN cage until it snaps into place.

Kit Assembly - ISO Mount

Mount ISO Brackets to Radio

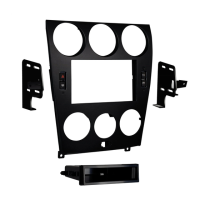
Attach the ISO brackets to the aftermarket radio using the provided screws.

Install Radio and Trim Plate

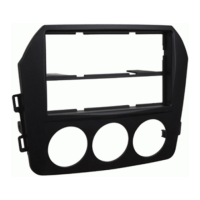
Slide the radio into the housing, then snap the trim plate onto the front of the assembly.

Final Assembly and Wiring

Prepare and Connect Wiring Harness

Locate the factory wiring harness, use a mating adapter, and make connections as shown, taping unused wires.

Reconnect Battery and Test Unit

Reconnect the negative battery terminal and test the installed unit for proper operation.

Reassemble Dash Components

Reassemble the radio and dashboard components in the reverse order of disassembly.

Related product manuals