Doc# 0296-0018 • REV R (July 2017) Page 32 of 61
Test Equipment Setup
NOTE: All the test equipment 5 minutes to warm up.
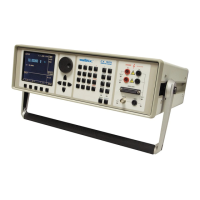
Synthesizer Setup Output - Channel 1
Waveform - Sine wave Non-Floang
Clear Memory Procedures
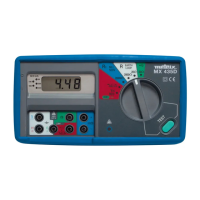
Step 1. If the TTS is on, shut it o.
Step 2. Simultaneously press the SPACE buon and the HELP but- ton, then turn the TTS on. Keep hold-
ing the SPACE and HELP buons unl a message appears that says “Memory Clears”.
Step 3. Turn o the TTS.
Calibraon Tests
Step 1. Make a copy of the Check-O Sheet provided at the back of the manual.
Step 2. Press the MODE buon unl the BIT MODE screen appears.
BIT MODE
PRESS RUN TO
START BUILT
IN TEST
Step 3. Connect the Input Test (Prt. #0215-0095-01) cable to the TTS input and connect the synthesizer
output 1 to Channel A (J1).
Step 4. Use the keypad and enter the number “803”. The Calibrate Channel A screen appears.
Channel A Calibraon
Step 5. Set the synthesizer for a 100 mV 0-peak sine wave at 100 Hz (70.707mV RMS as measured by a
Digital Mul Meter).
Step 6. In the lower right corner of the Calibrate Ch. A screen you will see the leers CF and then a
number. The CF stands for the Correcon Factor. This number should read 1.000.
Step 7. Press the Run buon. The reading should be 100 +- .1% between (99.9 - 100.1).
• If the reading between 99.9 - 110.1 and the Correcon Factor is 1.00, put a check mark on
line 8 of the Check-O Sheet.
• If the reading is not between 99.9 - 100.1 press the SPACE buon. The TTS changes the cor-
recon factor and then automacally adjusts itself to within the specied limits.
Step 8. Record the new Correcon Factor number on line 8 of the Check-O sheet.
Step 9. Disconnect the synthesizer from the TTS Channel A input (J1).
Charge Channel Calibraon
Step 10. Press the down arrow buon once. The CHARGE CHANNEL Calibraon screen appears.
 Loading...