■■■■■■■■■■■■■■■■■■■■■■
3 Installation
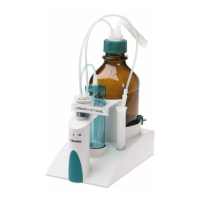
806 Exchange Unit
■■■■■■■■
15
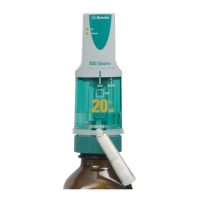
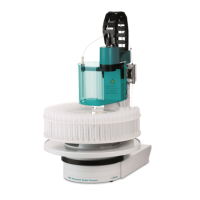
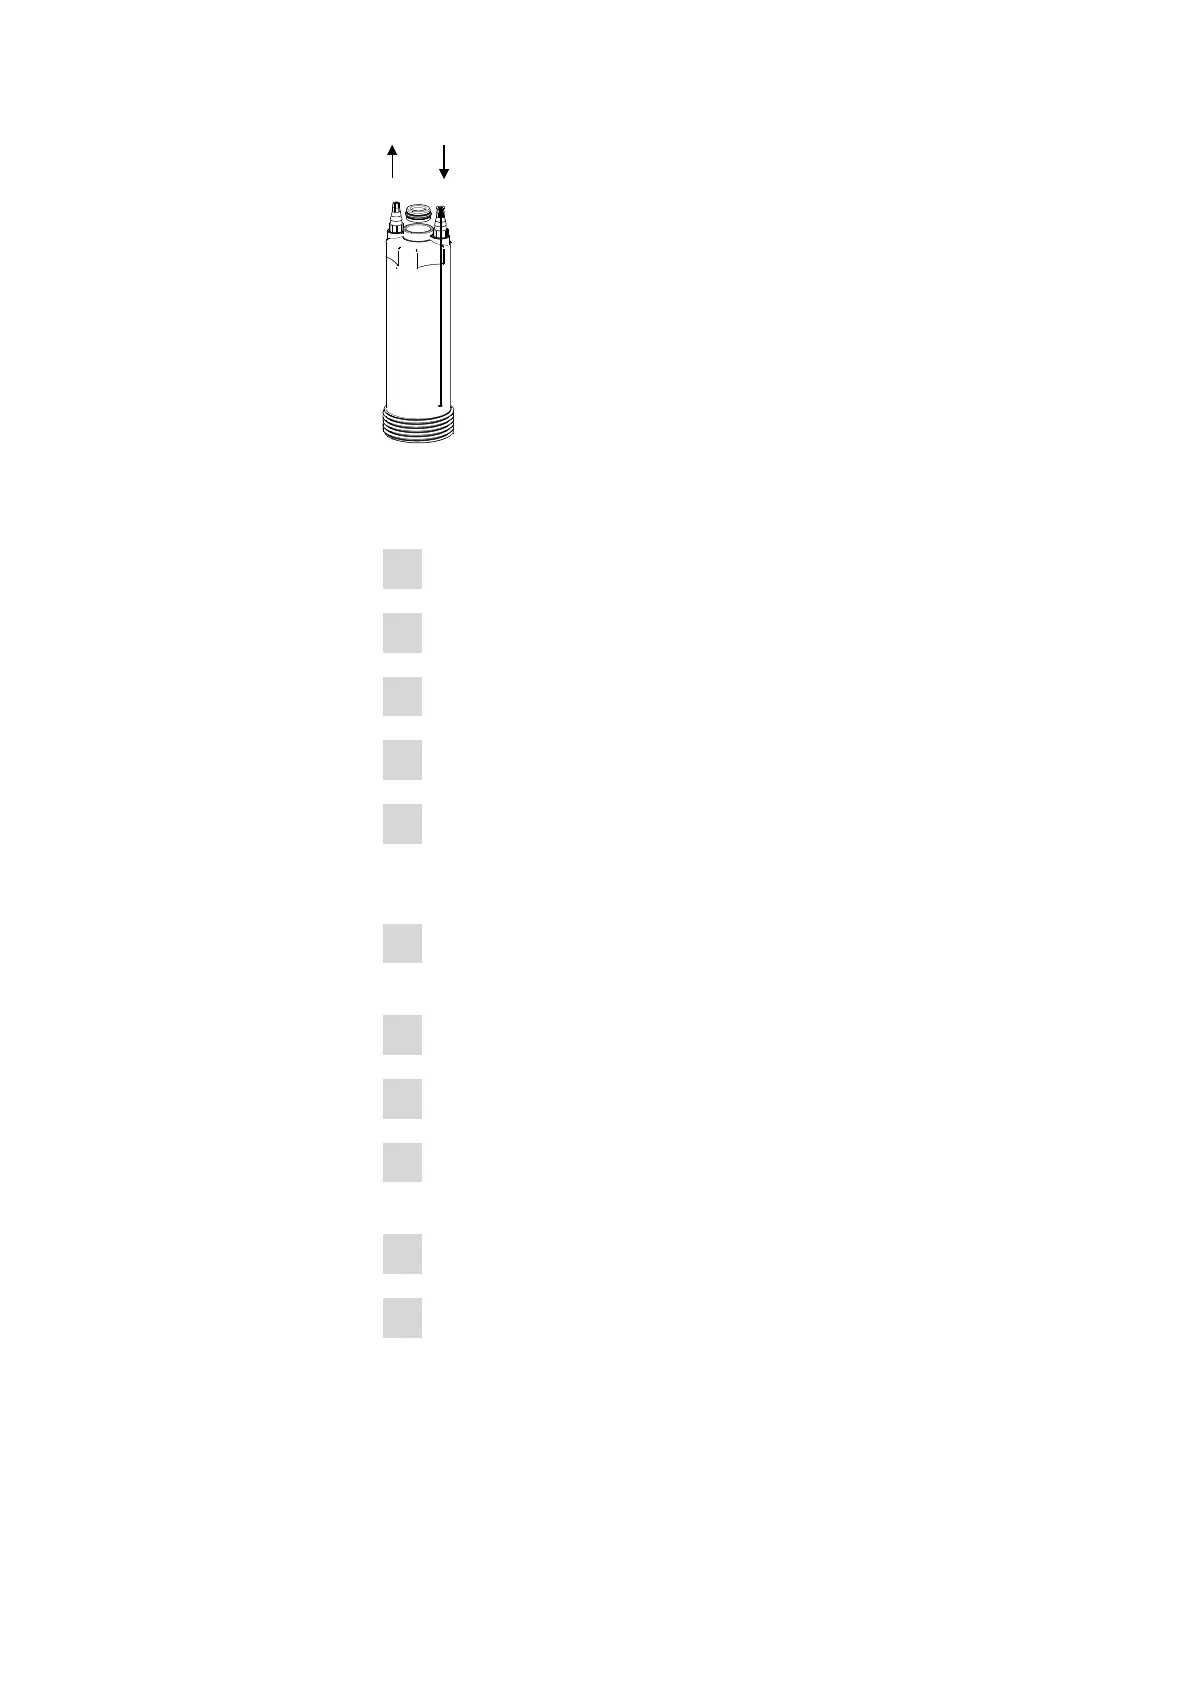
Figure 3 Thermostat casing
Mount the thermostat casing as follows:
1
Loosen the tubing connection to the glass cylinder.
2
Unscrew the light protection.
3
Screw out the glass cylinder with holder.
4
Loosen the screw nipple on the glass cylinder.
5
Roll the O-ring out of the groove and upwards on the glass nozzle.
Do not use any hard items to remove the O-ring, otherwise the edge
of the glass nozzle may chip off!
6
Replace the union nut of the cylinder by the sealing ring of the ther-
mostat casing (threaded side upwards).
7
Slightly grease the O-ring and attach it on the glass nozzle.
8
Fasten the sealing ring with the screw nipple.
9
Insert the glass cylinder with holder into the thermostat casing and
press firmly.
10
Tighten the thermostat casing with the cylinder in the body.
11
Connect the thermostat tubings.