Do you have a question about the Microlife BP B3 AFIB Advanced and is the answer not in the manual?
Sit on a back-supported chair and keep your legs uncrossed.
Avoid thick or close-fitting garments on the upper arm.
Place the artery-mark on the cuff over your artery.
Fit the cuff closely, but not too tight.
This device is able to detect atrial fibrillation (AF) during blood pressure measurement in both standard mode and MAM mode.
Select standard (single measurement) or MAM mode. Press the ON/OFF button ㉠ to start the measurement.
The cuff fit check 18 on the display indicates that the cuff is perfectly placed.
When the correct pressure is reached, the pumping stops and the pressure falls gradually.
The pulse arrhythmia indicator 20 is displayed, when pulse irregularities occurred during the measurement.
If an error occurs during the measurement, the measurement is interrupted and an error message, e.g. «Err 3», is displayed.
An adequate pressure cannot be generated in the cuff. A leak may have occurred. Check that the cuff is correctly connected...
Follow instructions for use. This document provides important product operation and safety information regarding this device.
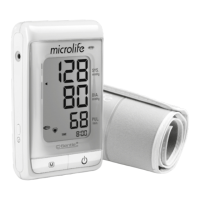
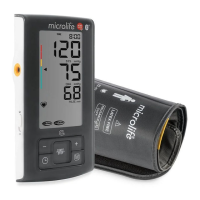
| Type | Upper Arm Blood Pressure Monitor |
|---|---|
| Measurement Method | Oscillometric |
| AFIB Detection | Yes |
| Irregular Heartbeat Detection | Yes |
| Warranty | 5 years |
| Average Reading Display | Yes |
| Traffic Light Indicator | Yes |
| Display | LCD |
| Cuff Size | 22 - 42 cm |
| Memory | 2 x 99 readings |
| Power Source | 4 x AA batteries |
| Data Management | Bluetooth |
| Category | Blood Pressure Monitor |





 Loading...