Microtek TMA1600 Installing and Getting Started 7
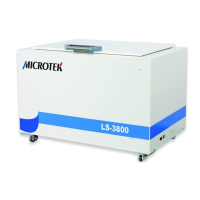
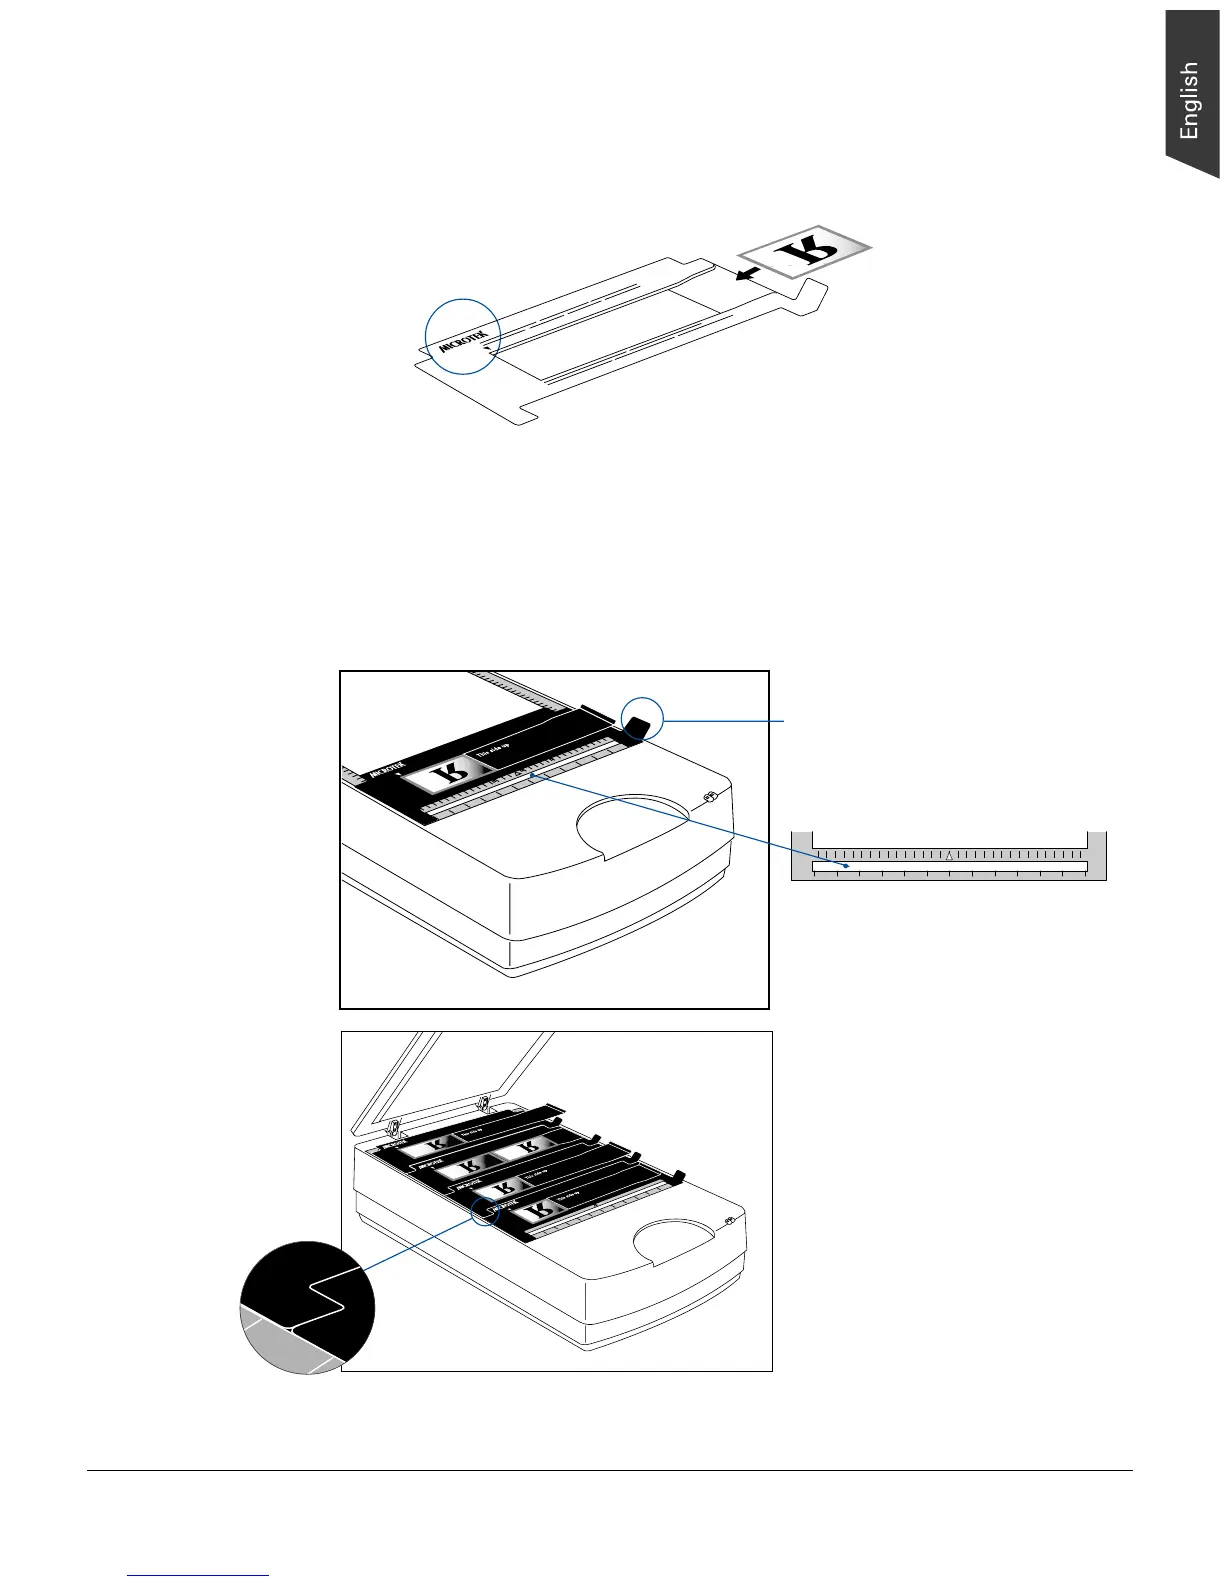
2. Load the film face down inside the template. The side of the template (which reads
“Microtek” logo) should face up. For details on how to load the different sizes of
film into the template, refer to other sections of this chapter.
3. [Optional] If the black plate* is available, slide it until its edge is against the film.
For details on the black plate, see page 14.
4. Place the template (side reading “Microtek logo” facing up) on the scanner glass
surface. Make sure that the template's front corners are firmly aligned against the
top ruler of the scanner, and that the two edges (left and right) fit within the
scanner glass area.
5. Gently lower the TMA1600 down onto the scanner glass surface.
2
1
0
3
4
5
6
6
5
4
3
2
1
2
1
0
3
4
5
6
6
5
4
3
2
1
Templates are designed for
multiple placement. If you purchase
additional templates, simply place
templates side by side. The glass
surface can hold up to four
templates at a time. For 35mm
filmstrip templates, the scanner
can scan 7 filmstrips at most (i.e.,
the filmstrip nearest the back of the
scanner is thus out of the scanning
range).
The Grabber is used for removing
the template out of the scanner
glass surface.
0123456123456
0
Please note that the calibration
window on the glass surface
should be kept clear and free from
any obstruction during scanning.