EasyManuals Logo

Midea MFJ-48ARN1-RB6 User Manual

Midea MFJ-48ARN1-RB6
27 pages
To Next Page IconTo Next Page
To Previous Page IconTo Previous Page
Page #14 background imageLoading...
Page #14 background image
Installation detail
12
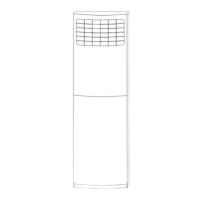
6.2.3 Take the Pipe Clip off before connecting the pipes and wiring; fit it when these
finished.
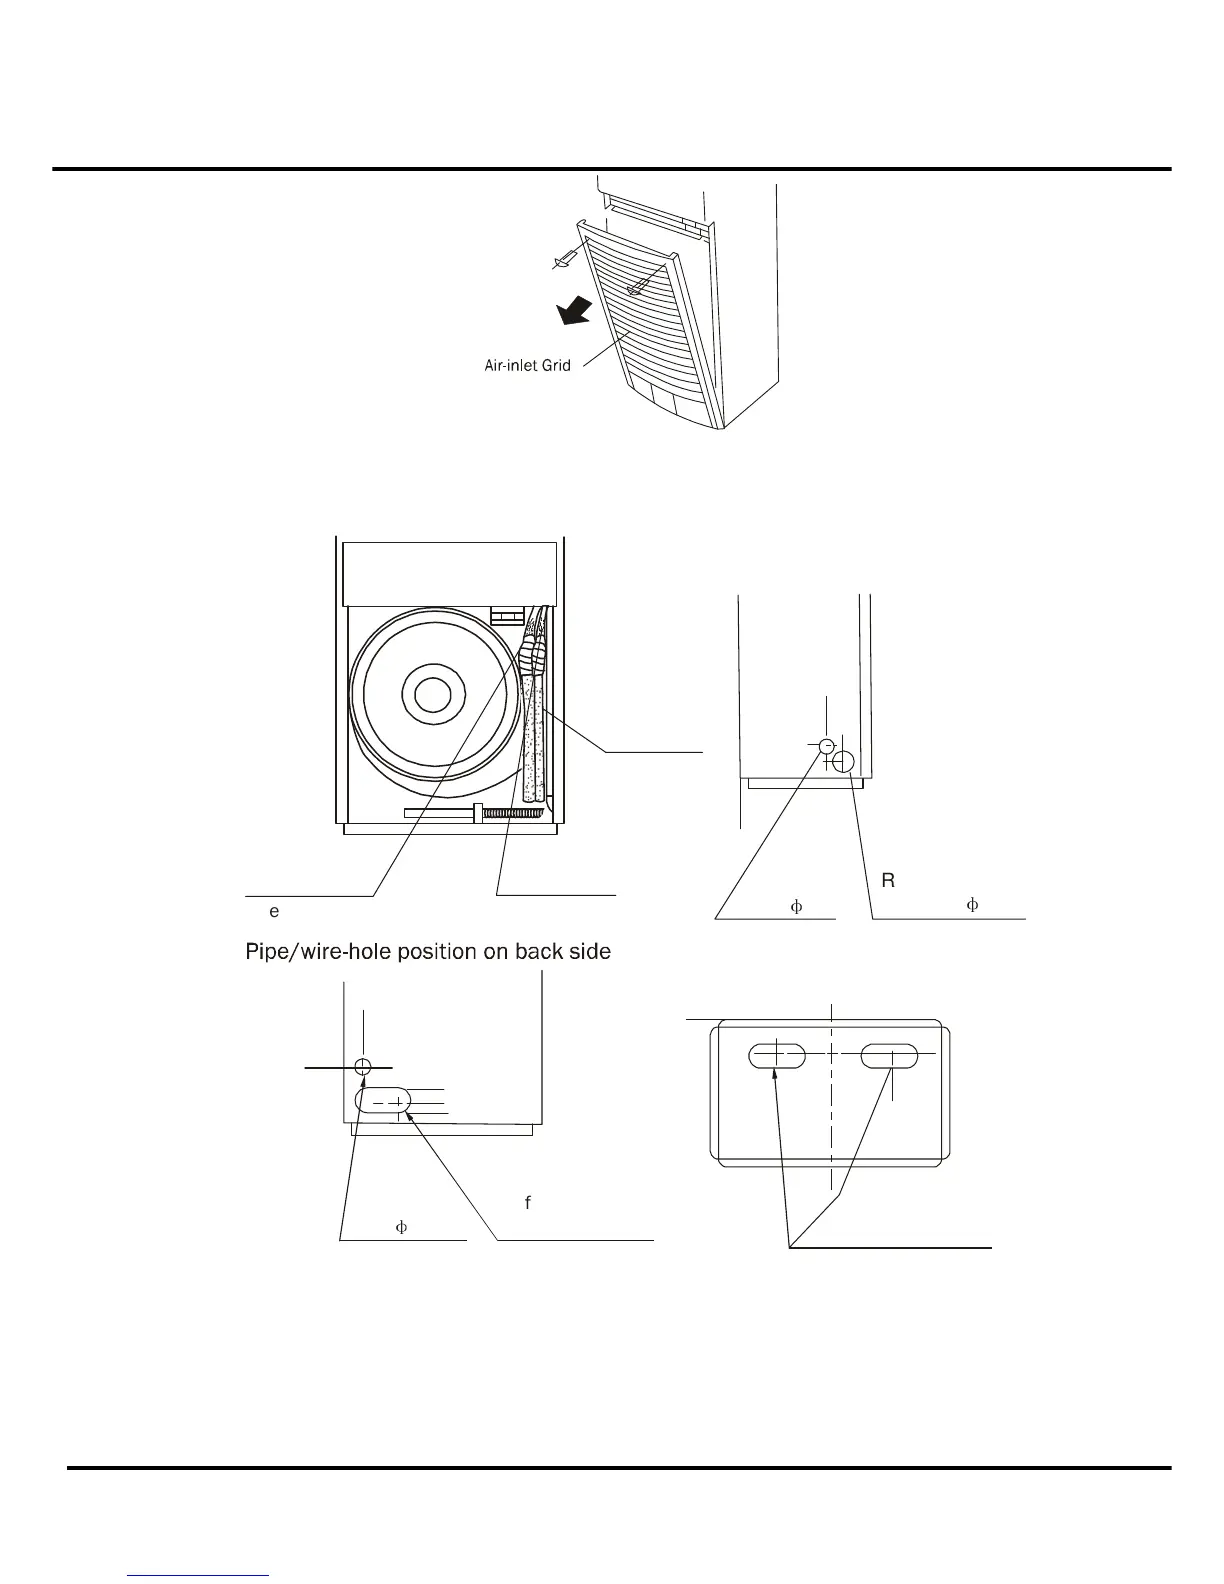
Use accessories 4 and 9 to connect the pipes/wires on both sides and back side.
Drain Pipe
Reamer Joint
Pipe/wire-hole positions on both sides
Wiring
Hole 35
φ
Refrigerant/drain
Pipe hole 80
φ
Reamer Joint
Refrigerant Pipe
Pipe/wire-hole position on the bottom
Wiring
Hole 35
φ
Refrigerant/drain
Pipe hole
Refrigerant/drain
Pipe hole
6.2.4 Ship the a/c to the installation place originally packed;
Be careful while hanging the unit because the center of gravity of the unit is not centralized;
Do not make the angle of inclination more than 45 degrees while shipping;(Avoid horizontal
storage)
Be sure the electric insulation work is well done if installed on metal ceiling / wall.
Fix the unit feet with bolts (M10/M8). Be sure the unit is fixed strongly enough to against blast or
earthquake.

Questions and Answers:

Question and Answer IconNeed help?

Do you have a question about the Midea MFJ-48ARN1-RB6 and is the answer not in the manual?

Midea MFJ-48ARN1-RB6 Specifications

General IconGeneral
BrandMidea
ModelMFJ-48ARN1-RB6
CategoryAir Conditioner
LanguageEnglish

Related product manuals