Installation detail
13
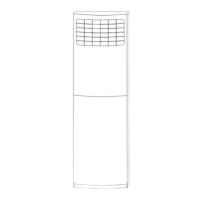
Make a concrete basement to the unit by the above references.
6.3 Refrigerant pipe connecting
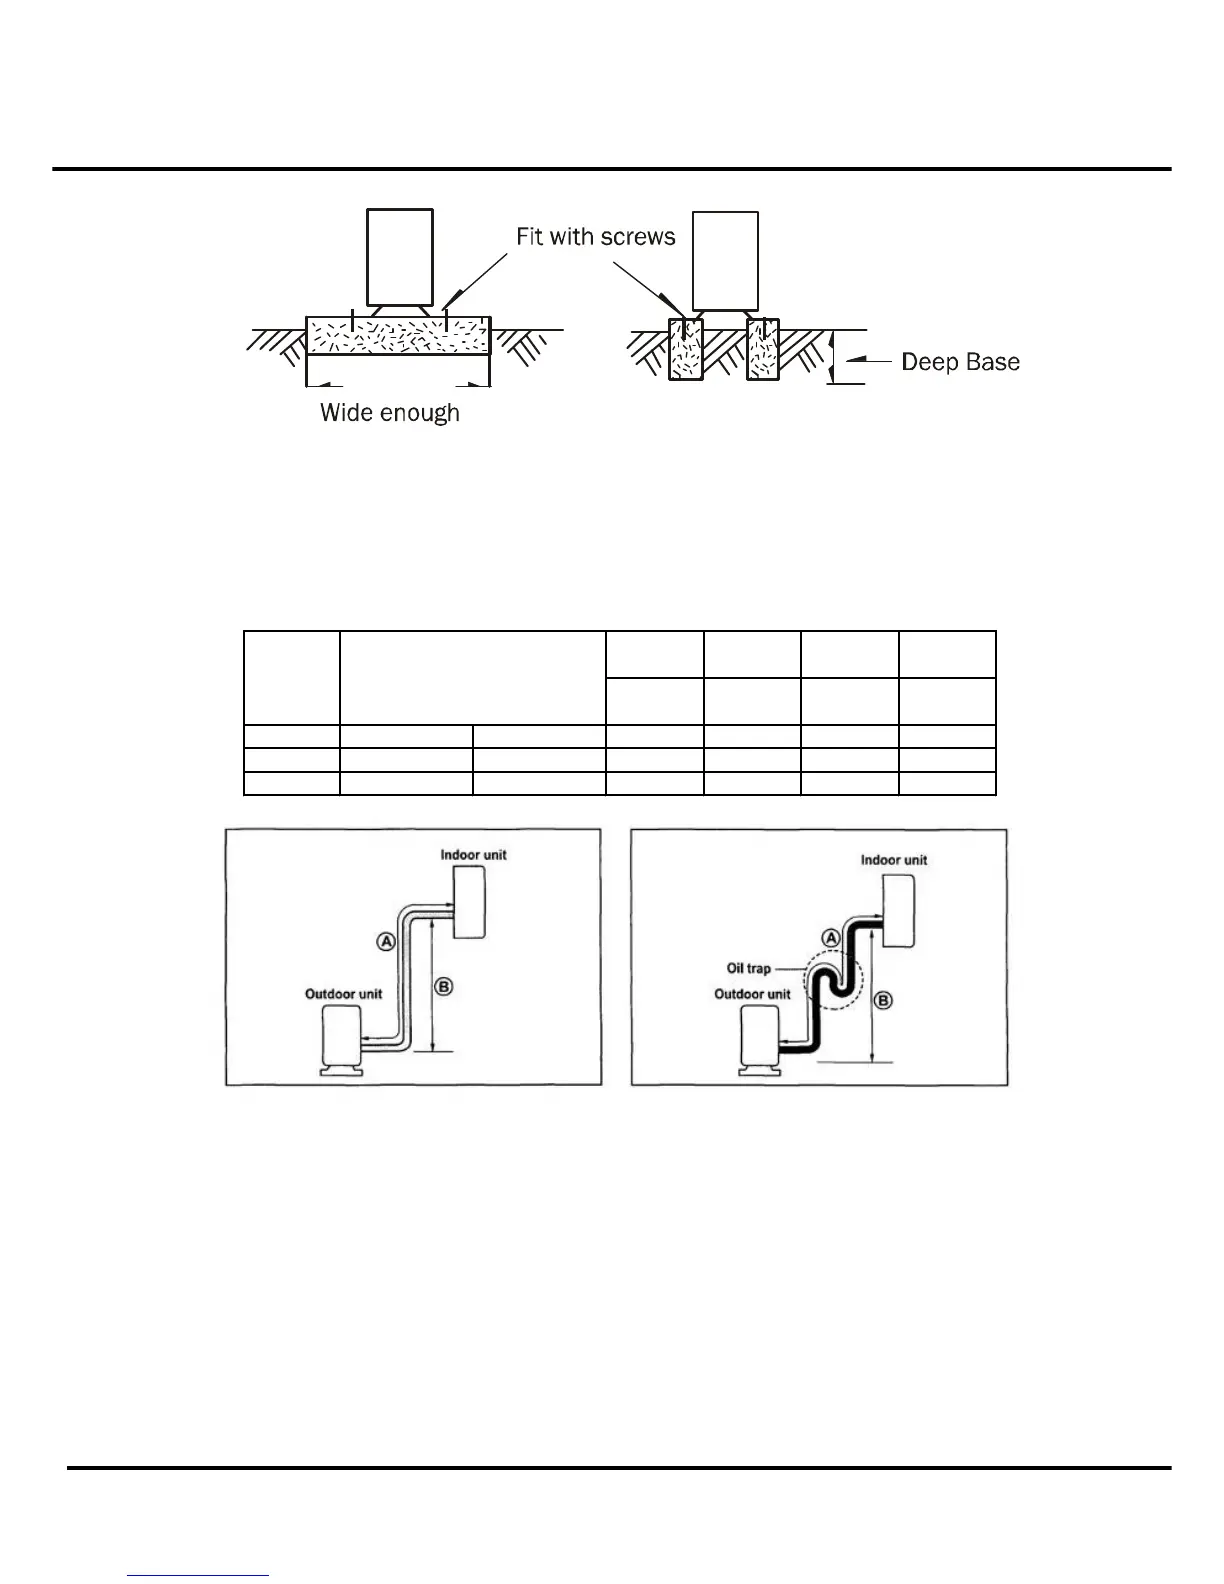
6.3.1 Pipe length and the elevation
The correct refrigerant quantity filled in the 5-meter-long pipe of the outdoor unit is marked on
the Product Data Plate. If you have to use longer pipe for every meter plus pipe, the refrigerant
should be added according to the following calculation.
Standard
Pipe sizeC apacity
6.3.2 Piping connection
6.3.2.1 Connecting Of Refrigerant Pipe
a.
Only the correctly installing of indoor and outdoor unit done, can the refrigerant pipe be connected.
b.
The cut-off valves are completely close before ex-work. Before connecting the refrigerant pipe, be
careful to check whether the valves are completely close.
c.
The connecting procedure of refrigerant pipe: first, unscrew the two valves on the outdoor unit and
the pipe-jointing nut on the indoor unit(please keep them care fully). Please connect the refrigerant
pipe according to the manual, the pipe-jointing nut should be screw tightly and no leakage. Note:
you need two wrenches to make balance.
d.
When the connecting of refrigerant pipe is finished, before power on the system, you should
 Loading...