M
Michael JacobsonAug 18, 2025
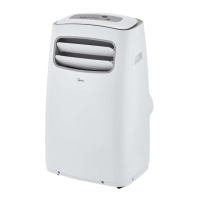
Why is my Midea MPK2-09CRN1-QB6 Air Conditioner not cooling or heating?
- MmadisonmorenoAug 19, 2025
If your Midea Air Conditioner isn't cooling or heating, begin by checking the voltage. Verify the wiring terminals are secure, repairing them if loose. Ensure the temperature and mode settings are correctly adjusted. Inspect the compressor, overload protector, and wiring for any damage, replacing if necessary. If the unit uses an electric heater, check for damage and replace if needed. Also, examine the overheat fuse and replace if it's damaged. Finally, check the voltage of the main PCB; if the unit fails in heating mode, replace the main PCB.