14
Installation Steps
Step 1. Remove the front panel and the air filter
1. Hold the tabs under the front panel, then uplift it outwards, and remove the front panel (See Fig.1).
2. Pinch the handle under the air filter and make the air filter arched, remove it from the slot from underside
to upside (See Fig.2).
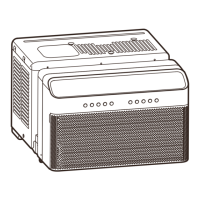
Step 2. Remove the frame.
1. To meet different requirement of different type of air conditioner, there are four kinds of removing the
frame.
-Remove the two screws on the left and right chassis fixing brackets, then remove the two chassis
fixing brackets as shown in Fig.3A.
-Remove one screw on the chassis fixing bracket, then remove the chassis fixing bracket. Remove the
two screws located on the back of the cabinet as shown in Fig.3B.
Remove one screw on the chassis fixing bracket, then remove the chassis fixing bracket as shown in
Fig.3C.
-Remove the four screws located on both sides and the back of the cabinet as shown in Fig.3D.
2. Grasp the left corner in the frame's underside, then loosen the frame (See Fig.4).
 Loading...