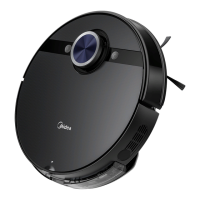
17 18
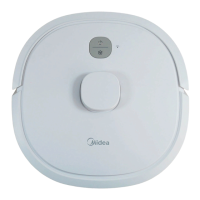
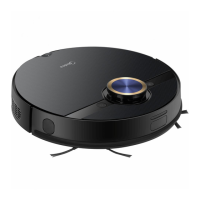
Mopping
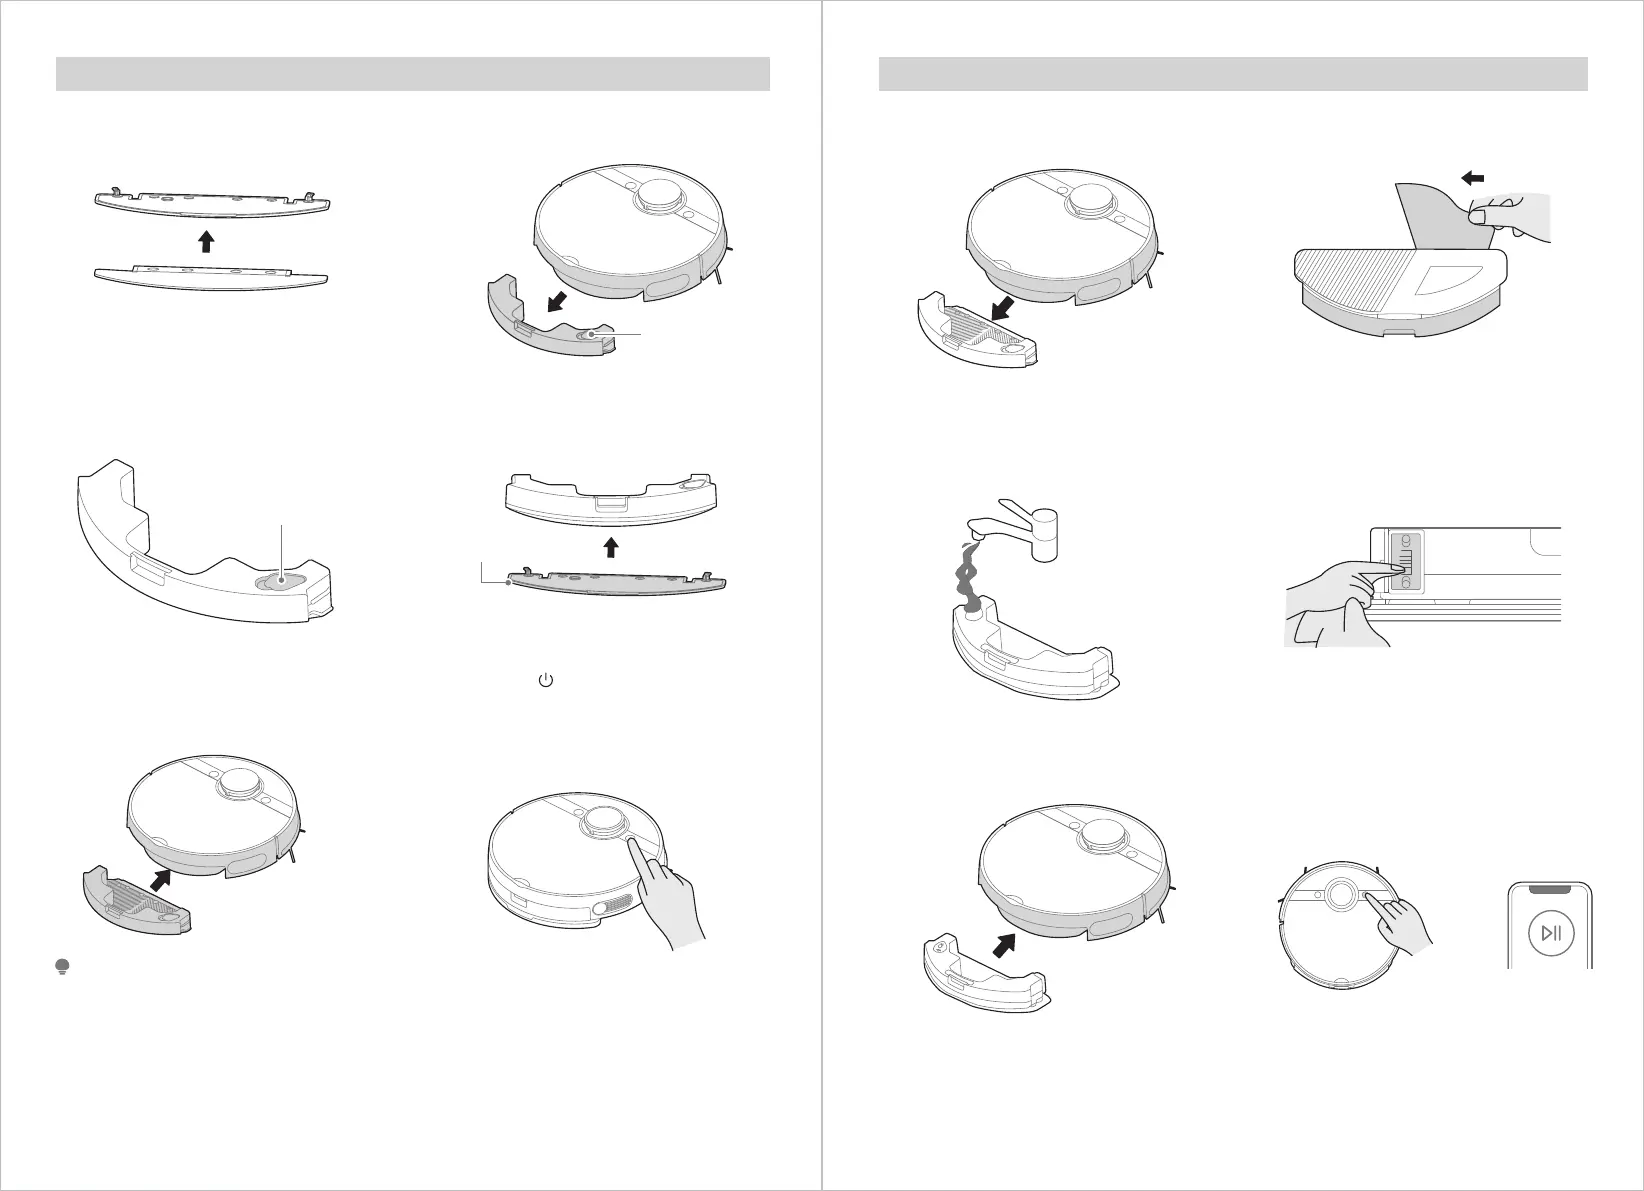
Check and ensure the mop cloth is
attached to the mop cloth holder.
1. Press the release button on the
water tank and pull to remove.
2.
Fill the water tank. Open the lid, fill the
tank with water, and securely close the lid.
3. Attach the mopping cloth holder
to the water tank.
4.
Re-insert the water tank assembly into
the robot. You will hear a click sound
when the water tank is installed properly.
5. Press “ ” or use App to start
mopping. If you don’t want the
robot to go on your carpet when
mopping, set a No-go zone/virtual
wall via App or roll up the carpet.
6.
Mop Cloth Holder
Water Inlet/Outlet
a)
b)
c)
d)
e)
Please do not exceed the “Max” water level.
It is recommended to use clean water in the water tank. Do not add any detergent in the water to
prevent clogs. Do not use hot water.
After using the mopping function, it is recommended to remove the mopping module during
charging to prevent the damp mop from wetting the floors.
Remove the mopping cloth holder when the robot is under the charging state.
You can adjust water flow via APP according to your requirement.
NOTE
Water Tank
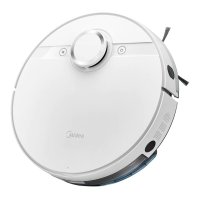
Vibration Mopping Use Guide
or
Remove the normal water tank.1. Stick dedicated wipe on vibration
tank.
2.
Fill the tank with clean water (Electric
parts inside, Please do not immerse the
tank in the water).
3. Wipe the electronic control
interface with a dry, soft cloth
to ensure it is dry.
4.
Reinstall the water tank into the robot
by hearing a clicking sound.
5. Start the robot for vibration mopping
(please do not use vibration moping
on carpet).
6.