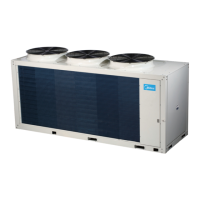
MCAC-UTSM-2014-03 R410A 380~415V 3Ph 50Hz TempMaker Series Split AC
128
Use straight head screwdriver to insert into the buckling position in the bottom of wired
controller, and spin the screwdriver to take down the back cover. Pay attention to spinning
direction, otherwise will damage the back cover.
Use three M4×20 screws to directly install the back cover on the wall.
Use two M4×25 screws to install the back cover on the 86 electrician box, and use one
M4×20 screws for fixing on the wall.
Adjust the length of two plastic screw bars in the accessory to be standard length from the
electrical box screw bar to the wall. Make sure when install the screw bar to the electric box
screw bar, make it as flat as the wall.