EasyManuals Logo

Midea TempMaker Series User Manual

Midea TempMaker Series
152 pages
To Next Page IconTo Next Page
To Previous Page IconTo Previous Page
Page #81 background imageLoading...
Page #81 background image
MCAC-UTSM-2014-03 R410A 380~415V 3Ph 50Hz TempMaker Series Split AC
80
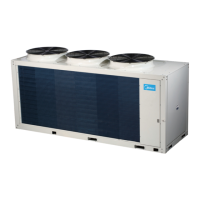
MHA-150HWN1 + MOV-150HN1-R
MHA-192HWN1 + MOV-192HN1-R
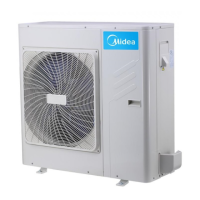
MFA2-76HRN1 + MOV-76HN1-R
MFA2-96HRN1 + MOV-96HN1-R
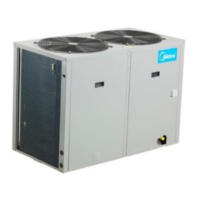
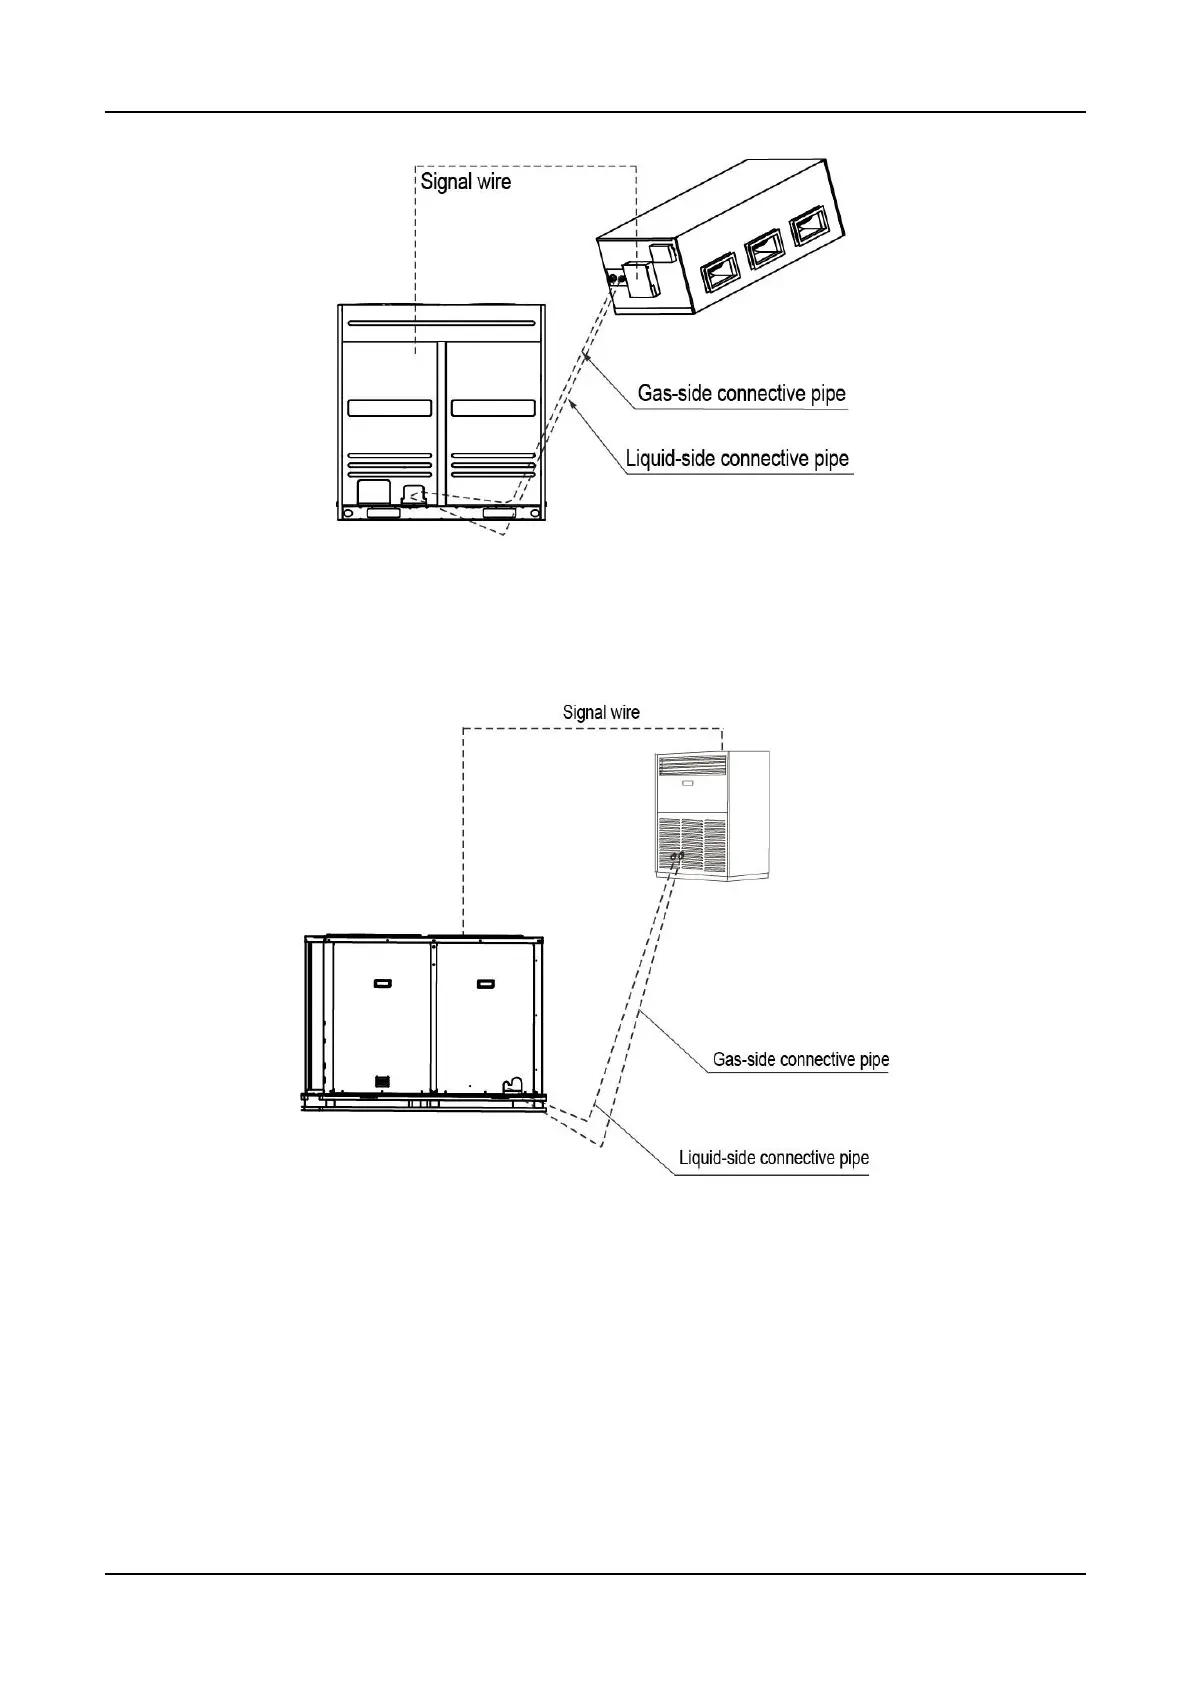
The refrigerant pipe adapter is located inside the outdoor unit. So remove the right front board
first, and remove M5 screws.
When the pipe is connected from the front side, the pipe can be led out through the right front
board.
When welding the refrigerant pipe, in order to prevent internal oxidation of the pipe, nitrogen

Questions and Answers:

Question and Answer IconNeed help?

Do you have a question about the Midea TempMaker Series and is the answer not in the manual?

Midea TempMaker Series Specifications

General IconGeneral
BrandMidea
ModelTempMaker Series
CategoryAir Conditioner
LanguageEnglish

Related product manuals