• 39 •
Starting the test
When you insert a memory card and turn on the analyzer, it will scan the card for fi les that are com-
patible with the current version of the analyzer’s software. If the fi les are in an older format, you will
not be able to save new test results to the card. The analyzer will display:
!OUTDATED CARD FILE!
SAVE FILES TO
COMPUTER. THEN DELETE
FROM CARD
OR PRESS
ENTER TO
DELETE ALL FILES NOW.
To save the older fi les to a computer, refer to Transferring fi les to a PC from the memory card in
Chapter 7: Test results and reports.
To test a string, attach the clamp or probe cables to the fi rst jar in the string.
NOTE: Connect the probes in the same positions as the clamps in the illustrations.
Guidelines
• Do not place clamps or probes on stainless steel hardware, such as bolt heads, washers, or
threaded posts. Stainless steel hardware can yield low conductance values. If you have to
test on stainless steel, record it in your testing records.
• The jars might have grease on the terminals and connections to prevent corrosion. You do
not have to wipe off the grease before attaching the clamps or connecting the probes.
• Test each jar in the same location or position. Changing the location of the test point might
vary test results.
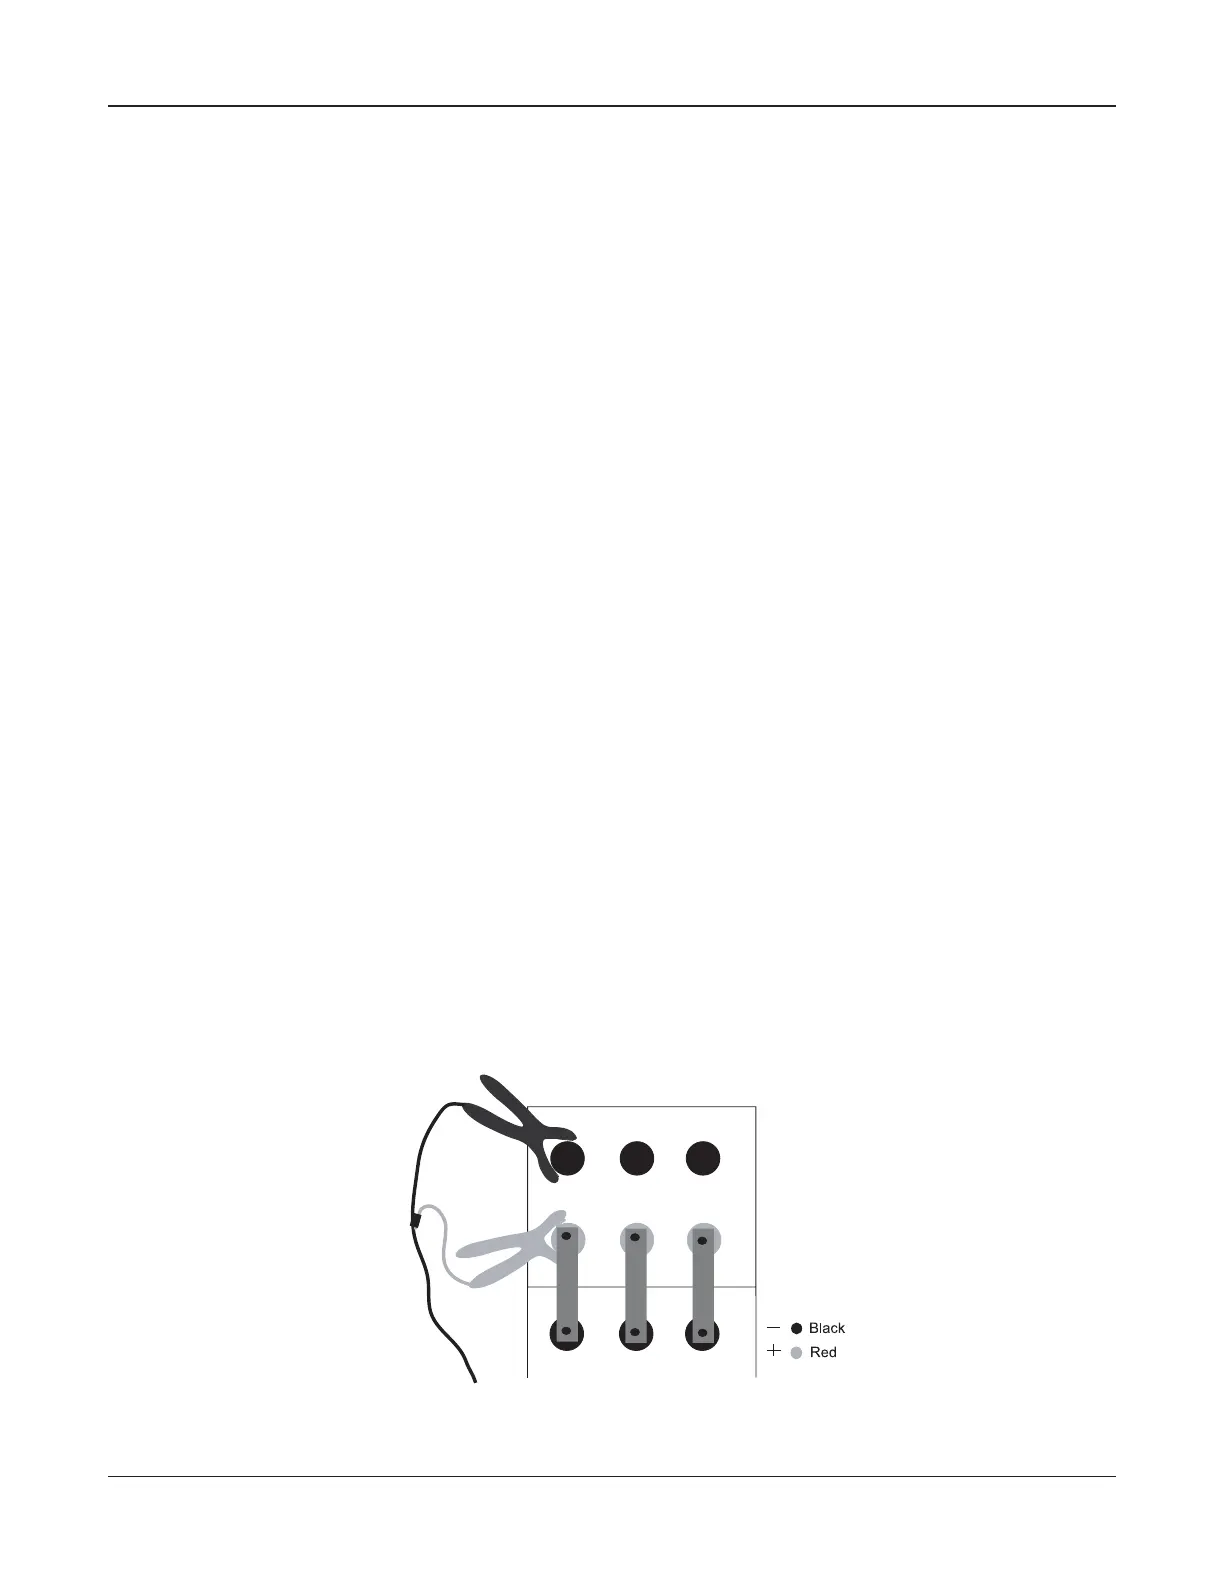
Attaching the cable to jar posts
1. Attach the black clamp or probe tip to the black (–) terminal. Refer to Figure 5.
2. Attach the red clamp or probe tip to the red (+) terminal.
Figure 5: Attaching the cable to jar posts
Chapter 6: TestingCelltron ULTRA